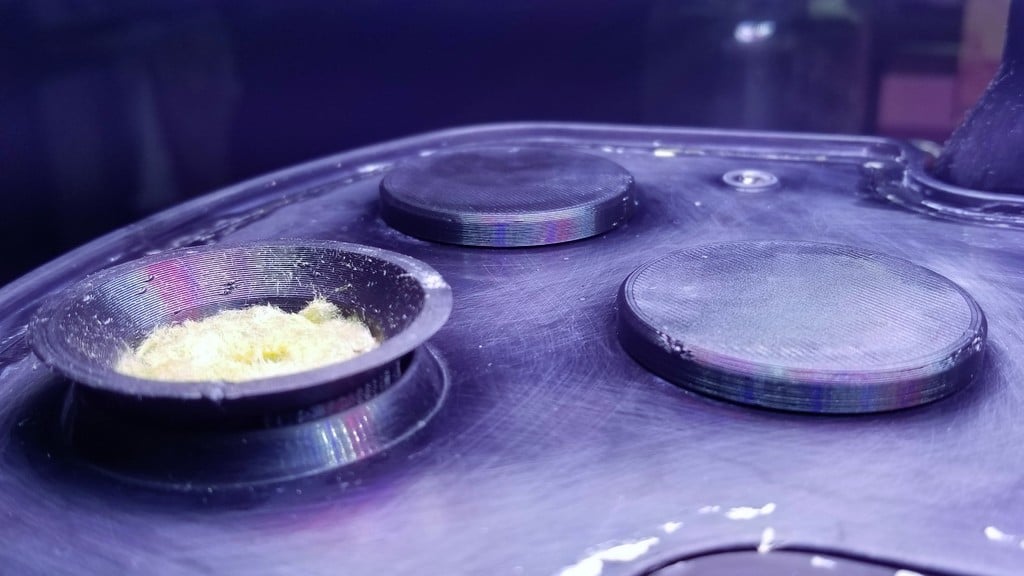
AeroGarden Pod and Cap
thingiverse
Growing a pod and cap for an AeroGarden hydroponic system is essential to cultivating healthy plants. To grow a successful pod and cap combination, you'll need a few basic supplies and some patience. First, obtain a plastic cup or container that's approximately 6-8 inches tall and has a diameter of about 3-4 inches. Next, cut the top off the cup at an angle using scissors or a craft knife to create a unique shape for your AeroGarden cap. Be careful not to cut too much, as this can cause the cup to become unstable. Now that you have your cup and cap, it's time to start growing! Fill the cup with water and add a few drops of AeroGarden fertilizer according to the package instructions. Place the cup in the AeroGarden system and turn on the grow lights. Make sure the cup is level and secure to prevent any accidents. As the plants begin to grow, you'll need to replace the water and fertilizer regularly to ensure optimal growth. You can also add a few drops of AeroGarden pH adjuster if necessary. Be patient, as it may take some time for your plants to reach their full potential. With proper care and attention, your AeroGarden pod and cap will thrive, providing you with a bountiful harvest of delicious and nutritious crops. Remember to always follow the manufacturer's instructions for your specific AeroGarden model and consult the user manual if you have any questions or concerns. Happy growing!
With this file you will be able to print AeroGarden Pod and Cap with your 3D printer. Click on the button and save the file on your computer to work, edit or customize your design. You can also find more 3D designs for printers on AeroGarden Pod and Cap.
