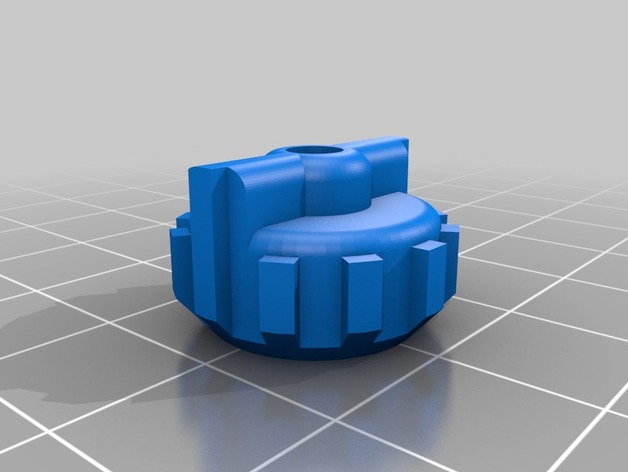
Adusting Knob with Internally Integrated M3 Nut - Fits Bukito,Prusa, and Others.
thingiverse
This design serves as an alternative to the stock Bukito laser cut acrylic bed leveling knobs, making it a versatile choice for projects requiring adjustable knobs. To begin with, this model integrates the nut internally, preventing it from falling out of the bottom and offering a more extensive surface area that is both comfortable and precise. To embed the nut within the design, it is essential to modify the G-Code and find an insertion point where you can pause the print. Refer to the provided instructions for detailed guidance on this process. For Bukito users, a specific G-Code file has been made available. This code will print all three knobs with a pause already set in place. The pause occurs once the print reaches the top level of the nut hole cavity. You'll also find included sketchup and DesignSpark files that enable you to create and customize this design further. When printing, it's recommended to manually place the nut inside the nut hole after pausing the G-Code at the appropriate point. You can pause your printer with ease by referring to a provided photo which will show you exactly when and how to pause the print for this step. To use this G-Code with a Bukito, simply select it from the provided files and choose PLA 0.2mm layer printing with default Sli3er settings for an uncomplicated experience. Adjust your printer's temperature and extrusion rate if you are using any filament other than ProtoType by tweaking these settings manually on your Machine Control Panel. If your printer doesn't support pre-set pauses or specific settings like Bukito does, simply add the following G-Code lines to the final retract of your key layer: G91 (Switch to relative positioning) G1 Y150 (Move the platform upwards) G1 Z20 (Elevate the extruder 10mm high) @Sound (A signal to let you know that its time to manually embed the nut inside the cavity) Return to absolute positioning once the task is complete: When manually embedding nuts inside the cavity, always ensure that you use a screw as your tool of choice. This enables the nuts to go in quickly and smoothly, just as seen in our attached photo. Don't forget to stock up on extra M3 nuts and screws for any future prints or modifications to existing projects.
With this file you will be able to print Adusting Knob with Internally Integrated M3 Nut - Fits Bukito,Prusa, and Others. with your 3D printer. Click on the button and save the file on your computer to work, edit or customize your design. You can also find more 3D designs for printers on Adusting Knob with Internally Integrated M3 Nut - Fits Bukito,Prusa, and Others..