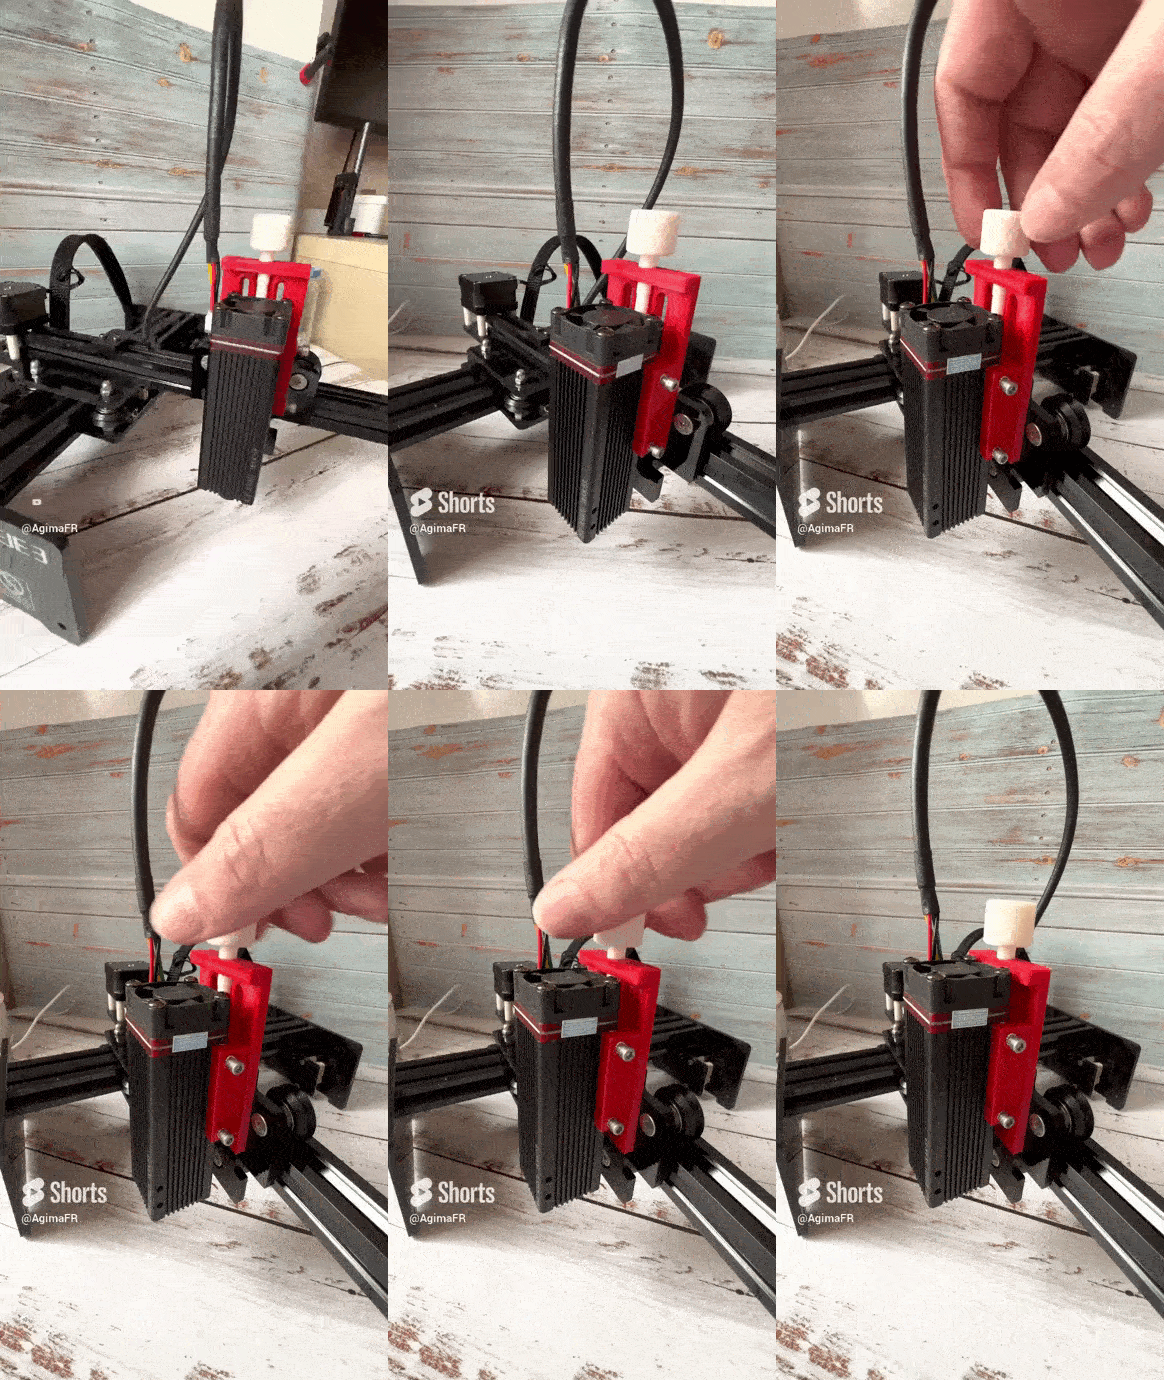
Adjustable Z Axis Mod for NEJE 3 (Master 2/2S)
prusaprinters
After testing several Z Axis mods downloaded from Thingiverse, I thought I'd design my own, with the objective of:be as thin as possiblebe lightweightbe rigid enough to withstand the speed of travel.use the existing support on which the laser head is mountedallow the use of an eye protection cover screwed on the headSupplies required2 x M3 brass inserts to be thermo-soldered2 x M3 screws (I used the ones delivered with the engraver)2 x M3 nutsAssembly of the partsUnplug the power cable from the laser engraverUnplug the laser head connectorUnscrew the laser headMain supportPut the two M3 nuts in the groovesAttach the main support with two M3 screws and nuts in place of the laser head (we use the original screws that previously held the laser head)Adjust the height at which you want to position the support, check the verticality and finish screwing so that it does not moveLaser supportUse a soldering iron to place the two brass inserts in the holes providedSlide the support on your laser head N30820 (sand or file a little if necessary)Screw the two M3 screws to hold the laser headBringing together the 3 partsPut the printed screw into the hole of the main supportWhile holding the laser head, gently turn the knob clockwise so that the screw fits into the laser head support without forcing itReplace the laser head connector that you had unplugged at the beginningReconnect the power supply of your Neje engraverYou are done !Final renderinghttps://youtube.com/shorts/VcN41pMOOtE
With this file you will be able to print Adjustable Z Axis Mod for NEJE 3 (Master 2/2S) with your 3D printer. Click on the button and save the file on your computer to work, edit or customize your design. You can also find more 3D designs for printers on Adjustable Z Axis Mod for NEJE 3 (Master 2/2S).
