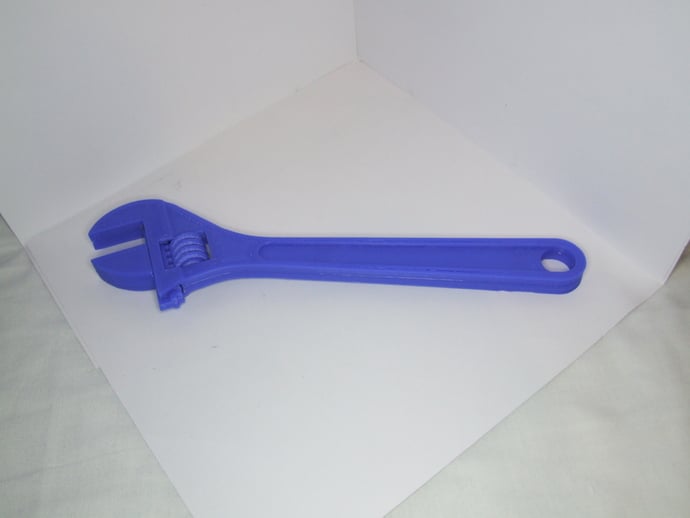
Adjustable Wrench
thingiverse
Create an adjustable wrench using my Blender-made design after participating in Enginerd's Adjustable Wrench Challenge. I used tbusers' files as a foundation, enhancing it with a square channel for simpler printing. The plastic is sufficient for loose items but falls short on tight ones. Modify the Wrench_Arm part to print upside-down, eliminating the need for support material; however, the modified version (Wrench_Arm_No_Support) necessitates excellent bridging settings due to its inclusion in the file. Print the Wrench_Arm, Thread_Center_Hole, and Wrench_Arm_No_Support STL files. If required, split the Wrench_Arm_No_Support into two separate halves (Wrench_Arm_1_No_Support and Wrench_Arm_2_No_Support). Adjust the alignment holes for a perfect fit by drilling or cleaning them out. To assemble the wrench, glue the clamp arm and threaded part together with 3mm filament and superglue. Test-fit these parts with the wrench arms before final assembly, ensuring a smooth sliding action. Finally, glue the two wrench arm halves around the threaded part and slide the clamp arm in while turning the threaded part to secure it.
With this file you will be able to print Adjustable Wrench with your 3D printer. Click on the button and save the file on your computer to work, edit or customize your design. You can also find more 3D designs for printers on Adjustable Wrench.
