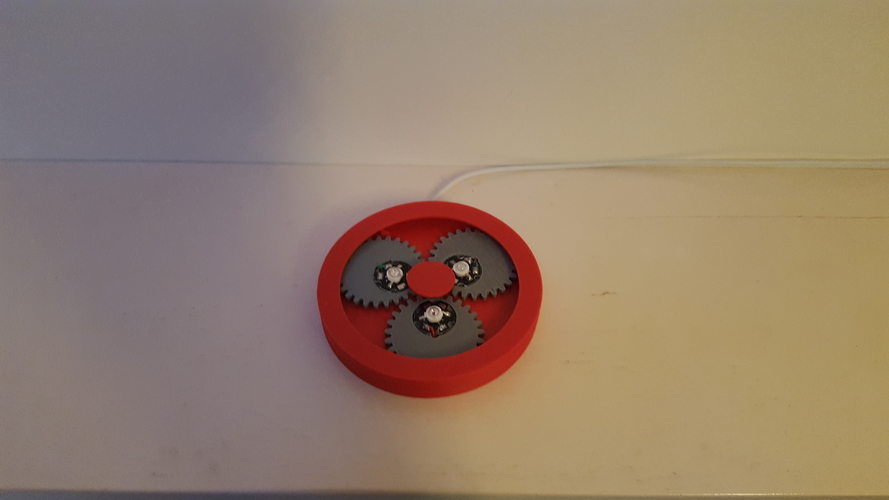
Adjustable LED base
pinshape
It appears that you have provided a detailed guide on how to create a simple LED driver using resistors. Here's a summary of the key points: 1. **Calculations**: You've calculated the voltage, current, and power for each color (RED, GREEN, BLUE) using the formula P = UxI. 2. **Resistor selection**: For each color, you've selected the required resistors based on their wattage and ohms ratings. For example, RED requires 6 x 33Ω/0.25W resistors in parallel. 3. **Power calculation**: You've calculated the power for each resistor using the formula P = UxI. This helps determine if the chosen resistors can handle the current and voltage. 4. **Heatsink requirements**: For the 1W resistors, you've calculated that they will draw approximately 434mA, which is below their maximum rating. The guide also mentions the following: * You used a PLA (Polylactic Acid) 3D printing material with a resolution of 0.25mm and a nozzle size of 0.5mm at a temperature of 195°C. * For the gears, you recommend using a low feed rate for the last pin-like part. Additionally, you've provided a link to a dimmable LED driver design on Pinshape. Overall, this guide provides a detailed explanation of how to create a simple LED driver using resistors.
With this file you will be able to print Adjustable LED base with your 3D printer. Click on the button and save the file on your computer to work, edit or customize your design. You can also find more 3D designs for printers on Adjustable LED base.
