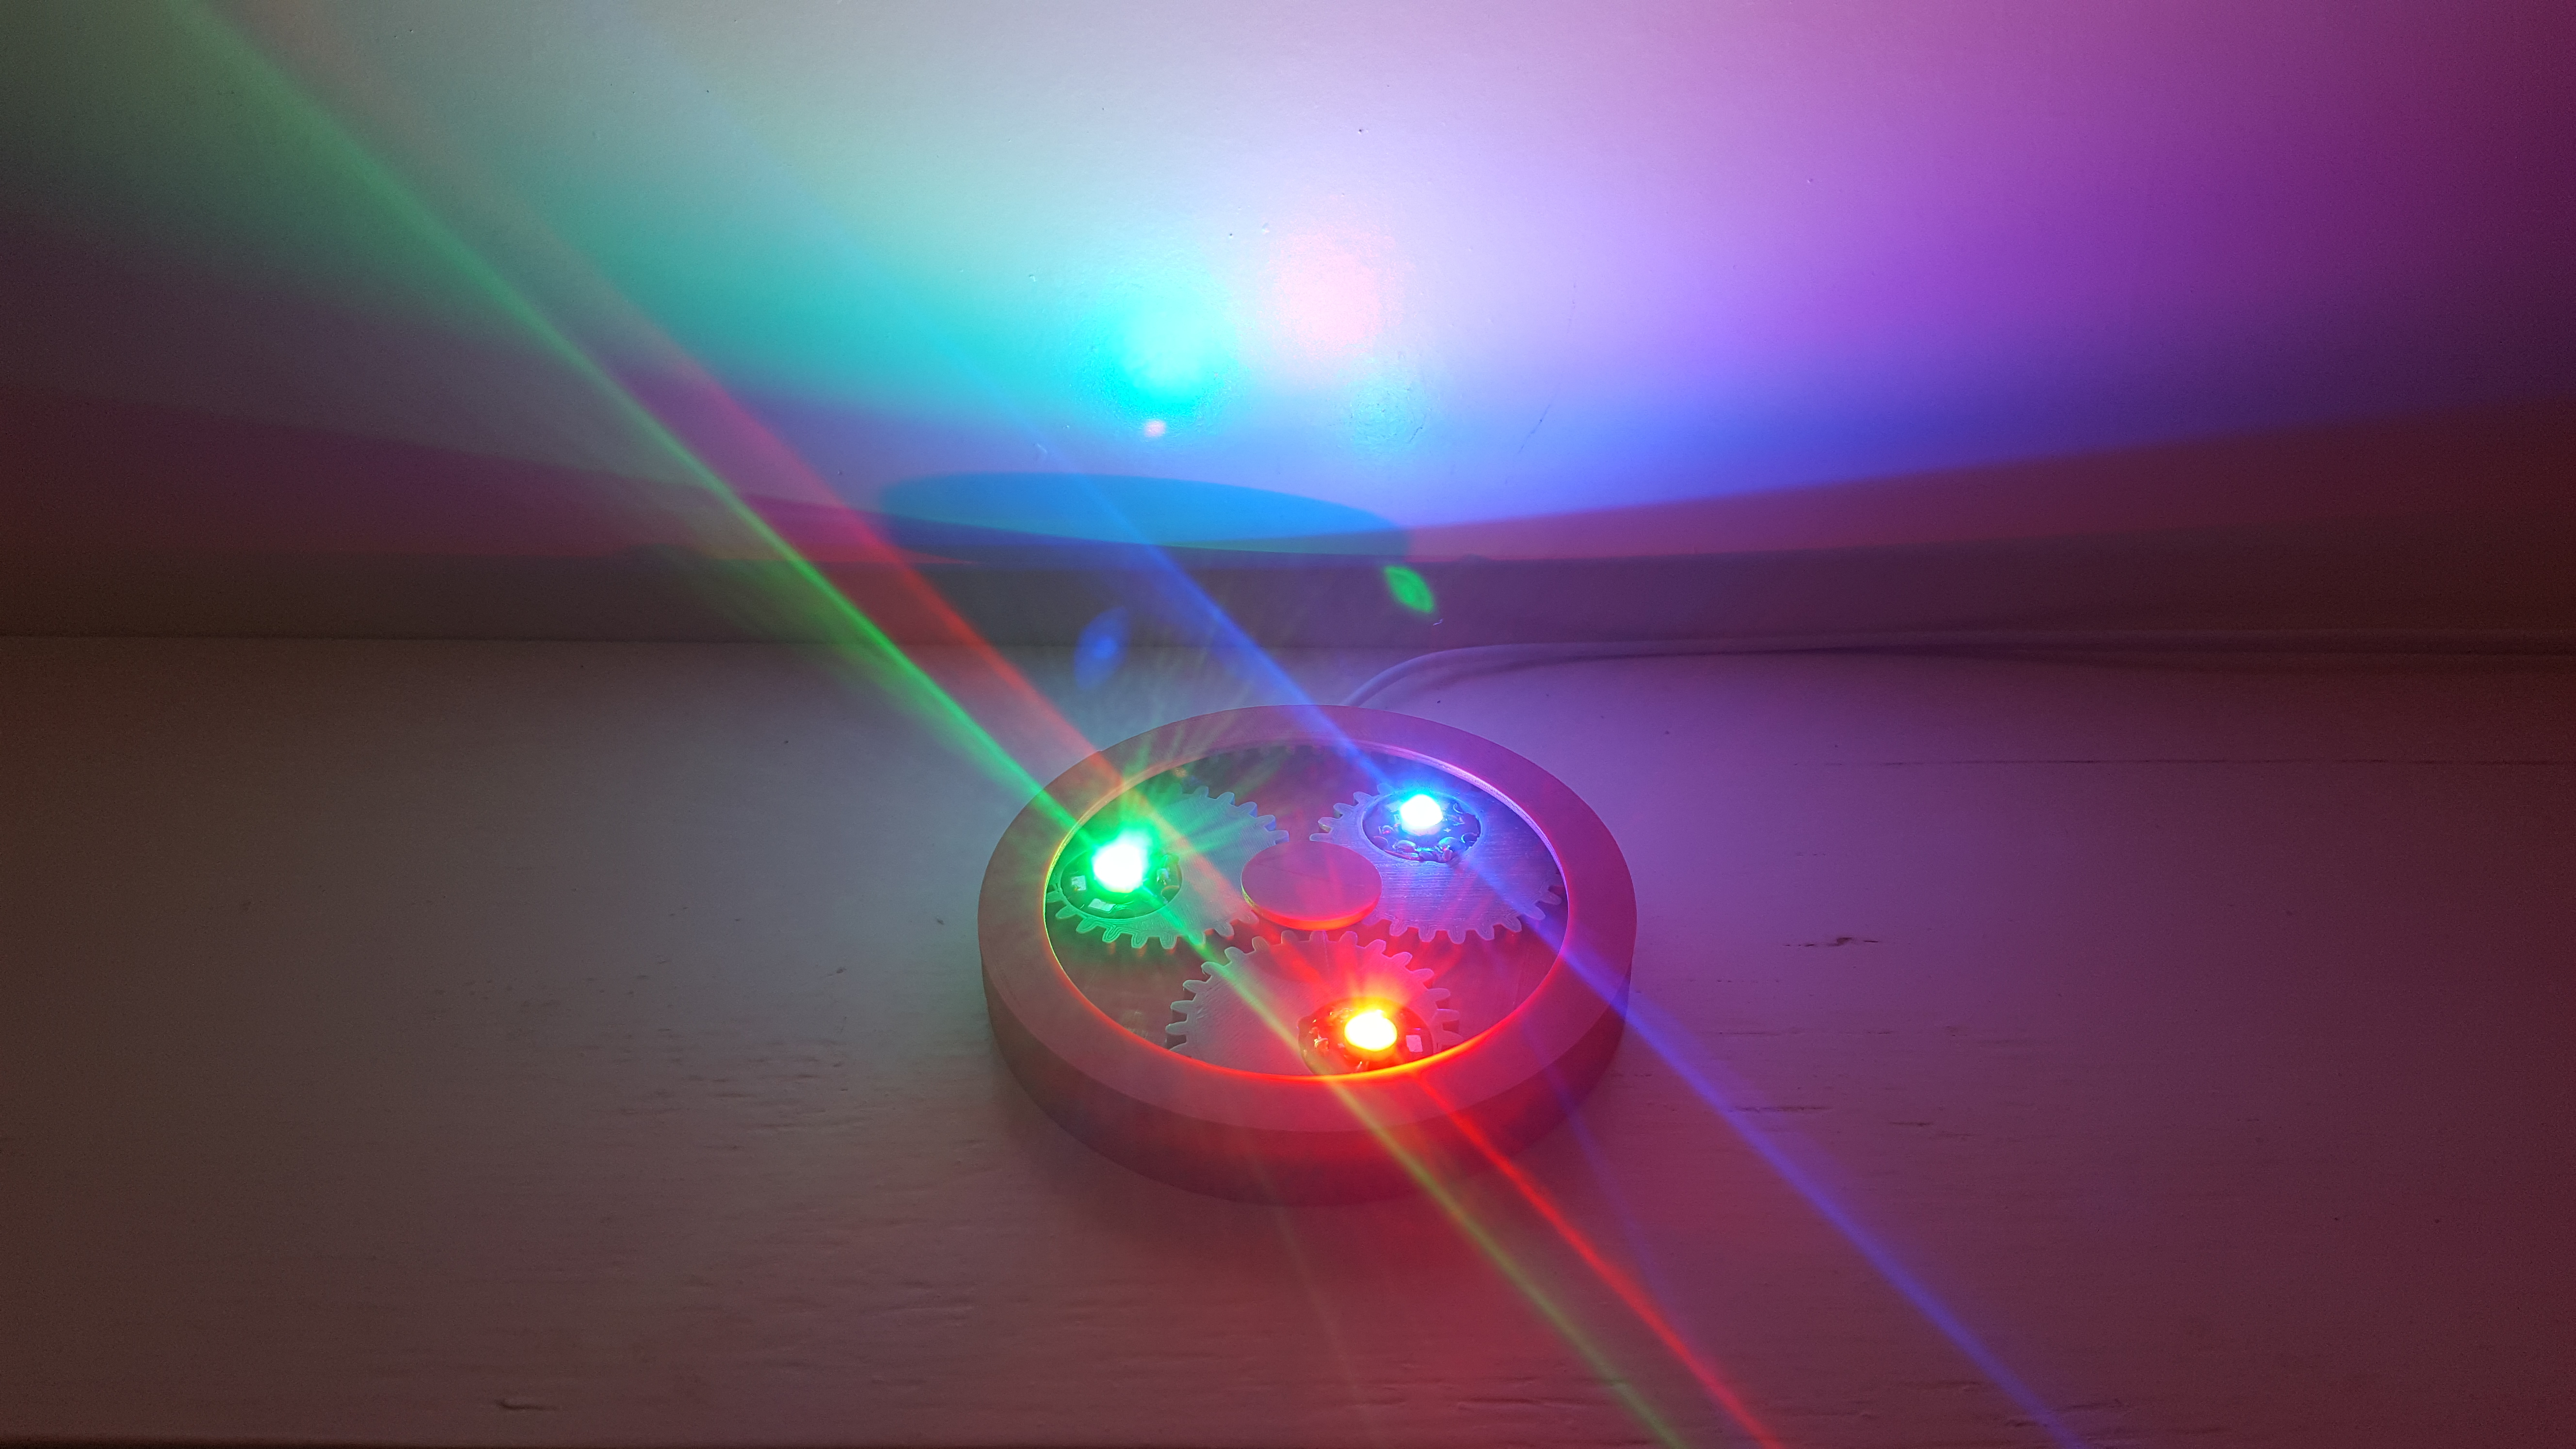
Adjustable LED base
myminifactory
Many people have asked me how I light my lampshades with a modern and sleek look. I simply use a trio of red, green, and blue LEDs offset from each other to create a unique ambiance. My old LED bases are handcrafted from wood and feature a minimalist design. Take a look at the picture below for inspiration. But now, I've created one that can be 3D printed with adjustable spacing between the LEDs. Simply turn the outer ring of the base to change the distance between them. The white adjustable base in the pictures features 3W LEDs with their own heatsinks, but they do get very hot. Make sure they have a clear path to radiate heat by drilling a hole into your lamp shade's base. Otherwise, they may melt the plastic. If you're using 1W LEDs without heatsinks, attach them to an aluminum plate using thermal glue as shown in the picture of my wooden base. Most of my photos feature bases with 1W LEDs. However, be aware that different LED types have varying voltages and currents, which affects resistor values. Use a resistor specifically designed for your power supply's voltage and the LED's specifications. In my case, I use a USB power adapter with 2.1A at 5V. Most red power LEDs operate at up to 2.3V, while green and blue LEDs operate at up to 3.6V. Check the manufacturer's documentation for current values. To calculate resistor values, refer to the example in one of my pictures below. I've calculated the resistors needed for 3W red, green, and blue LEDs, as well as 1W LEDs, but note that these values are only valid with a 5V power supply. For the 3W heatsink LEDs, I calculated the resistor value based on 700mA current: RED requires a 2.7V drop across the resistor, resulting in 3.86Ω resistance and 1.89W power dissipation. I used eight 33Ω /0.25W resistors in parallel. GREEN requires a 1.4V drop across the resistor, resulting in 2Ω resistance and 0.98W power dissipation. I used five 10Ω /0.25W resistors in parallel. BLUE also requires a 1.4V drop across the resistor, resulting in 2Ω resistance and 0.98W power dissipation. I used five 10Ω /0.25W resistors in parallel. For the 1W LEDs without heatsinks, I calculated the resistor value based on 434mA current: RED requires a 2.7V drop across the resistor, resulting in 6.22Ω resistance and 1W power dissipation. I used six 33Ω /0.25W resistors in parallel. GREEN requires a 1.4V drop across the resistor, resulting in 3.23Ω resistance and 0.6W power dissipation. I used five 10Ω /0.25W resistors. BLUE also requires a 1.4V drop across the resistor, resulting in 3.23Ω resistance and 0.6W power dissipation. I used five 10Ω /0.25W resistors. If you find this process too complicated, consider purchasing a standard LED driver for convenience. For more information on LED drivers and dimmers, visit: https://www.myminifactory.com/object/50305
With this file you will be able to print Adjustable LED base with your 3D printer. Click on the button and save the file on your computer to work, edit or customize your design. You can also find more 3D designs for printers on Adjustable LED base.
