Adjustable endstop for Z-axis on ShenzenTech Printer
prusaprinters
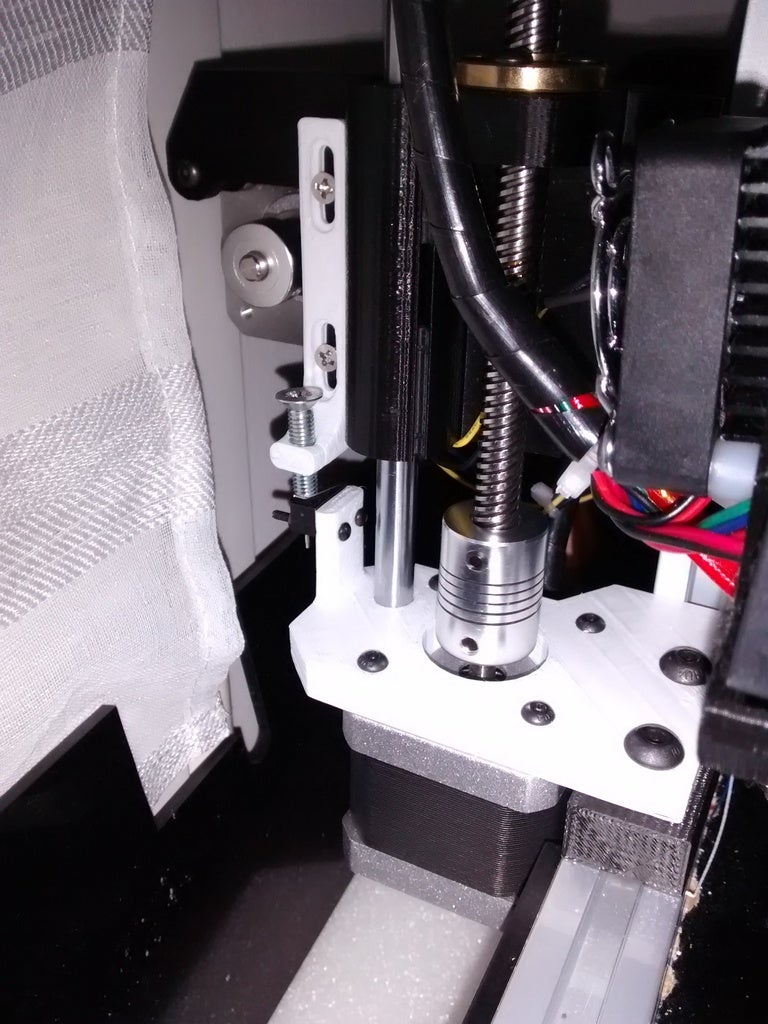
<p>A small modification to add an adjustable Z-Endstop to my ShenzenTech Printer.</p> <h3>Print instructions</h3><h3>Category: 3D Printer Parts Summary</h3> <p>A small modification to add an adjustable Z-Endstop to my ShenzenTech Printer.</p> <h3> Print Settings</h3> <p><strong>Printer:</strong></p> <p>Prusa i3 China Derivated</p> <p><p class="detail-setting rafts"><strong>Rafts: </strong> <div><p>Doesn't Matter</p></div><strong>Supports:</strong></div></p> <p>Doesn't Matter</p> <p><p class="detail-setting resolution"><strong>Resolution: </strong> <div><p>0.2</p></div><strong>Infill:</strong></div></p> <p>40%</p> <h3> Post-Printing</h3> <p><strong>Requirement</strong></p> <p><div><p>Adjustment:<br/> Every holes may need to be drill a little (While designing it I had considered it was best too tight than too loose)</p> <p>Parts needed:</p> <ul> <li>2x longer 3mm screw for the fixation to the X-carriage<br/> (for the original ShenzenTech X-carriage 22mm is OK)</li> <li>1x 5mm screw for the adjustment screw.<h3>How I Designed This</h3> </li> </ul> <p><strong>UPDATEs:</strong></p> <p>v1.4: Little positioning adjustment of the holes used to fix the support to the printer.<br/> v1.3: Better functional dimensioning to match the original ShenzenTech parts.<br/> (Having replace one part I was able to do fine measuring)<br/> v1.2: Adjustment of the endstop positioning vs motor's axis</p></div></p></p></p>
With this file you will be able to print Adjustable endstop for Z-axis on ShenzenTech Printer with your 3D printer. Click on the button and save the file on your computer to work, edit or customize your design. You can also find more 3D designs for printers on Adjustable endstop for Z-axis on ShenzenTech Printer.