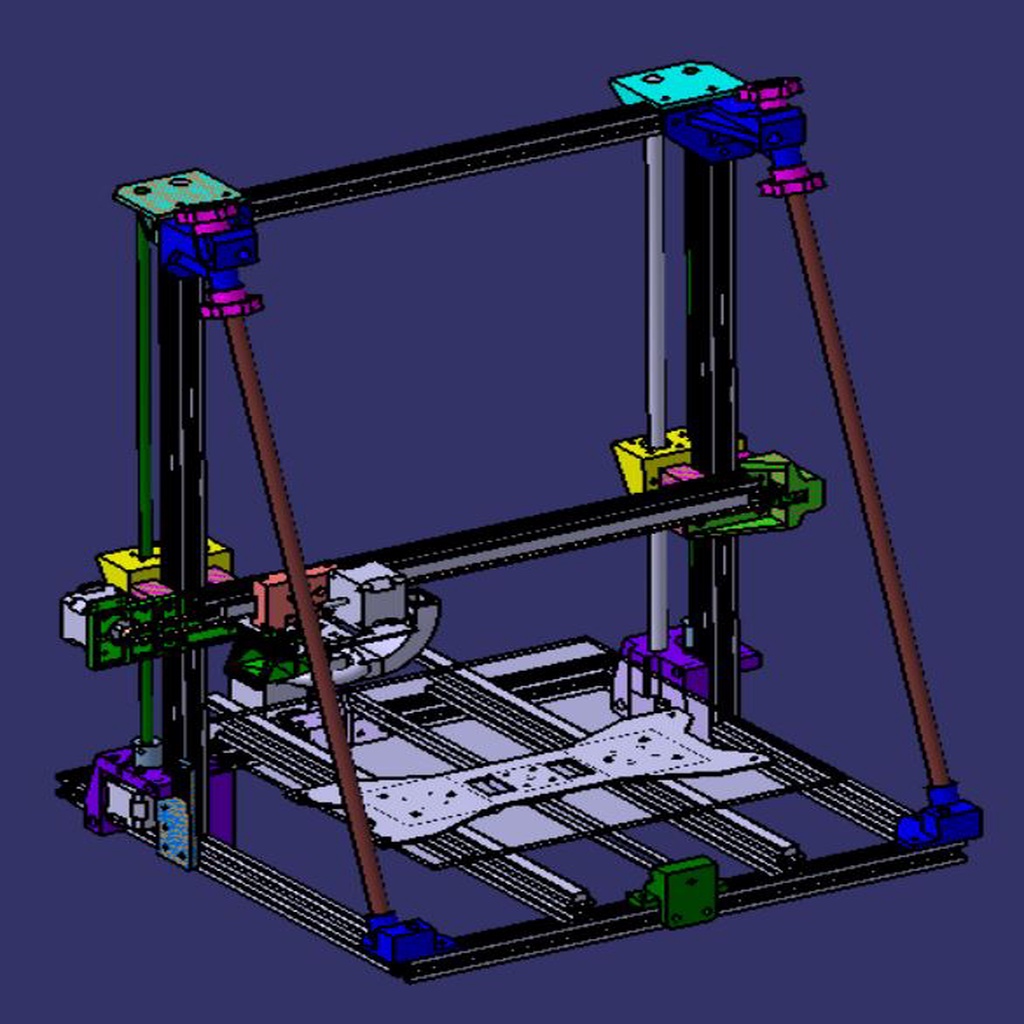
Adimlab Gantry Z linear rod
thingiverse
This manual is for Adimlab Grantry-Z Linear Rod. The required parts are two 12mm diameter by 550mm long linear rods and two LMK12UU linear bearings. Installation instructions follow: 1. Install the lower bracket, ensuring its top face aligns perfectly with the frame. 2. Attach the leadscrew bushing to the bracket and secure it to the front plate using two middle blocks. 3. Mount the linear bearing. 4. Insert the linear rod and lead screw. 5. Install the top bracket. 12/2: Additional Amazon links for parts have been added: https://www.amazon.com/gp/aw/d/B07MF15JQX/ref=ya_aw_od_pi?ie=UTF8&psc=1 https://www.amazon.com/gp/aw/d/B07H97FZMS/ref=ya_aw_od_pi?ie=UTF8&psc=1 01/18/2020: If you plan to install a linear rod, it is recommended that you follow the Adimlab Gantry Single Motor Dual Z Axis mod design for added stability. The mod can be found at https://www.thingiverse.com/thing:4055054
With this file you will be able to print Adimlab Gantry Z linear rod with your 3D printer. Click on the button and save the file on your computer to work, edit or customize your design. You can also find more 3D designs for printers on Adimlab Gantry Z linear rod.
