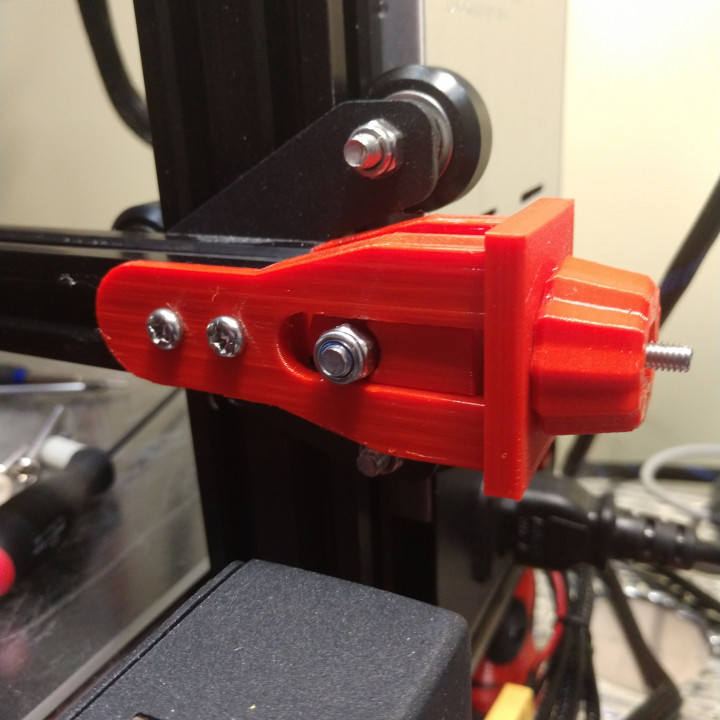
Adimlab Gantry-S X Axis Tensioner
myminifactory
This is a remix of CR-10 X-Axis Tensioner" by donnyb99 on Thingiverse. I didn't change that much, I really liked the design and the things I changed were mainly just to make this work on the Adimlab Gantry-S printer. The main thing I remixed was to add mount holes for the Adimlab Gantry-S. I also changed the tension screw and nut to fit M4 hardware. To install: Remove the two mount screws from the factory bracket. Keep these screwsRemove the hardware for the idler. Keep this hardwareNote that the hole in the pulley is offset slightly and it goes towards the back of the printer. Put the M4 x 25 or M4 x 30 screw into the pulley. Install a backing screw from the other side to keep this screw from spinning. You could also use an M4 with a bolt type hex end if you can find one.Put the belt around the idler and install it on the pulley. Be careful of the belt orientation.Slide the bracket onto the end of the 2020 extrusion and use the factor screws to install.You may have to take the belt off of the x stepper for slack. Slide the pulley into the bracket. If you took the belt off of the x stepper put it back on.Put the endcap on. Note that it only goes on one way.Push an M4 nylock nut into the knob and screw the knob onto the tension screw.Check everything over and adjust the belt.Hardware needed:2 screws to mount to the x gantry 2020 extrusion. Use the original factory screws.Also use the original M5 screw and locknut for the idler bearing to attach it to the pulley.M4 x 25 or M4 x 30 screw and a backing nut to keep this screw from spinning.M4 nylock nut to insert into the knob.
With this file you will be able to print Adimlab Gantry-S X Axis Tensioner with your 3D printer. Click on the button and save the file on your computer to work, edit or customize your design. You can also find more 3D designs for printers on Adimlab Gantry-S X Axis Tensioner.
