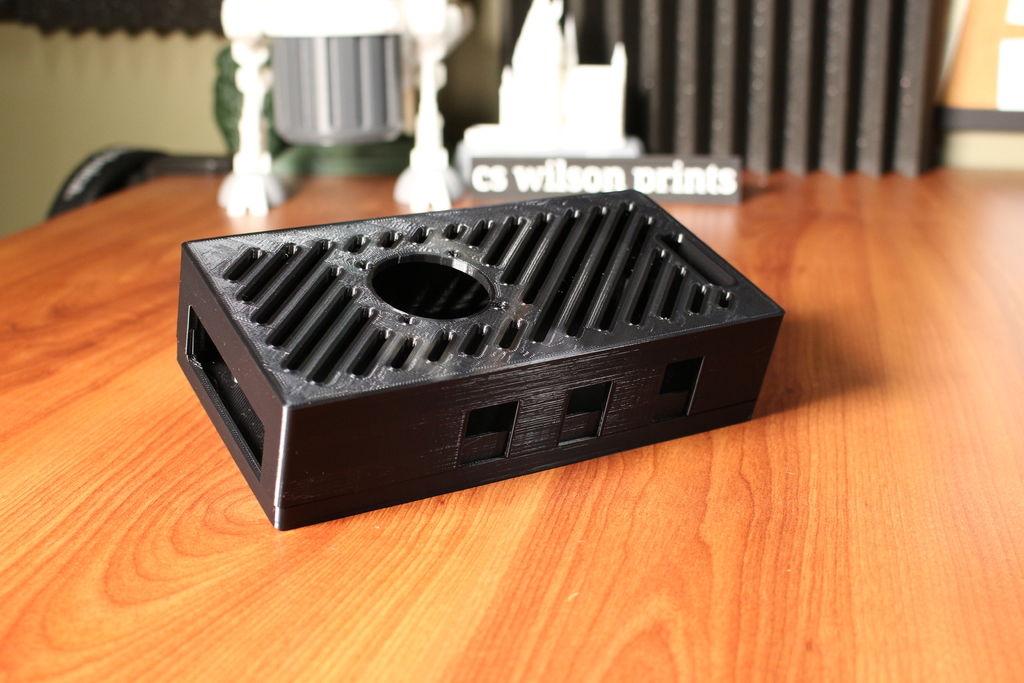
ADIMLab Gantry Mainboard Enclosure
thingiverse
I designed a new-style mainboard enclosure for the ADIMLab Gantry, specifically tailored to the "white board" Gantry model, but it may also work with the "black board" Gantry. Unfortunately, I don't have access to a "black board" Gantry to test its compatibility. The design does not support the mainboard used in the Gantry Pro. I was fed up with traditional enclosures that required me to install the mainboard first and then plug everything in from behind. With the 40mm cooling fan installation, I had to completely unplug all connections and remove the board just to replace it. This motivated me to create a better design. The new enclosure has two components: the bottom "tray" and the top "shell." Remove the 40mm fan from the mainboard and install it on the shell. Then, place the mainboard in the tray and connect all wires. Alternatively, you can hook up all the wires first and then install the entire assembly into the tray - either approach works. Two versions of the tray are included: one with M3 threaded inserts ready to install, and another with holes for M3 screws. The M3 screws should create their own threads; I recommend "threading" the holes before installing the mainboard. This is the initial version of this enclosure design, so future modifications may be made based on feedback. If you have any suggestions about improving the design, please share them and I might incorporate your ideas into the next revision.
With this file you will be able to print ADIMLab Gantry Mainboard Enclosure with your 3D printer. Click on the button and save the file on your computer to work, edit or customize your design. You can also find more 3D designs for printers on ADIMLab Gantry Mainboard Enclosure.
