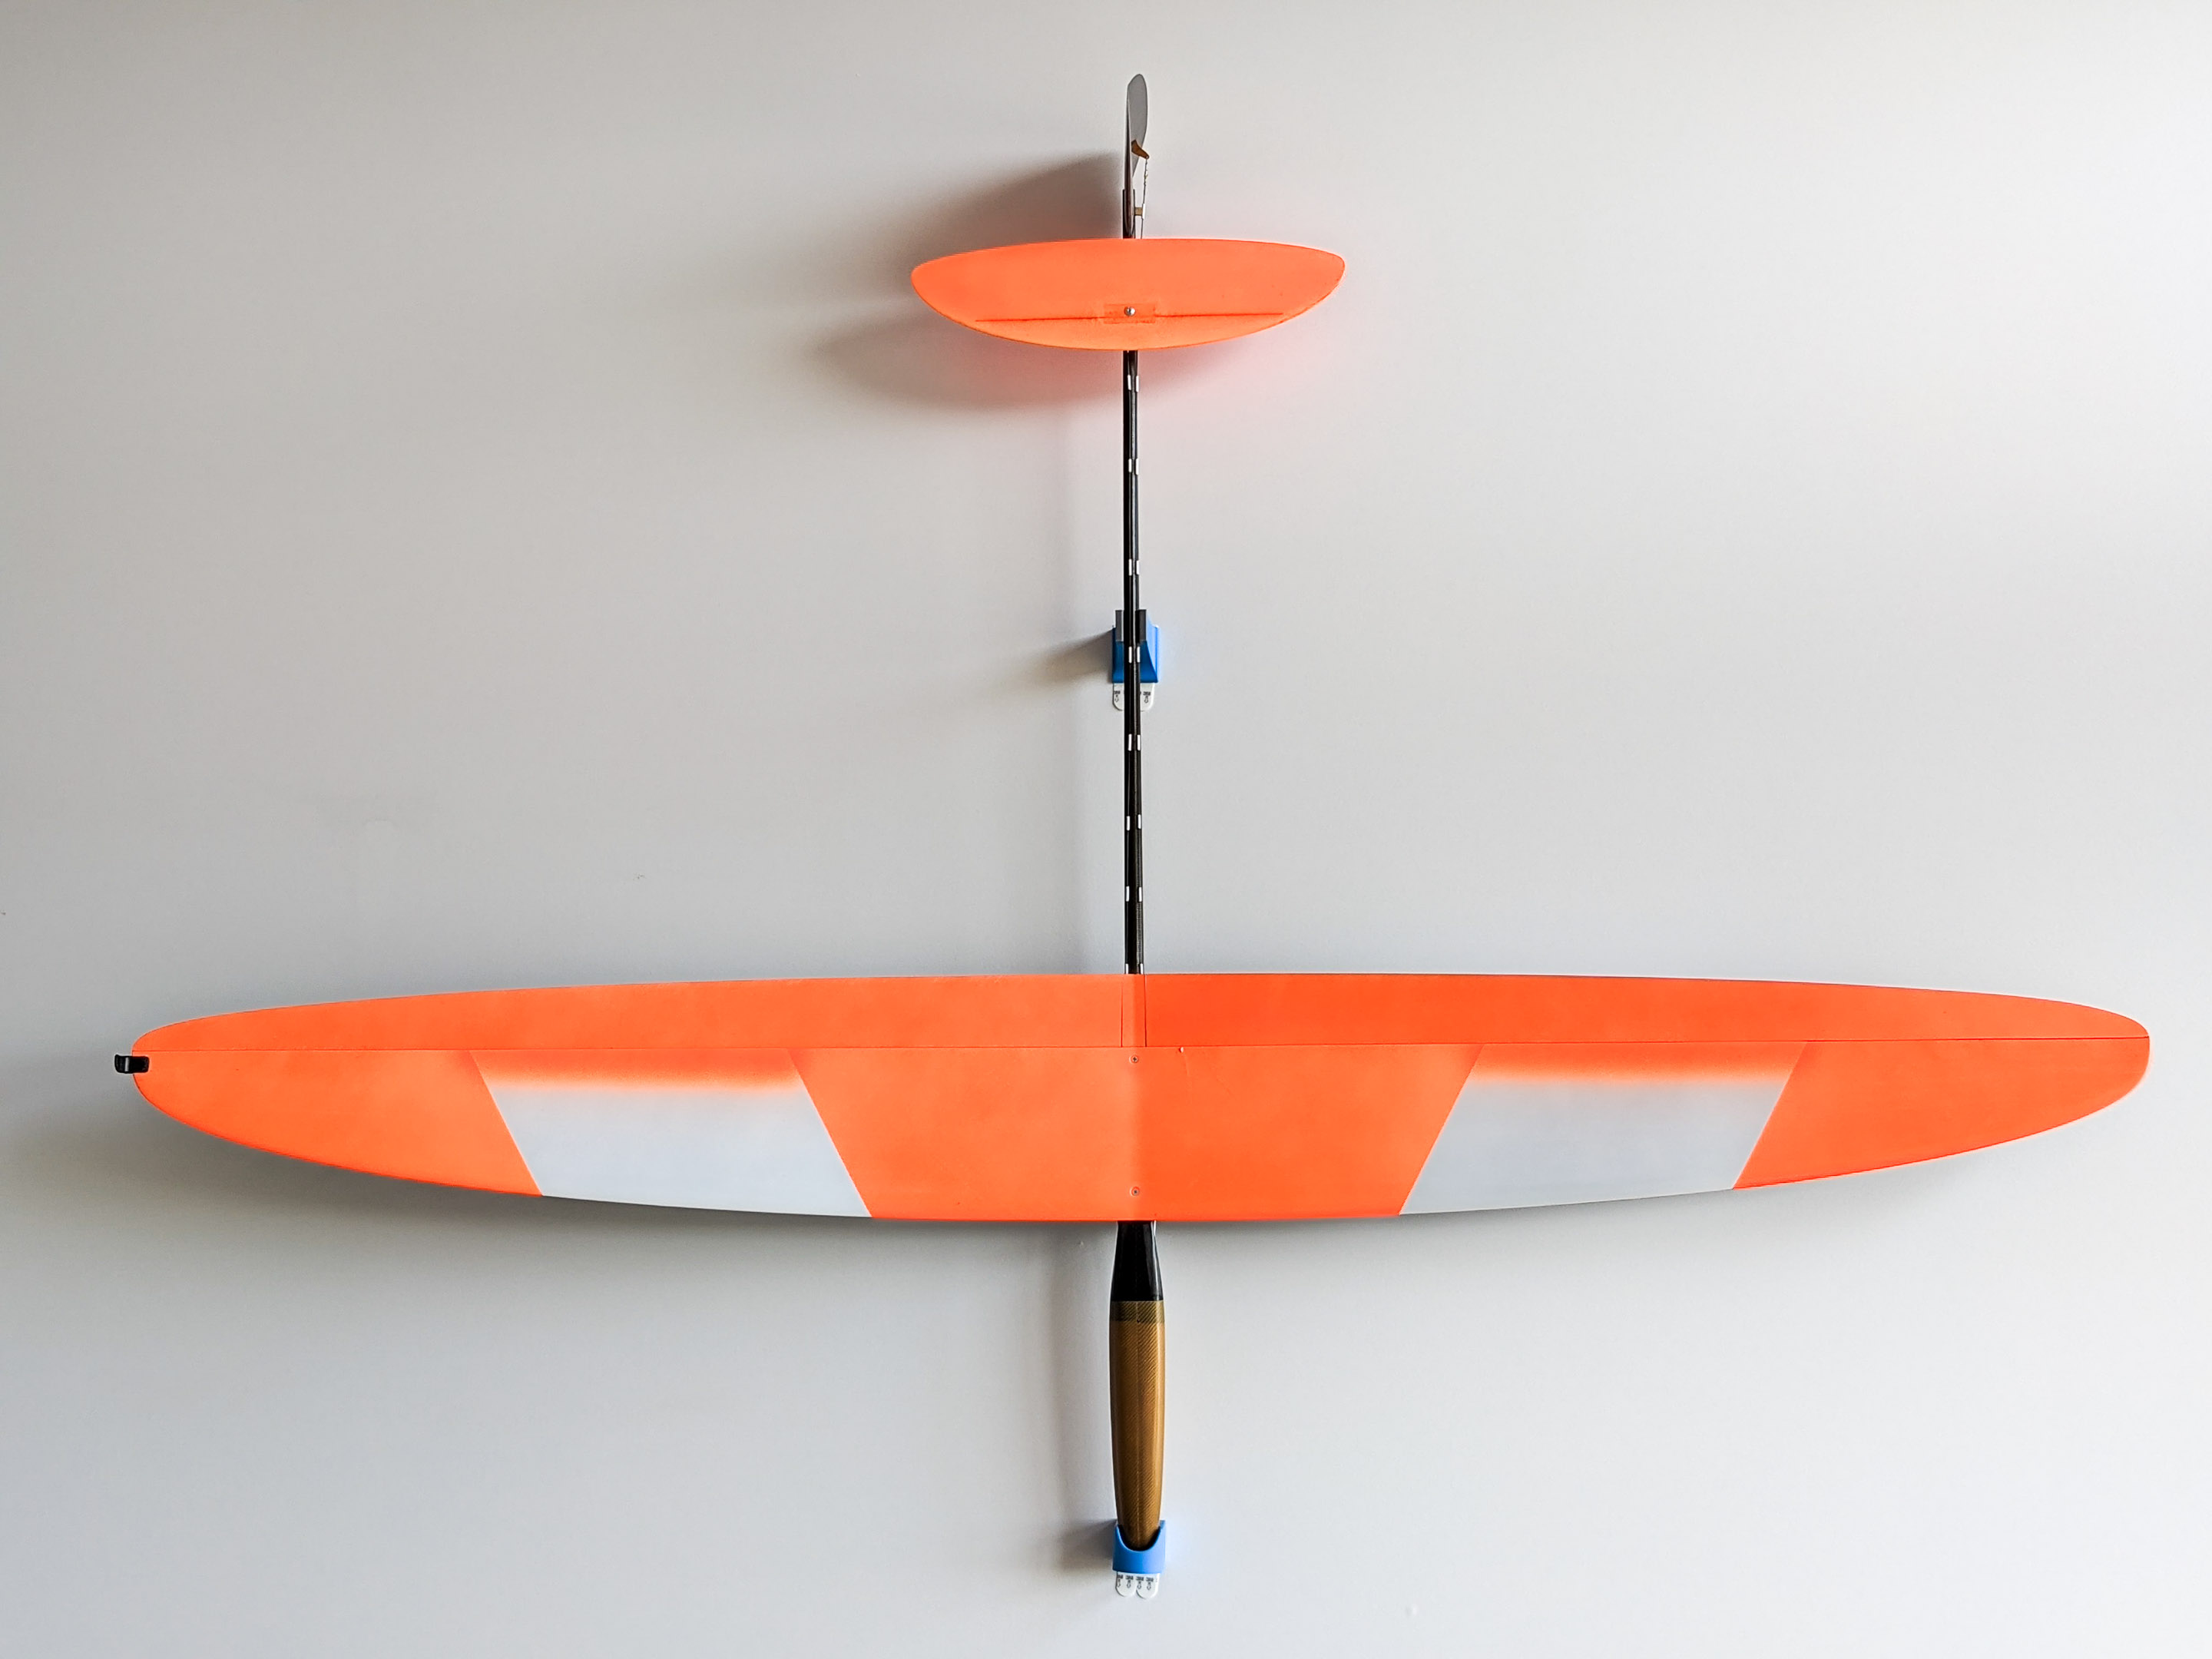
Adhesive wall mount for Blaster 3 DLG
prusaprinters
<p>This adhesive wall-mount hanger for a Blaster 3 DLG RC glider sticks to the wall using 4 "3M Command Medium Refill strips" (mine were rated at 1.3kg of holding power each).</p> <p>Print the nose cup, clamp and wall plate in PLA or PETG plastic in the orientations shown in the screenshots above. Layer height, infill and perimeter settings are not critical for these ones.</p> <p>The Pad 1 and Pad 2 files are for the soft pads that will clamp the tail boom, so they need to be printed using a flexible filament. I'm using Flexfill 98A. 2 perimeters, 0% infill.</p> <p>I've included the Fusion 360 .f3d file so you can edit it as needed.</p> <h3>Print instructions</h3><p>This adhesive wall-mount hanger for a Blaster 3 DLG RC glider sticks to the wall using 4 "3M Command Medium Refill strips" (mine were rated at 1.3kg of holding power each).</p> <p>Print the nose cup, clamp and wall plate in PLA or PETG plastic in the orientations shown in the screenshots above. Layer height, infill and perimeter settings are not critical for these ones.</p> <p>The Pad 1 and Pad 2 files are for the soft pads that will clamp the tail boom, so they need to be printed using a flexible filament. I'm using Flexfill 98A. 2 perimeters, 0% infill.</p> <p>I've included the Fusion 360 .f3d file so you can edit it as needed.</p> <p><strong>Assembly</strong></p> <p>Use superglue to glue the two TPU pads into the clamp - I was able to jam a tapered screwdriver handle into the clamp to press the pads against the walls of the clamp while the glue set.</p> <p>The screwholes in the wall-plate that allow it to join to the clamp are 2.5mm in diameter, and are intended to be tapped to M3. Tap both these holes, and use 2x M3 screws (12mm or so seems like a good length) to attach the clamp to the wall plate.</p> <p>Sand the surfaces that will stick to the wall (to give the adhesive something to grab onto), then clean the print with isopropyl alcohol.</p> <p>Stick two Command Strips to each of the Nose Cup and Wall Plates (4 strips in total).</p> <p>Now follow the directions on the Command Strips to stick the nose cup to the wall at the height you want it.</p> <p>Push the clamp onto the tapered tail boom at a position that will hold the glider firmly, but take care not to clamp it onto an area where the sides of the clamp will shear your pushrods off the boom! Stand the glider up in the cup and note where tail clamp needs to end up on the wall, stick it there following the directions and carefully remove the glider from it so it isn't stressed during its 1 hour curing time.</p>
With this file you will be able to print Adhesive wall mount for Blaster 3 DLG with your 3D printer. Click on the button and save the file on your computer to work, edit or customize your design. You can also find more 3D designs for printers on Adhesive wall mount for Blaster 3 DLG.
