Add lights to your Ender 3 build area with no hanging wires - quick print
thingiverse
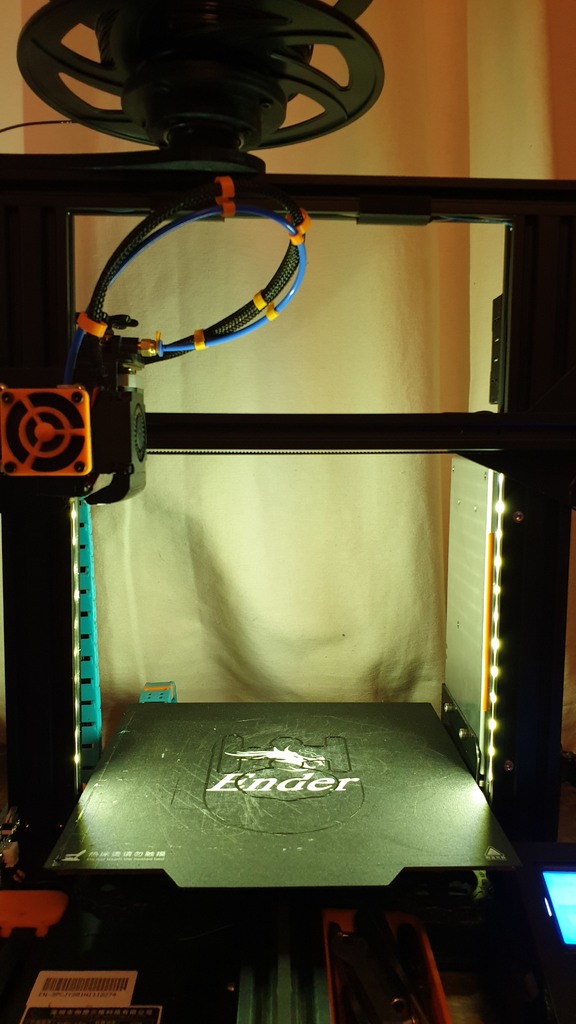
LED strip lighting fits perfectly into the roller channels on my Ender 3's extrusion, a convenient feature that immediately caught my attention. I had been browsing various light bars and scenarios for quite some time but was always hesitant due to the lengthy two-hour print time and tangled wires. I decided to tackle this issue by running some wires along the underside of the top rail and down each side, where the Z-axis roller wheels travel, all the way to the lights. This setup ensures that my waterproof LED strip doesn't interfere with the rollers in any way and provides excellent illumination for the build area. However, I found the initial brightness level a bit overwhelming, so I created a paper screen to diffuse the light effectively. Furthermore, I adjusted the voltage on my Buck Converter until the lights reached a perfect balance between brightness and eye-straining intensity. To prevent electrical shorts from occurring due to moisture or other factors, it's essential to properly insulate the free ends of the LED strip and all wire connections from the frame. For this purpose, I used heatshrink tubing as it adds minimal bulk while effectively protecting against shorts. As an added note, printing the clips required approximately 25 minutes of time.
With this file you will be able to print Add lights to your Ender 3 build area with no hanging wires - quick print with your 3D printer. Click on the button and save the file on your computer to work, edit or customize your design. You can also find more 3D designs for printers on Add lights to your Ender 3 build area with no hanging wires - quick print.
