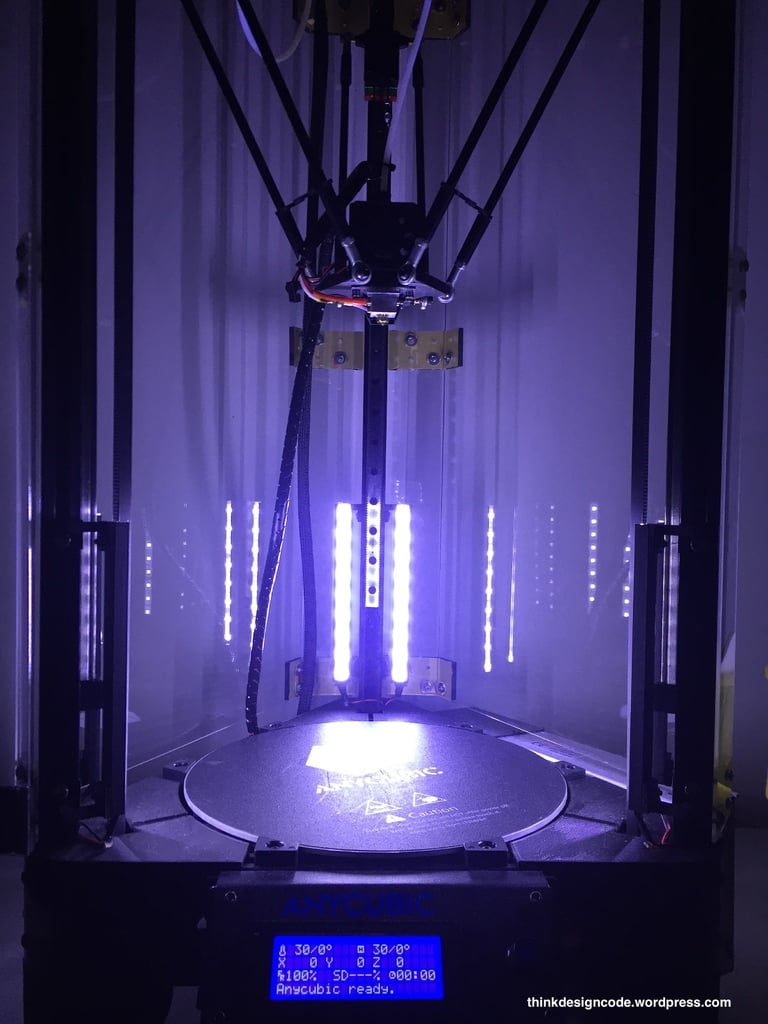
Add light for Delta / Kossel 3D printer
thingiverse
I'm excited to share with you my project of adding LED lights to my Anycubic Kossel Linear Plus 3D printer. This modification makes it easier for me to check if I need to print overnight. To start, gather the following materials: * 6x LED stripes (12VDC, width: 1cm, length: 15cm each) * M3x10mm bolts and M3 T-nuts * Wires Next, print the necessary parts using your 3D printer. You will need to print 6 of each part: * Part01 * Part02 * Part02_Mirror Now, let's go through the steps to add LED lights to your 3D printer: Step 1: Cut the LED stripes into six equal pieces, each 15cm long. Step 2: Solder all six LED stripes together. Step 3: Connect the wires for the LED stripes. Step 4: Create a small board to attach the LED stripes, power supply, and switch. Step 5: Connect and test the LED stripes. Step 6: Cover the circuit board with thick tape. Step 7: Attach the board to the frame using M3 bolts and T-nuts. Step 8: Remove the heated bed and connect the LED stripes to the small board. Step 9: Attach the LED holders to the 3D printer frame. Step 10: Use super glue to attach the LED stripes to their holders. Step 11: Connect the LED lights to the power supply. Step 12: Place the ON/OFF switch in a convenient location. And that's it! You have successfully added LED lights to your 3D printer.
With this file you will be able to print Add light for Delta / Kossel 3D printer with your 3D printer. Click on the button and save the file on your computer to work, edit or customize your design. You can also find more 3D designs for printers on Add light for Delta / Kossel 3D printer.
