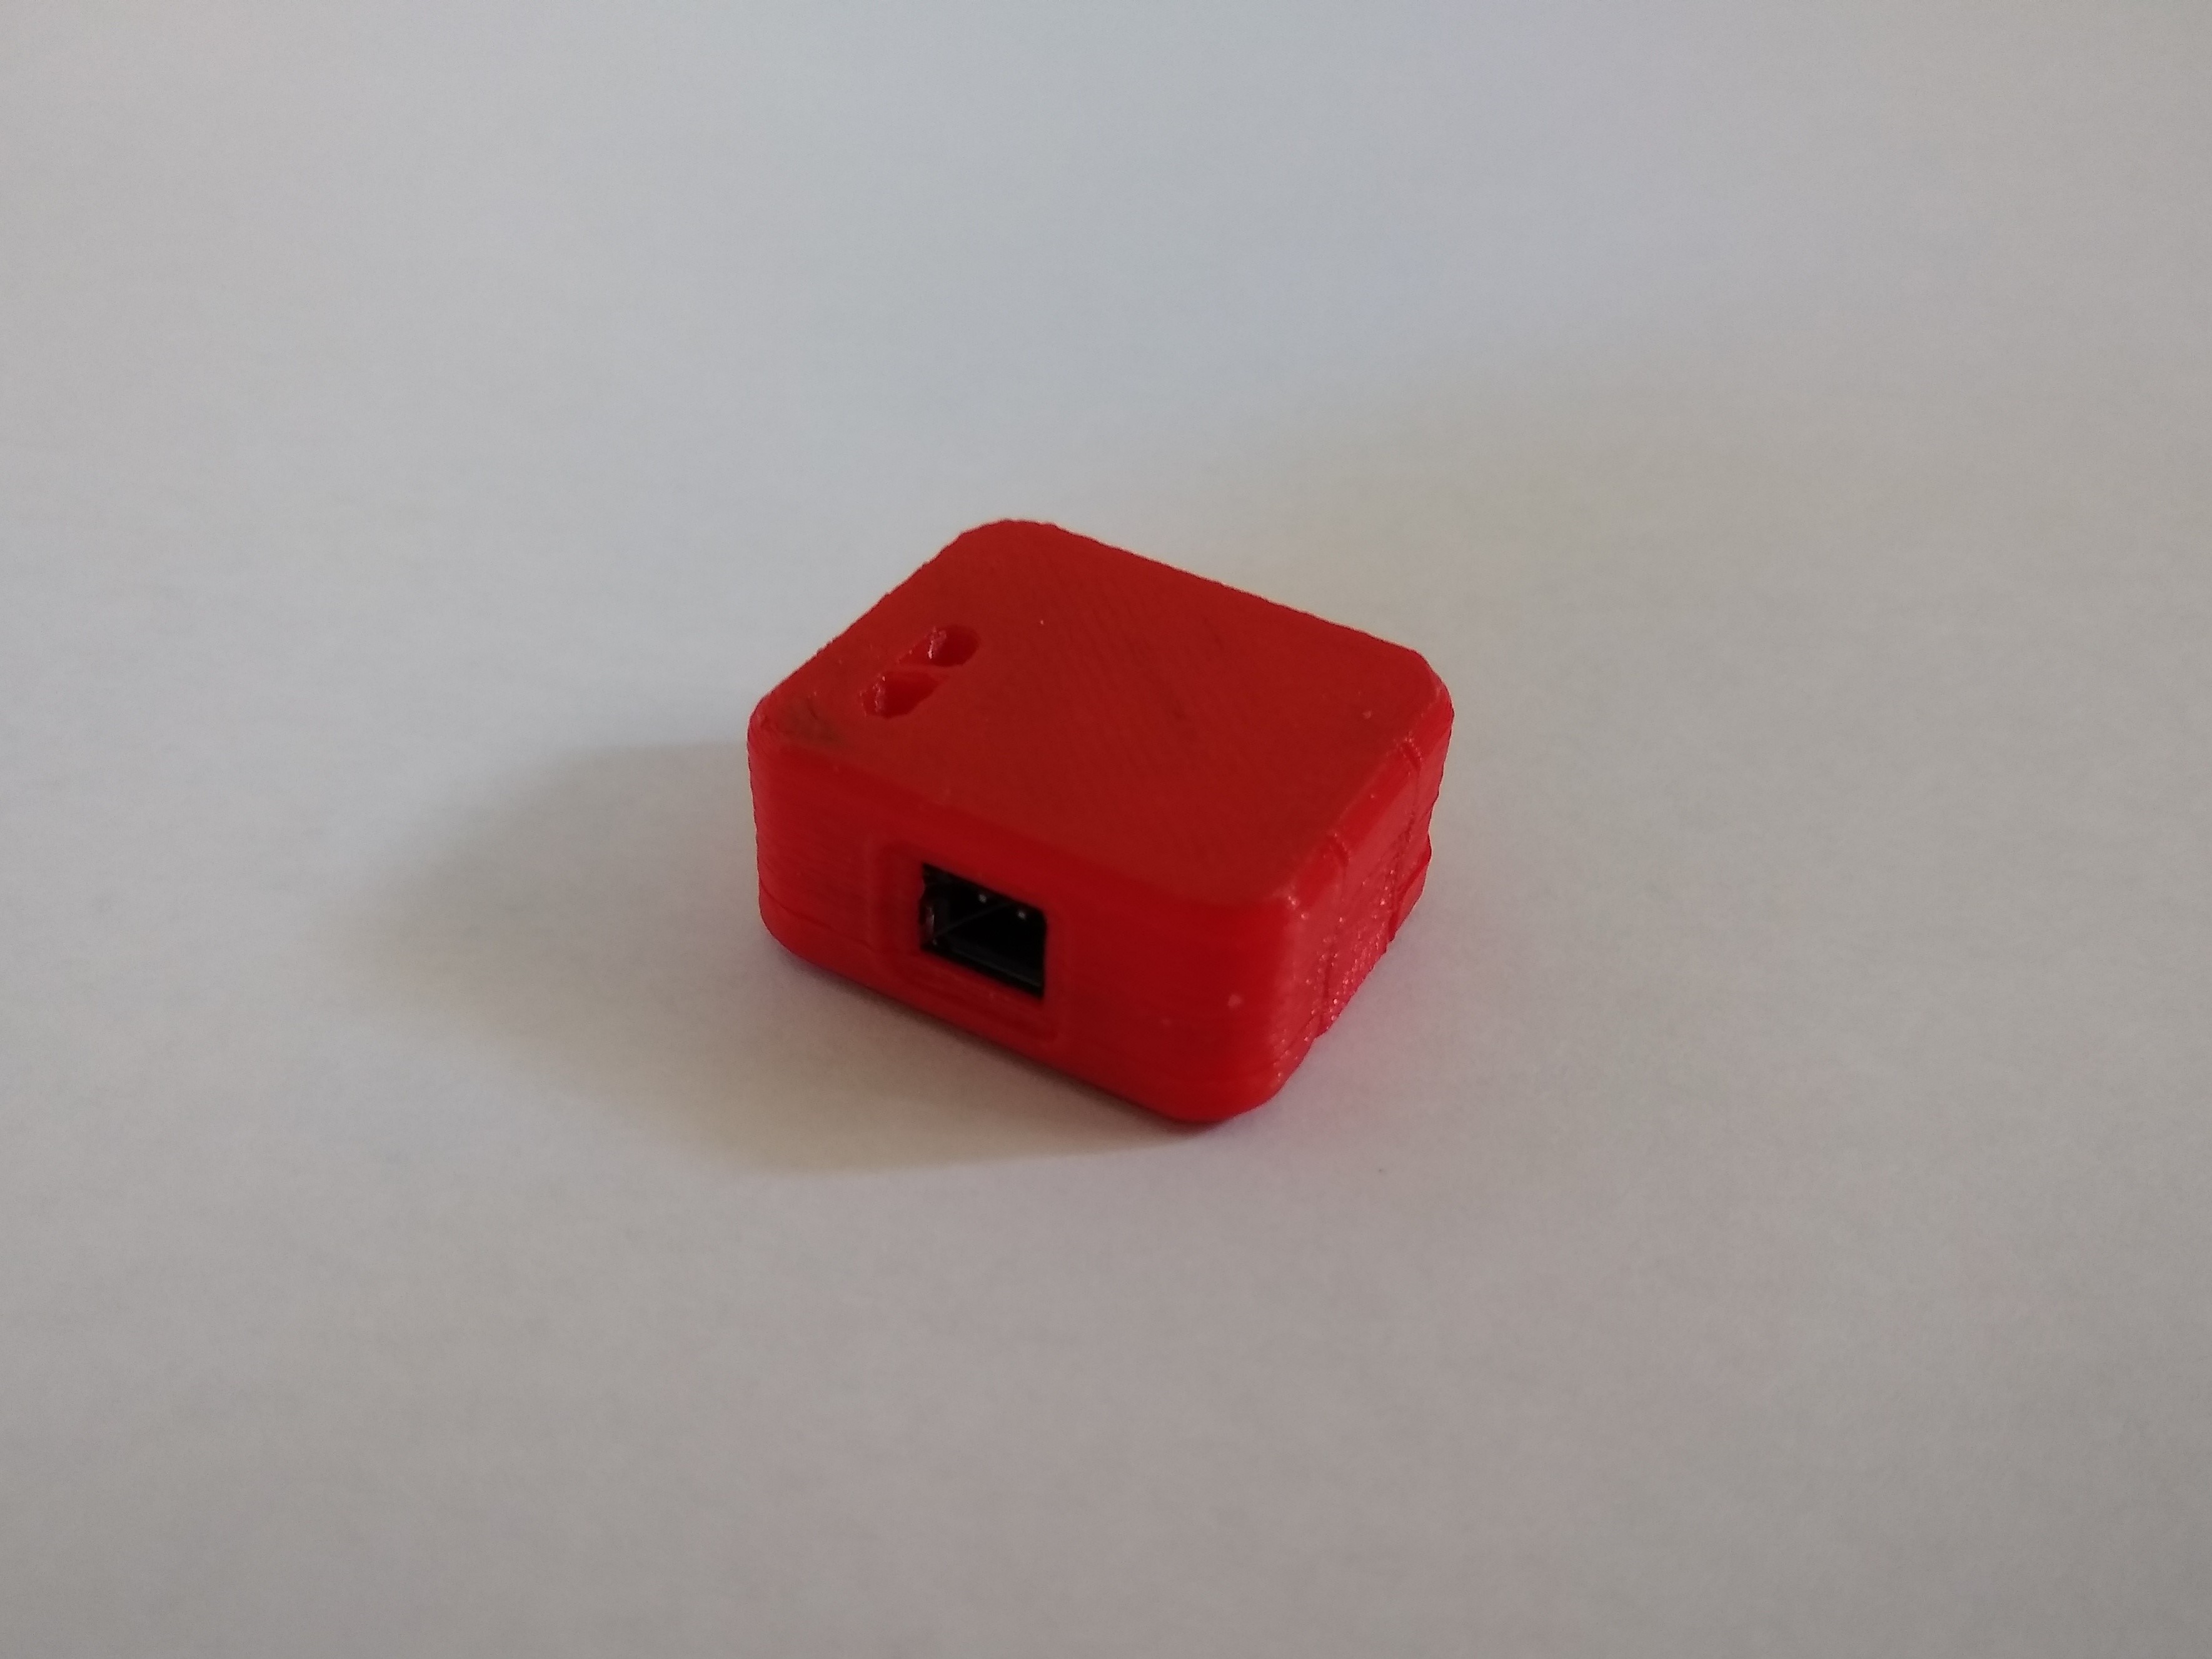
Adafruit MicroLiPo Charger Enclosure
prusaprinters
<p>(Originally Uploaded to Thingiverse February 02, 2020)</p> <p>I know these little chargers are used in projects, but sometimes you just want a little dedicated LiPo battery charger. Since I'm cautious about exposed electronics, (regardless of the current and voltage) I designed a tiny enclosure for this board, to be used as a standalone battery charger.</p> <p>The enclosure is 100% 3D printed; no screws or adhesives are necessary to keep the enclosure casing halves together. Simply place the PCB in the correct orientation, and snap the top casing to the bottom.</p> <p>There is a split viewing port on top of the case for the LED indicators to be seen through, as well as a port on the bottom... to see the Adafruit flower logo. :D</p> <p>(Piss off I like the logo.)</p> <h3>Print instructions</h3><p>Print Settings:</p> <p>Material: PLA<br/> Extruder: 208C<br/> Bed: 54C<br/> First Layer Print Height: .24mm<br/> Standard Layer Height: .2mm<br/> Wall Thickness: .40<br/> Wall Perimeters: 2<br/> Infill: 18%<br/> Infill Pattern: Gyroid<br/> Material Flow: 100%</p>
With this file you will be able to print Adafruit MicroLiPo Charger Enclosure with your 3D printer. Click on the button and save the file on your computer to work, edit or customize your design. You can also find more 3D designs for printers on Adafruit MicroLiPo Charger Enclosure.
