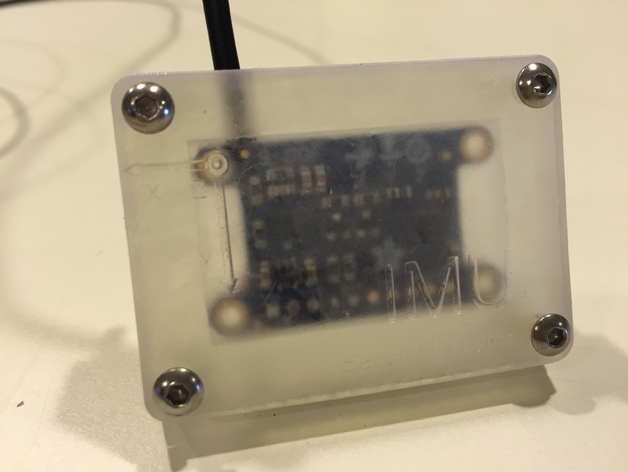
Adafruit IMU case
thingiverse
This is a sturdy housing designed for your new nine degree-of-freedom inertial measurement unit (IMU) from Adafruit. I employed the IMU found here: https://www.adafruit.com/products/1714, but others should work just as well. If you're unsure what an IMU does, visit my site which explains many common sensors in detail at http://secondrobotics.com/its-all-about-the-sensors/. I printed this on a Formlabs Form 1+, so you'll need to use an SLA to print the fine details of the letters and IMU key diagram. Enjoy! Post-Printing Expose it to direct sunlight for several hours to cure the UV. If you want it crystal clear, sand it down to a very fine grit using sandpaper and apply Novus plastic polish or cork. Solder four wires to these pins: GND, VIN, SCL, SDA. Feed them through the wire hole and carefully align the IMU with the plastic pegs on the bottom case. Seal the wire hole with hot glue or resin/UV light. Use 3mm hex head screws to secure it all together.
With this file you will be able to print Adafruit IMU case with your 3D printer. Click on the button and save the file on your computer to work, edit or customize your design. You can also find more 3D designs for printers on Adafruit IMU case.
