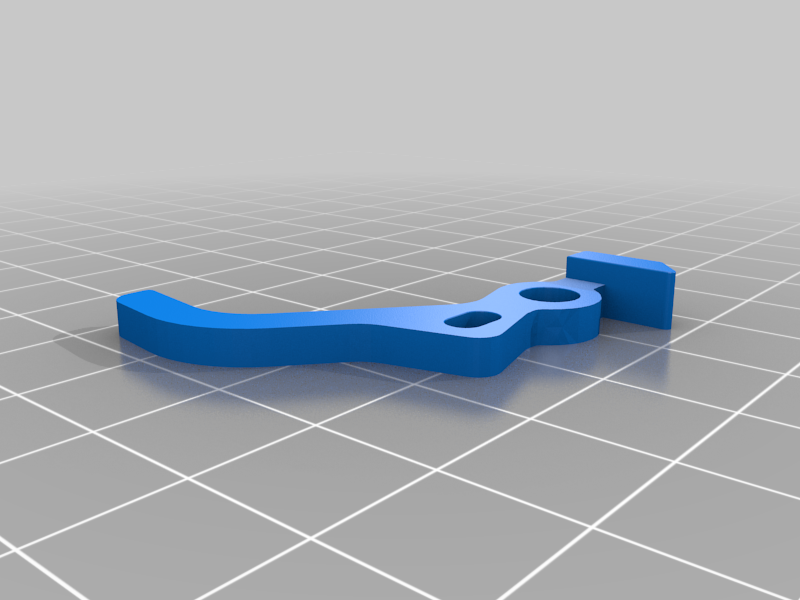
ADA Laser level part
thingiverse
Here's a detailed explanation of the repair process for an ADA-compliant 2D basic level laser level fixing mechanism. A FreeCAD model is also provided to facilitate understanding and modification. The fixing mechanism is designed to be adjustable, allowing for precise leveling in various environments. It consists of a main housing that contains several key components. The first is a rotating axis, which enables the user to adjust the angle of the laser beam. This axis is secured by a set screw, ensuring it remains stable during use. Next, we have the adjustment mechanism itself, comprising a series of gears and levers. These work together to fine-tune the laser's position, guaranteeing accurate leveling every time. The entire assembly is supported by a sturdy base plate, which provides stability and prevents movement during operation. The FreeCAD model provided illustrates each component in exquisite detail, making it easy to visualize and understand the inner workings of this mechanism. By examining the model, users can see how each part interacts with others, facilitating a deeper understanding of the repair process. To begin repairing the fixing mechanism, start by removing any external components that may be obstructing access to the internal parts. This could include screws or clips holding the laser level in place. Once these are removed, you'll be able to access the main housing and its contents. Next, inspect the rotating axis for any signs of wear or damage. If it's damaged, replace it with a new one to ensure proper function. Secure the new axis using the set screw provided. Make sure it's tightened firmly but avoid over-tightening, which could cause damage to surrounding components. Moving on to the adjustment mechanism, examine each gear and lever for any signs of wear or misalignment. If you find any issues, replace the affected parts with new ones to maintain accurate leveling. The gears should mesh smoothly together, while the levers should move freely without sticking. Finally, reassemble all components in reverse order of disassembly, ensuring that each part is securely fastened. This may involve tightening screws or clips to prevent movement during operation. With these steps completed, your ADA-compliant 2D basic level laser level fixing mechanism should be fully functional and ready for use. The FreeCAD model provided serves as a valuable resource, allowing users to visualize and understand the repair process in greater detail.
With this file you will be able to print ADA Laser level part with your 3D printer. Click on the button and save the file on your computer to work, edit or customize your design. You can also find more 3D designs for printers on ADA Laser level part.
