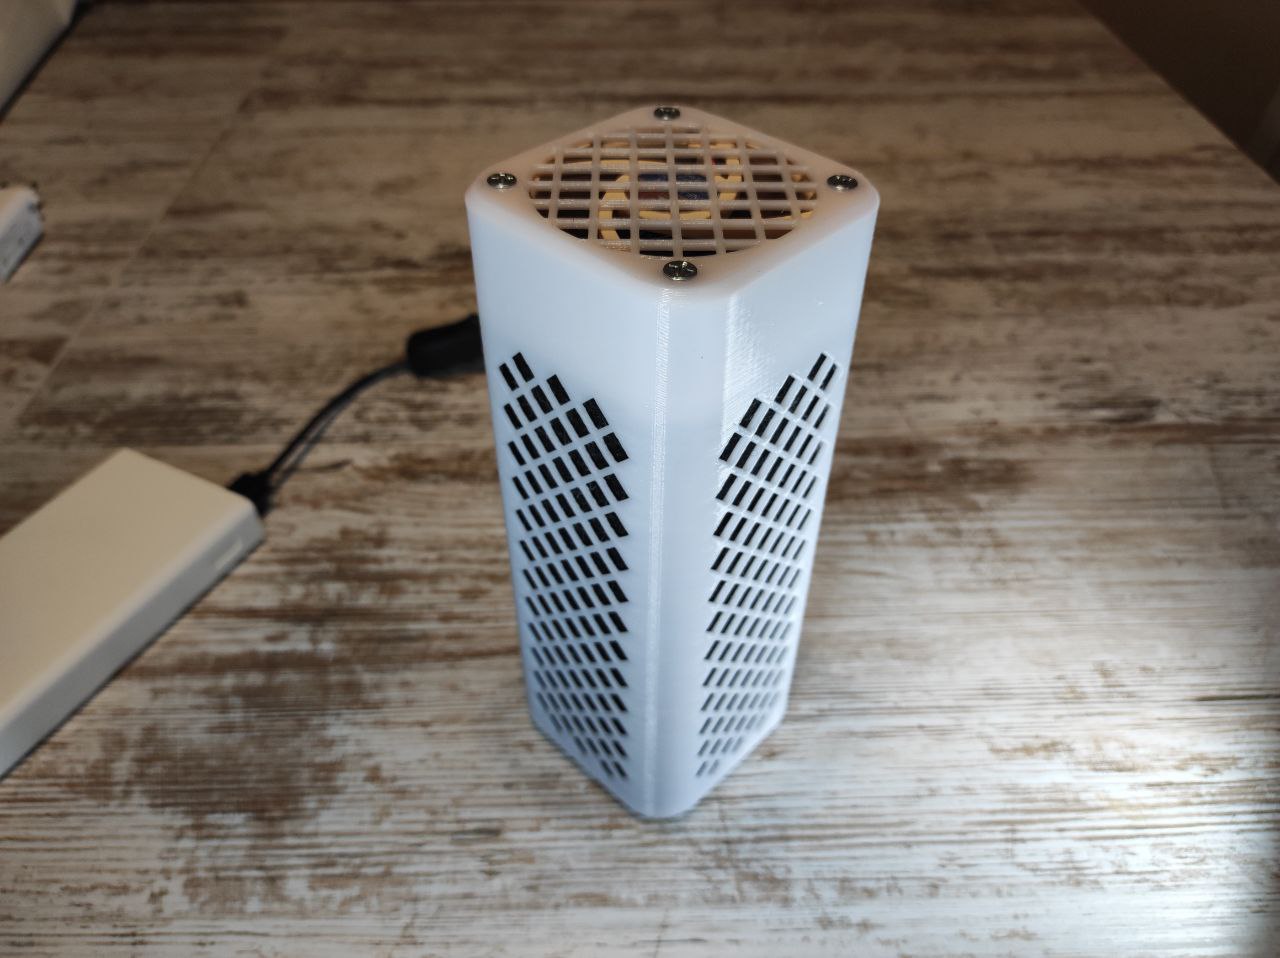
Activated Carbon Filter
prusaprinters
<p>Activated carbon filter to remove odors from your 3D printer, works with FDM and resin.</p><p>The printer needs to be enclosed as is small and does not have the capacity to filter an entire room.</p><p><strong>Requirements</strong></p><p>1. You need to print one box (you can choose the design you prefer, but squares are easier to print than hexagons), one separator, one lid and four feets. I have used PETG for all the pieces and TPU for the feets.</p><p>2. You will need a 60mm x 25mm computer fan, I have used <a href="https://amzn.to/3Ghnysx">this Noctua</a> which is very quiet, you will also need a suitable power adapter for your fan. Keep in mind that the voltage should not exceed that required by your fan and if possible it is better that it be exactly the same. USB cables typically provide 5 volts unless otherwise specified.</p><p>3. You will also need 8 computer fan screws. They are called that, really.</p><p><strong>Consumables</strong></p><p>To filter the air you will need activated carbon sheets about 5mm thick. You will need to cut them to be 15cm high and 26cm wide, you can put multiple pieces together to reach that 26cm. I use <a href="https://amzn.to/3G3rQ6G">these that are designed for cat litter boxes</a>. These filters are the only consumable, you will have to change them when the odors no longer disappear.</p><p><strong>Assembly</strong></p><p>1. Screw the spacer to the fan on the side that the air enters, some fans have an indication of the air flow direction. The spacer has a small hole to pass the cable, make sure they match.</p><p>2. Insert the fan and spacer inside the box in the same way as shown in the image. You may need to use something long like a screwdriver to insert it all the way. The box has a hole on the side for the fan cable to go through, make sure they match.</p><p>3. Now screw the fan to the box with the other 4 screws you had left. You'll probably need to support the fan while you screw it in so it doesn't slip in, so use a long object to hold it in place, like a second screwdriver.</p><p>4. Insert the activated carbon sheets into the box in such a way that they cover the internal walls of the box, make sure that they remain in the gap between the separator and the walls of the box and that they never enter the central hole of the separator where they are find the blades of your fan. The fan cable should be sticking out of the box in order to complete the next step.</p><p>5. Now is a good time to glue your four legs to the lid. Once this is done, fold the cable through the hole in the box in one of the corners and then simply close the box by pressing the lid. Keep in mind that the cover has a small protrusion that you must fit into the hole through which the cable comes out, make sure they match.</p><p>6. One of the four corners has a small tab so you can insert your fingernail to open the lid more easily.</p>
With this file you will be able to print Activated Carbon Filter with your 3D printer. Click on the button and save the file on your computer to work, edit or customize your design. You can also find more 3D designs for printers on Activated Carbon Filter.
