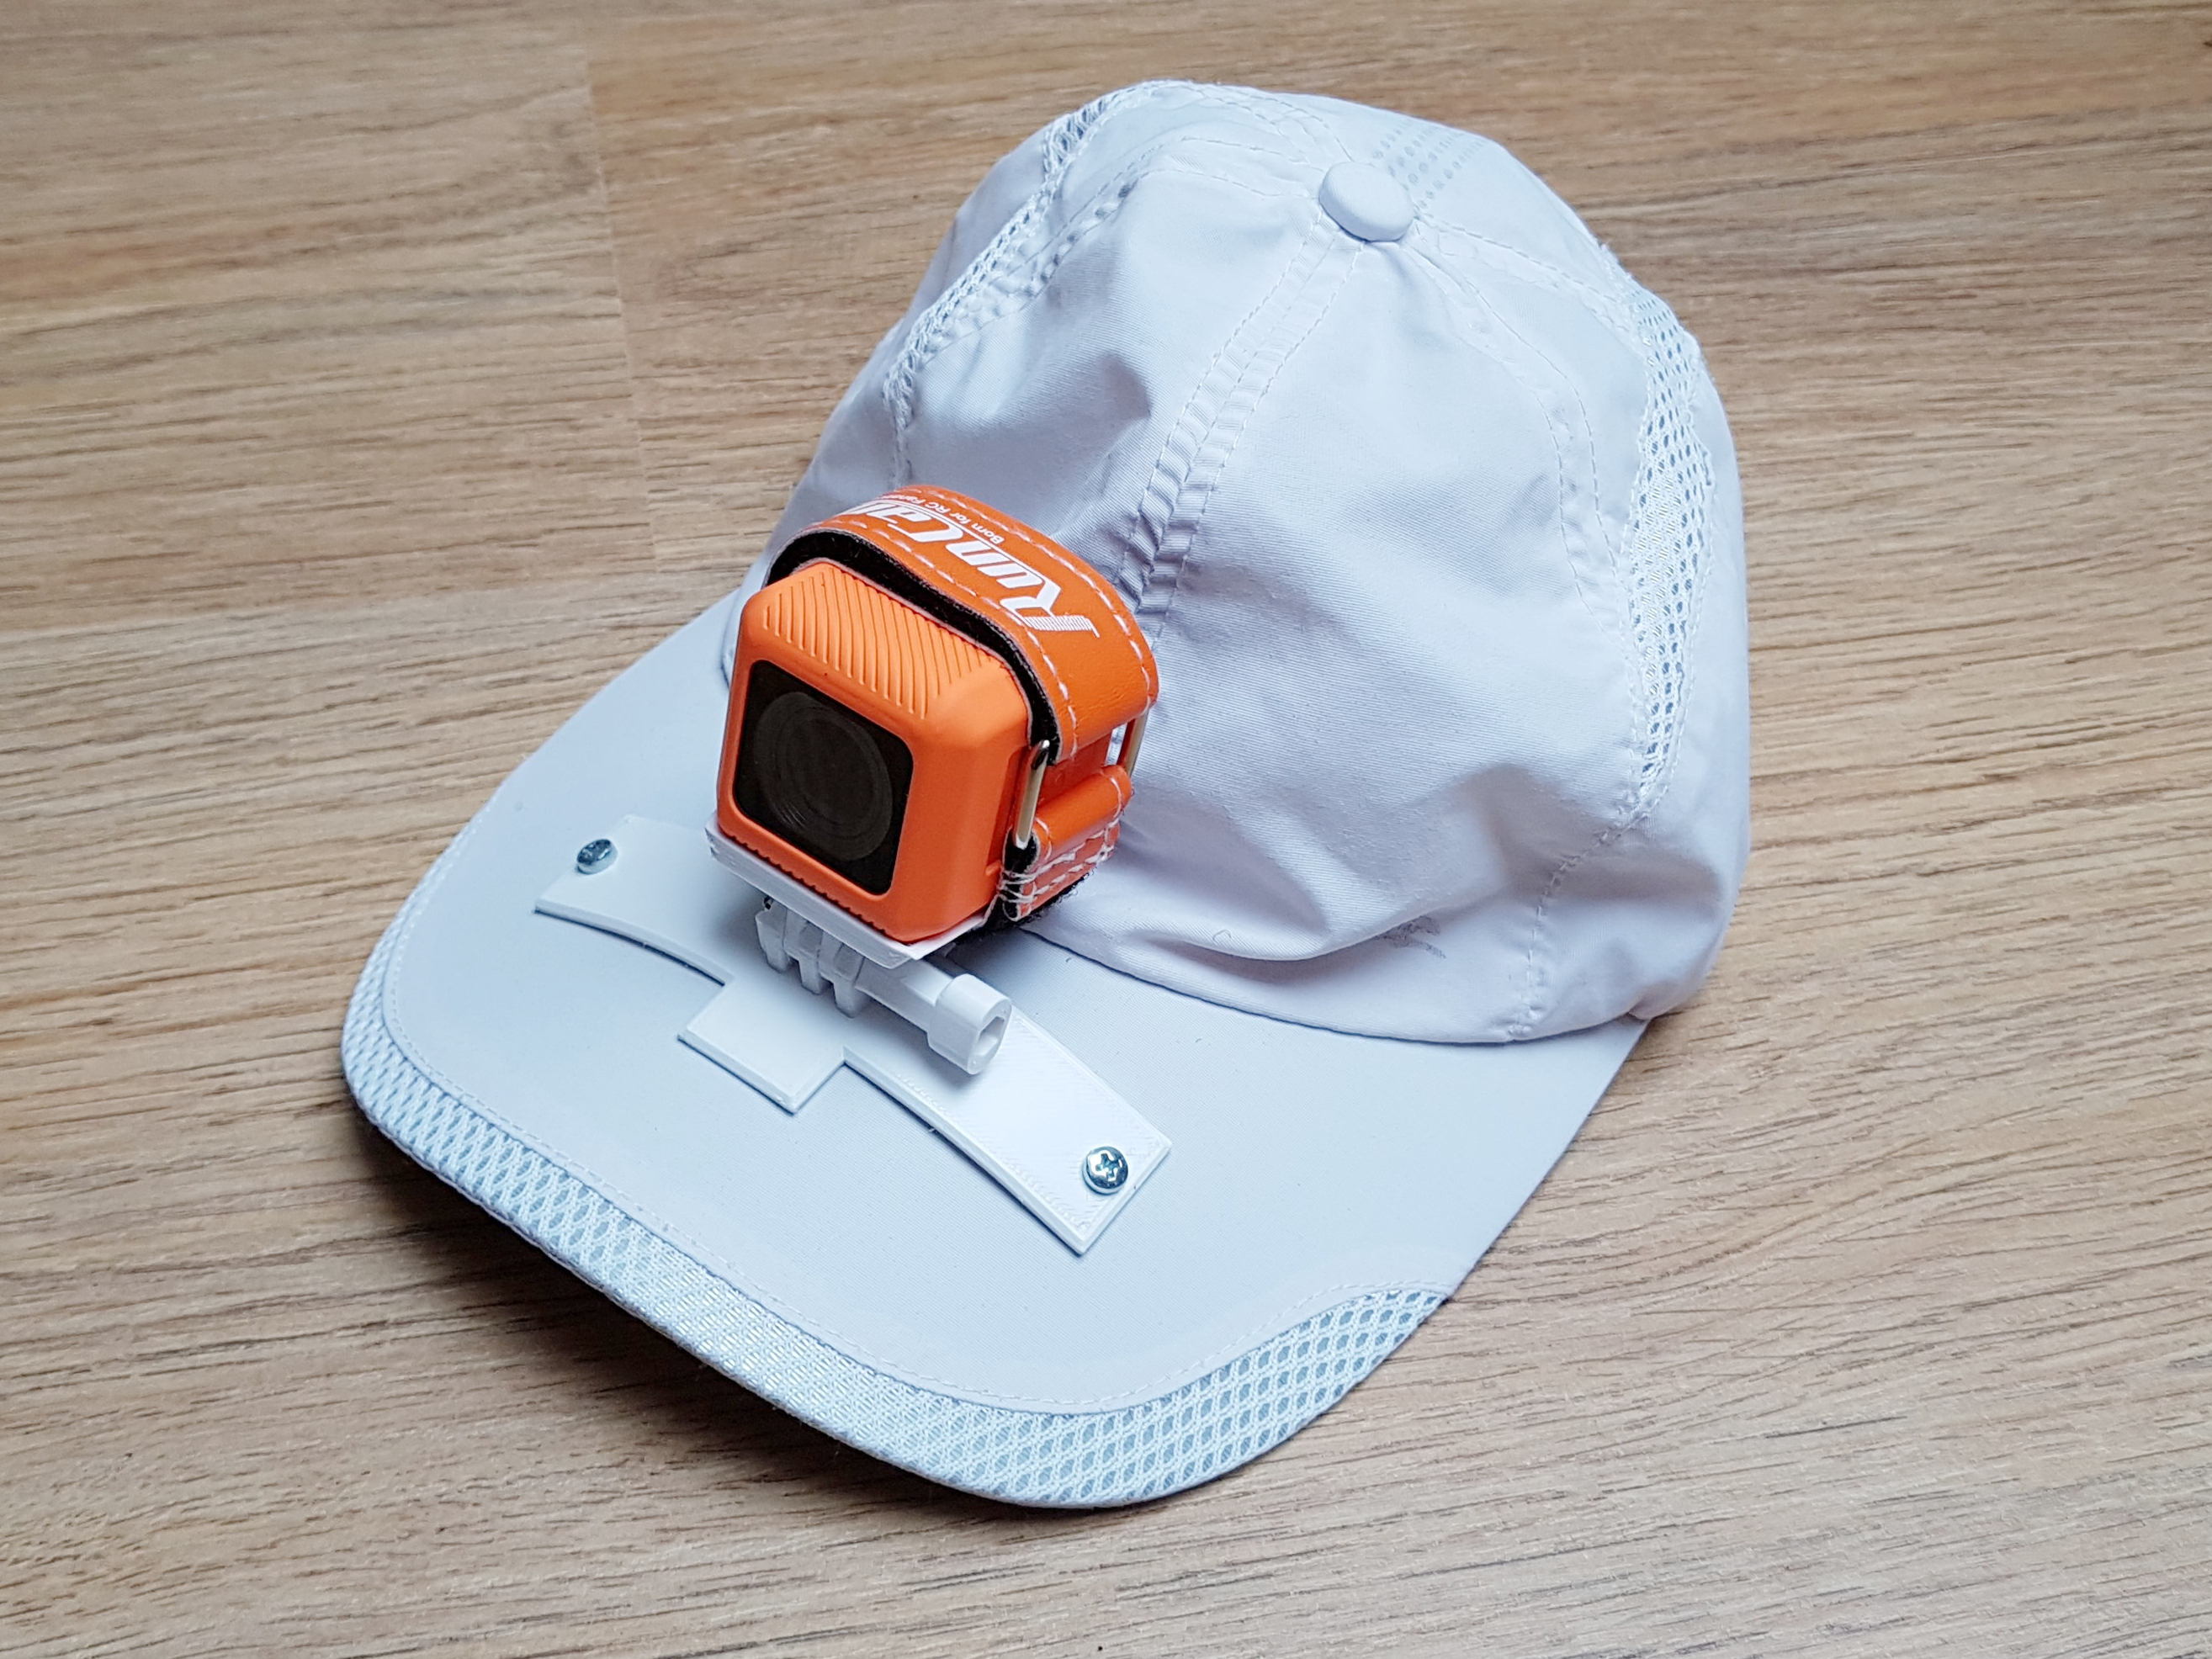
Action cam to cap mount
prusaprinters
<p>This is an adjustable mount to fix your action camera to your cap while you do your crazy sports. It is made for a RunCam5orange, but I have been given to understand that the GoPro Session 5 would have exactly the same dimensions, so it should fit as well. Actually it only needs to fit into the base plate, as everything else is fixed with a strap only. Please let me know if you have a chance to try it out with a Session 5 or any similar camera.</p> <p>The adjustment joint is loosely following the GoPro joint principle, but it uses a smaller 3.5mm hole and a M3 screw to keep the camera as close as possible to the cap. That keeps the lever short and reduces the forces to your cap and your head during sports activities.</p> <p>I'd be highly interested to learn which kind of activities you practice with this mount, so please be so kind to leave me a comment if you print this.</p> <p>Have fun and play safe!</p> <h3>Print instructions</h3><p>I propose to print all parts from PETG with 100% infill.</p> <p>Cap-screw-on-part:<br/> Simply print flat on the print bed, no supports or brim needed. Warm up after printing with a hair dryer or heat gun and bend the long side to fit the curve of your caps shield.</p> <p>Place it on your caps peak, mark the two holes and drill 3mm holes into the peak. Use M3 screws (6-10mm long should do, depending on your cap) to screw the part to the cap. Add one M3 nut for each of the screws on the bottom side of the peak and tighten the screws well.</p> <p>Thumb-screw:<br/> Print standing on the small hexagonal side with the screw hole. This print definitely needs a brim, but no supports. Insert a M3x25 screw with a hex head from the hex-hole side.</p> <p>Camera-platform:<br/> Can simply be printed on its bottom side.</p> <p>Platform-side-joint:<br/> Can simply be printed on its bottom side.</p> <p>Camera-platform and platform-side-joint must be glued together with a glue that works for your material. I use Yuki model superglue, which works amazing with PETG from DasFilament.de. (Glue at your own risk).</p> <p>Use a square M3 nut on the opposite side of the thumb screw to tighten the screw and clamp the joint into position.</p> <p>Place the camera on the platform and pull it tight with a strap-band. Due to the rails around the platform, it should sit there without a chance to move or come loose.</p>
With this file you will be able to print Action cam to cap mount with your 3D printer. Click on the button and save the file on your computer to work, edit or customize your design. You can also find more 3D designs for printers on Action cam to cap mount.
