Acrylic Part 11 - Build Plate
thingiverse
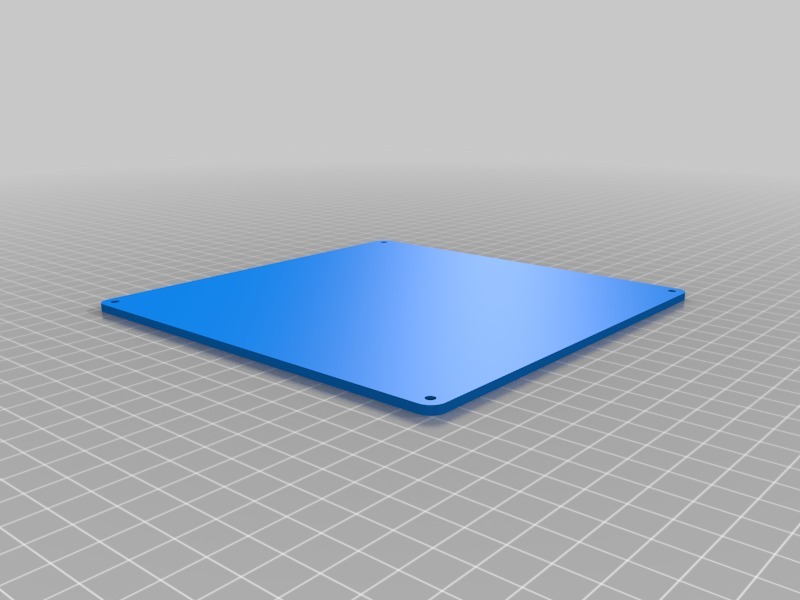
Acrylic Part 10: The Final Touches - Building a Smooth Finish on Your Print Bed. It's time to bring your print bed into focus by adding a build plate made from high-quality acrylic. This critical component is essential for ensuring your prints come out with a smooth finish and precise details. In this tutorial, we'll walk you through the process of building a sturdy build plate that will elevate your printing experience. Materials Needed: High-Quality Acrylic Sheet 3M 5200 Marine Adhesive Sealant Epoxy Resin (Clear) Safety Goggles A Well-Ventilated Workspace Step 1: Prepare Your Workspace Before you start building your build plate, make sure your workspace is well-ventilated and protected with safety goggles. This will prevent any potential accidents or injuries. Step 2: Cut the Acrylic Sheet to Size Using a sharp utility knife or a laser cutter, carefully cut the acrylic sheet into the desired size for your print bed. Be precise and take your time to avoid making any mistakes. Step 3: Apply Adhesive Sealant Once you have cut your acrylic sheet to size, apply a thin layer of 3M 5200 Marine Adhesive Sealant to one side of the sheet. This will ensure a strong bond between the acrylic and the print bed. Step 4: Attach the Acrylic Sheet Place the acrylic sheet onto the print bed, making sure it is centered and secure. Use clamps or weights to hold the sheet in place while the adhesive dries. Step 5: Add Epoxy Resin (Clear) Once the adhesive sealant has dried completely, apply a thin layer of epoxy resin to the top of the acrylic sheet. This will provide an additional layer of protection and help to prevent warping or bending. Step 6: Allow It to Cure Let the epoxy resin cure for at least 24 hours before using your print bed. This will ensure that it is fully dry and ready for use. Tips and Tricks: To ensure a smooth finish on your prints, make sure to level your print bed regularly. Use a build plate cleaner to remove any debris or residue from the acrylic surface. Apply a thin layer of lubricant to the acrylic sheet before printing to prevent warping or bending.
With this file you will be able to print Acrylic Part 11 - Build Plate with your 3D printer. Click on the button and save the file on your computer to work, edit or customize your design. You can also find more 3D designs for printers on Acrylic Part 11 - Build Plate.