Acople tubo de 16 a servo robothjs3315d
thingiverse
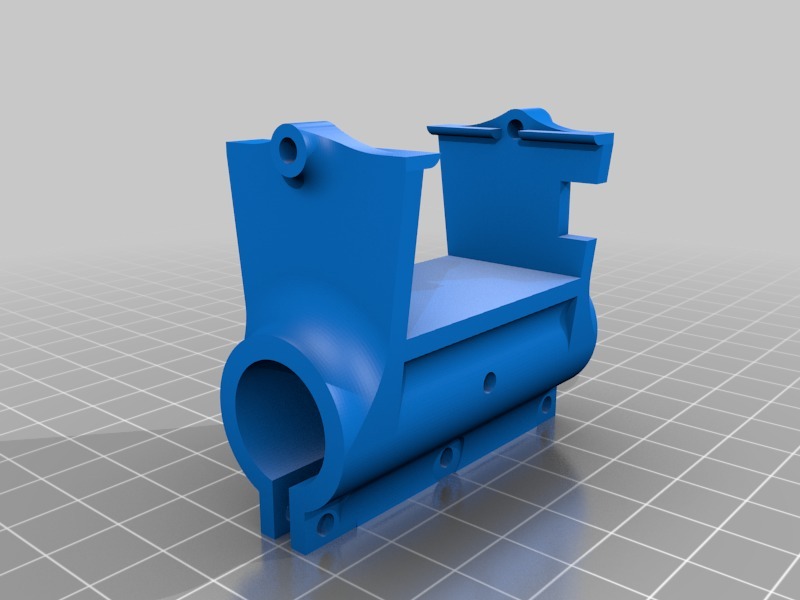
This is a System for Joining a Servo to a Tube To begin, gather the necessary materials: a servo motor, a servo horn, a tube, and a strong adhesive. You will also need a drill press or hand drill, depending on your preference. First, attach the servo horn to the servo motor using the screws provided. Make sure they are securely tightened to prevent any movement during use. Next, cut a small hole in one end of the tube using a drill press or hand drill. The hole should be slightly larger than the diameter of the servo shaft. Carefully insert the servo shaft into the tube through the hole you just created. Make sure it is seated properly and not at an angle. Now, apply a thin layer of strong adhesive to the inside of the tube, making sure to cover the entire surface where the servo will come into contact with it. Gently push the servo horn back into place, ensuring it is securely attached to the motor. Hold the servo in place for a few seconds to allow the adhesive to set. Once the adhesive has dried completely, test the servo by moving it back and forth through its full range of motion. If everything is working properly, you should see the tube move smoothly with each rotation of the servo. That's it! You have now successfully joined a servo to a tube using this simple system.
With this file you will be able to print Acople tubo de 16 a servo robothjs3315d with your 3D printer. Click on the button and save the file on your computer to work, edit or customize your design. You can also find more 3D designs for printers on Acople tubo de 16 a servo robothjs3315d.