A5-1Z/2Z XL
thingiverse
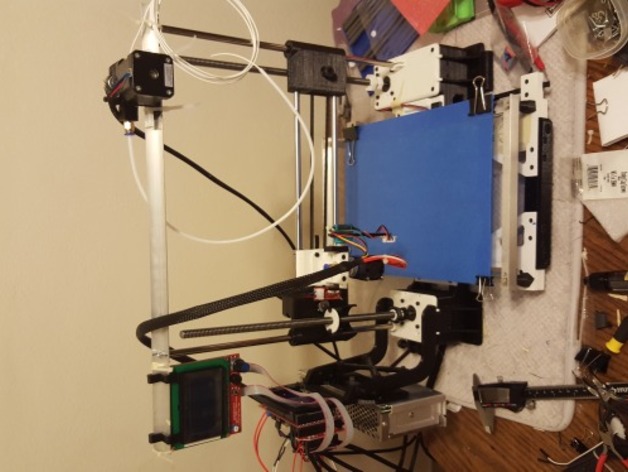
I've included the X endstop and Y endstop files. The X endstop is designed for a bowden style carriage with a small contact point on the lower left hand screw on the carriage itself. You will need to design this until I can remake my file of one, more or less a 5mm spacer. Please use electrical tape to cover the back side of the (all) endstop, shorting one will destroy your Arduino Mega. I've done it before, so don't ask how. The X endstop is held in place by two of the motor mount screws so the endstop itself sits over one of them. If your pulley sticks out of the gantry, you may need to modify and remove material from the edge. The Y endstop is held in place by the screw that holds the Y drive lid. I am still working on a proper Z endstop servo apparatus but hopefully one will be up shortly. It may be a remix of the bowden carriage that I am using, but it's designed to be generic none the less. Any ideas or questions, just leave them here. I'm nearly there now, as you can see from the new picture, almost there is no longer. You'll soon be able to upload endstops for all axis and a modified truss to accept the 12864 display and the NEMA 17. This will include bowden configuration files too. My plan is making this an auto leveling machine, so expect to see a servo driven Z endstop as well as a standard post mount. I'll be linking the couplers I used for the 3/8 rod soon for the design, with multiple options included. If you have any questions or feedback, please just leave a comment here or message me. Another update coming your way. I've split and added the 2Z housing as male and female puzzle cuts in case some of you have lost a lot of space on your print bed area. A new belt keeper is also in the works for use with an opened GT2 belt on the One/Two/Three up X carriage, so keep watching. You'll be happy to know that I've added files for the Bed X Support now so it can be printed in halves that snap together using a puzzle cut design. If either of them warp, they might become a tighter fit. Sanding may help, but you'll need to use heat too if needed. If this happens, get them as close to flush as you can and then use your stove top with water to warm it up to around 140 degrees F. Once warmed, place it on a flat surface like glass until it cools down completely. This solution will help address the upgraded gantry issue we're facing now. My bed is trimmed down by another 15mm at the moment due to a makeshift belt tensioner I set up. They fit easily when rotated by 30 degrees in the Z axis. As you might know, these are just a temporary fix. For future use, consider using super glue or friction welding instead when assembling the pieces together. Like before, if it doesn't work, don't panic and do the workaround again until needed. With these parts now available to everyone, this will extend the Base by 40mm In the X Axis as well as extending the Bed by 40mm for use with 330mm rods too. Just keep in mind that not all of them can be printed on a single unit setup or might even struggle printing the BED X SUPPORT. As per now you still need all other files from my original build, listed below(http://www.thingiverse.com/thing:844471). They're compatible with TwoUP but will still be challenging to print. It's advised to also take note that they might conflict a bit due to differences. As always please share any thoughts or feedback for further discussion and help each other move forward in design solutions, modifications for use on 3d printers like this model. These files were originally made with Tinkercad too.
With this file you will be able to print A5-1Z/2Z XL with your 3D printer. Click on the button and save the file on your computer to work, edit or customize your design. You can also find more 3D designs for printers on A5-1Z/2Z XL.