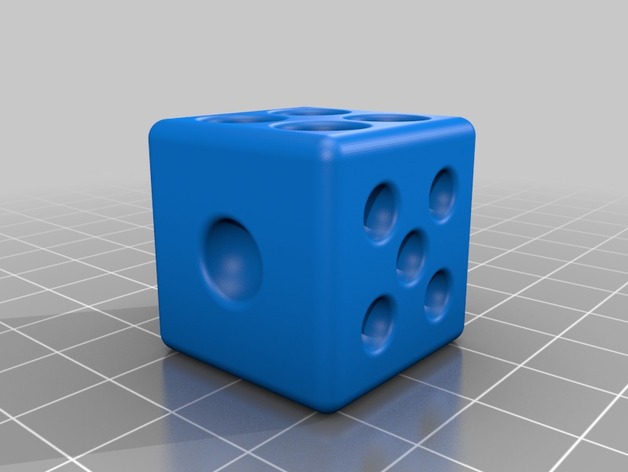
A dice for all involved games!
thingiverse
Roll some luck into your gaming routine by printing a dice set! Get started with this easy-to-follow 3D modeling guide. Design and Create a Set of Dice ========================== Printed game accessories can be just as thrilling as the games themselves, and crafting your own dice is an excellent starting point. To begin making your set, ensure you have the right tools: A 3D modeler - Blender, Tinkercad, or any software of your preference A printer that supports FDM (Fused Deposition Modeling) or SLA (Stereolithography) Software Setup --------------- Open your chosen modeling software. Navigate to a blank page and start fresh. For Tinkercad, follow these simple steps: 1. Create two new bodies for the dice by dragging out circles on separate pages. 2. Name each circle body with descriptive names so you can distinguish them later. 3. Select all parts on one page at once and add some spacing in case your 3D printer struggles to process too complex objects. Once the first part of a single die is designed, create its matching counterpart by simply dragging the circle from earlier over to a different sheet and mirror-ing the whole design on both sides. Now you know what each piece does, we will put it all together to form our dice game. First off start out with getting all your body pieces and arrange them onto one plane on an un-printed page as follows: This image will make clearer exactly what's being accomplished: The first piece goes on the left. After a successful arrangement has been done place another sheet with everything above to its immediate right. You can save and re-edit this at any point because our design for two of a side is done, just now add in your designs for sides numbered 1 through five by making separate shapes for every different side from a similar size (the ones made were just under one unit in diameter) - but make sure they're the same overall. Then move to putting everything into order using an alignment line created along their edges. Designing Sides: A step-by-step guide ----------------------------------- A dice game won't be complete without the different numberings on its faces. We need to add some details for this part. There are a few methods to approach side designs - you can either model a pattern manually or find something from the internet to import, or maybe use shapes to fill your page. Numbering and Design Guidelines ------------------------------- Once each design has been created with an outline it needs an accurate numbering of where everything goes on every piece. When drawing new details always consider adding reference marks that align up properly with these outlines when viewed individually. Assembly --------- Finally the fun part, putting together a solid game system that functions right as if coming out of the factory - and looks awesome at it. In this phase we take every separate shape we have just completed along with extra blank pages we set aside previously & stack everything neatly into rows that get evenly separated for optimal usage when played against human opponents or using auto modes offered through computer software versions. Make Sure All Edges Line Up Perfectly -------------------------------------- When constructing a complete set make sure the top edges align in the right spot. It helps prevent any issues while running games. Once Everything is Put Together and looks awesome - you are almost there. Go to settings or printer options and then turn on layer view before pressing "start"
With this file you will be able to print A dice for all involved games! with your 3D printer. Click on the button and save the file on your computer to work, edit or customize your design. You can also find more 3D designs for printers on A dice for all involved games!.
