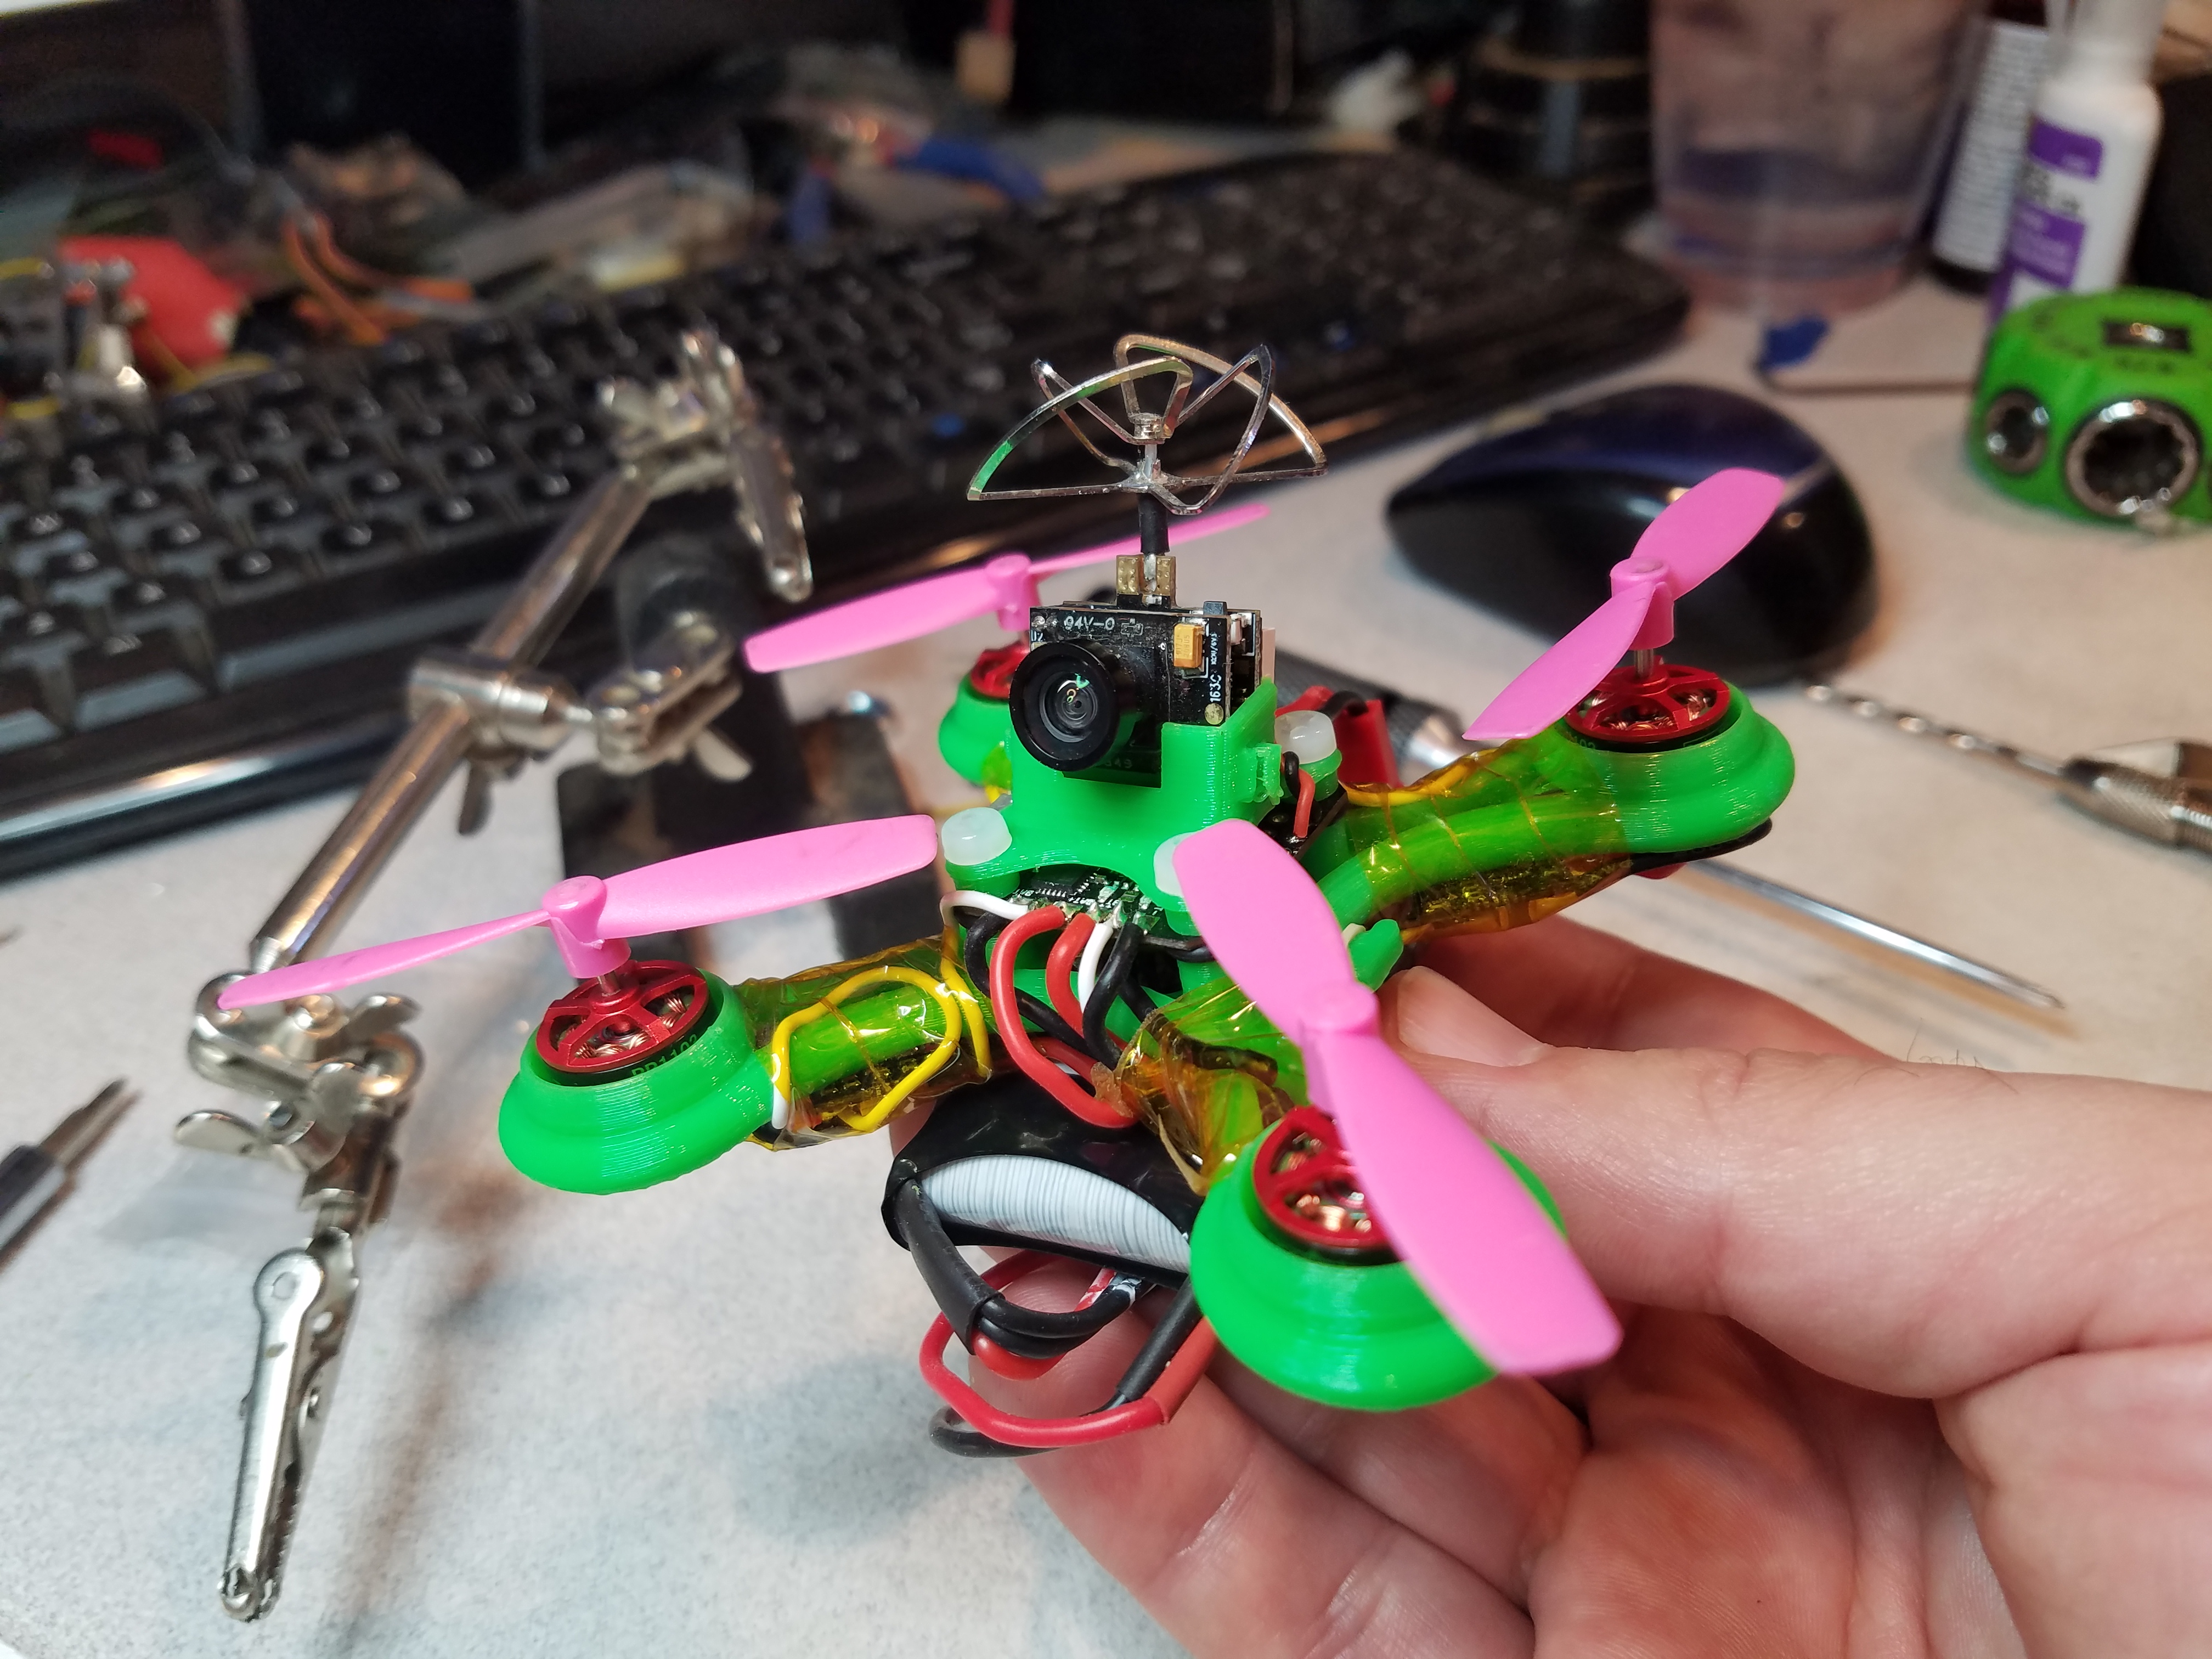
90mm printed quadcopter frame for br1103 motors
prusaprinters
<p>I got bit by the nano/piko/femto quad bug and had to make one. I liked the look of @microdure's frame, but it was bigger than I wanted. I had already started working up a very minimal frame design and printed it as 80/90/100 mm....but didn't notice the motor shaft on the BR1103 motors extended through the base. Since I had to redraw my motor mounts anyway I decided to try and design a frame more like microdure's only in the 80-100mm range since a bit of motor protection would be nice to have knowing how often I crash things.</p> <p>Frame is an easy print, that takes just under an hour on my printer at 0.25mm layer height. I also included some small m3 spacers that make it possible to use the TX-02 camera mount I included as a source.</p> <p>You will need to have o-rings under your FC for clearance - or you could mount it upside down or remove the DSM port. I used O-rings. The FC mounting holes are slightly undersized from M3 since I used an M3 tap to thread them then mounted the FC with nylon screws. You could drill them out and use nuts on the bottom if you don't have a tap.</p> <p>With a 450mah 2s battery, LemonRX DSM sat RX, and TX-02 FPV cam/VTX this comes in right at 80g ready to fly when printed in PLA with 15% infill</p> <h3>Print instructions</h3><h3>Category: R/C Vehicles Print Settings</h3> <p><strong>Printer Brand:</strong> Prusa</p> <p><strong>Printer:</strong> <a href="http://amzn.to/2rqZ6Uo">Prusa Clone</a></p> <p><strong>Rafts:</strong> No</p> <p><strong>Supports:</strong> No</p> <p><strong>Resolution:</strong> 0.25</p> <p><strong>Infill:</strong> 15%</p> <p><strong>Notes:</strong></p> <p>So far this has held up better than I anticipated printed in PLA with 3 perimeters and 15% infill. I've crashed it full throttle into my house and sidewalk several times and the frame hasn't broken yet. I may try printing it in ABS since it should be lighter and a bit tougher...but PLA has worked great so far in a few days of crash testing.</p> <h3> Post-Printing</h3> <p>As noted in the description you'll probably want to use an M3 tap to thread the mounting posts.</p> <p>I also drilled out the motor mounting holes - they're sized properly in the STL but 1st layer squish tends to block them up a bit. A #52 or #53 drill bit works great. The motor shafts cleared the center holes fine but I cleaned them up with a #57 drill just to be safe.</p> <p>I used a LemonRX DSM satellite RX which I removed the connector from so it would fit easier inside the frame under the FC.</p> <h3> How I Designed This</h3> <p>This was designed in Onshape and the design is available here:</p> <p><a href="https://cad.onshape.com/documents/0ff58260891f62cc5d956c69/w/6c0088ba3a61f0eb9aca2b9d/e/6b1820b07c502b2d5d3d3fe6">https://cad.onshape.com/documents/0ff58260891f62cc5d956c69/w/6c0088ba3a61f0eb9aca2b9d/e/6b1820b07c502b2d5d3d3fe6</a></p> <p>I used the STL of microdure's frame to transfer the motor mount dimensions, ID of the motor shrouds, and FC footprint.</p> <p>The design can easily be adjusted for different motor to motor sizes. My first build was 100mm motor to motor and flew well, but I wanted to shrink it a bit smaller so I resized it to 90mm which is as small as I could go and still fit 2030 props comfortably.</p>
With this file you will be able to print 90mm printed quadcopter frame for br1103 motors with your 3D printer. Click on the button and save the file on your computer to work, edit or customize your design. You can also find more 3D designs for printers on 90mm printed quadcopter frame for br1103 motors.
