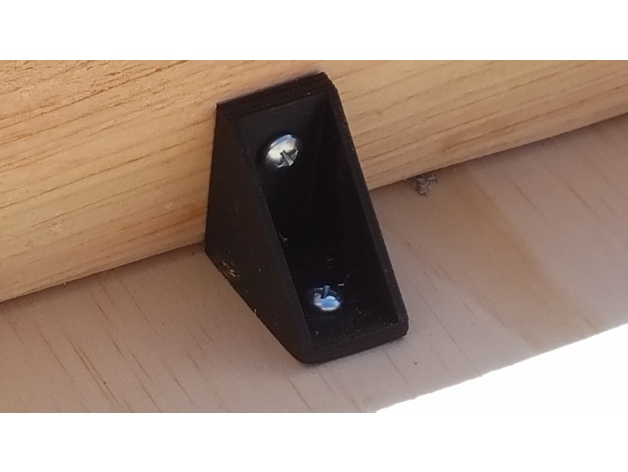
90 Degree Bracket
myminifactory
Hi Guys!\r\nI'm working on building a table for recording videos and keeping track of my 3D Printers. With family, two jobs, YouTube, and other commitments, I only have one hour a day to dedicate to this project. I considered drilling pocket holes to mount the table top, but ran out of time yesterday.\r\nDuring lunch break at my night job, I designed a bracket to save time later on. After downloading the model, I multiplied it by 18, spaced them evenly apart and sliced the file to prepare it for printing.\r\nI loaded the design onto an SD card and fired up the Geeetech Aluminum Prusa I3. The printing process took exactly 16 hours and 47 minutes.\r\nTo my surprise, the brackets were done right when I knew I'd be back home to work on the table - a mere 13 minutes ahead of schedule! They worked perfectly.\r\nThe 4mm holes are precisely located 1 inch from the inside corner. Although I mixed units of measurement in Tinkercad, it actually turned out for the best. One side is slightly thicker than the other, which ended up being an advantage. I placed the thicker side against the 2x4's, where longer screws and more pressure are applied when attaching the top.\r\nCheck out my video at https://youtu.be/8Nps8gp_1xQ
With this file you will be able to print 90 Degree Bracket with your 3D printer. Click on the button and save the file on your computer to work, edit or customize your design. You can also find more 3D designs for printers on 90 Degree Bracket.
