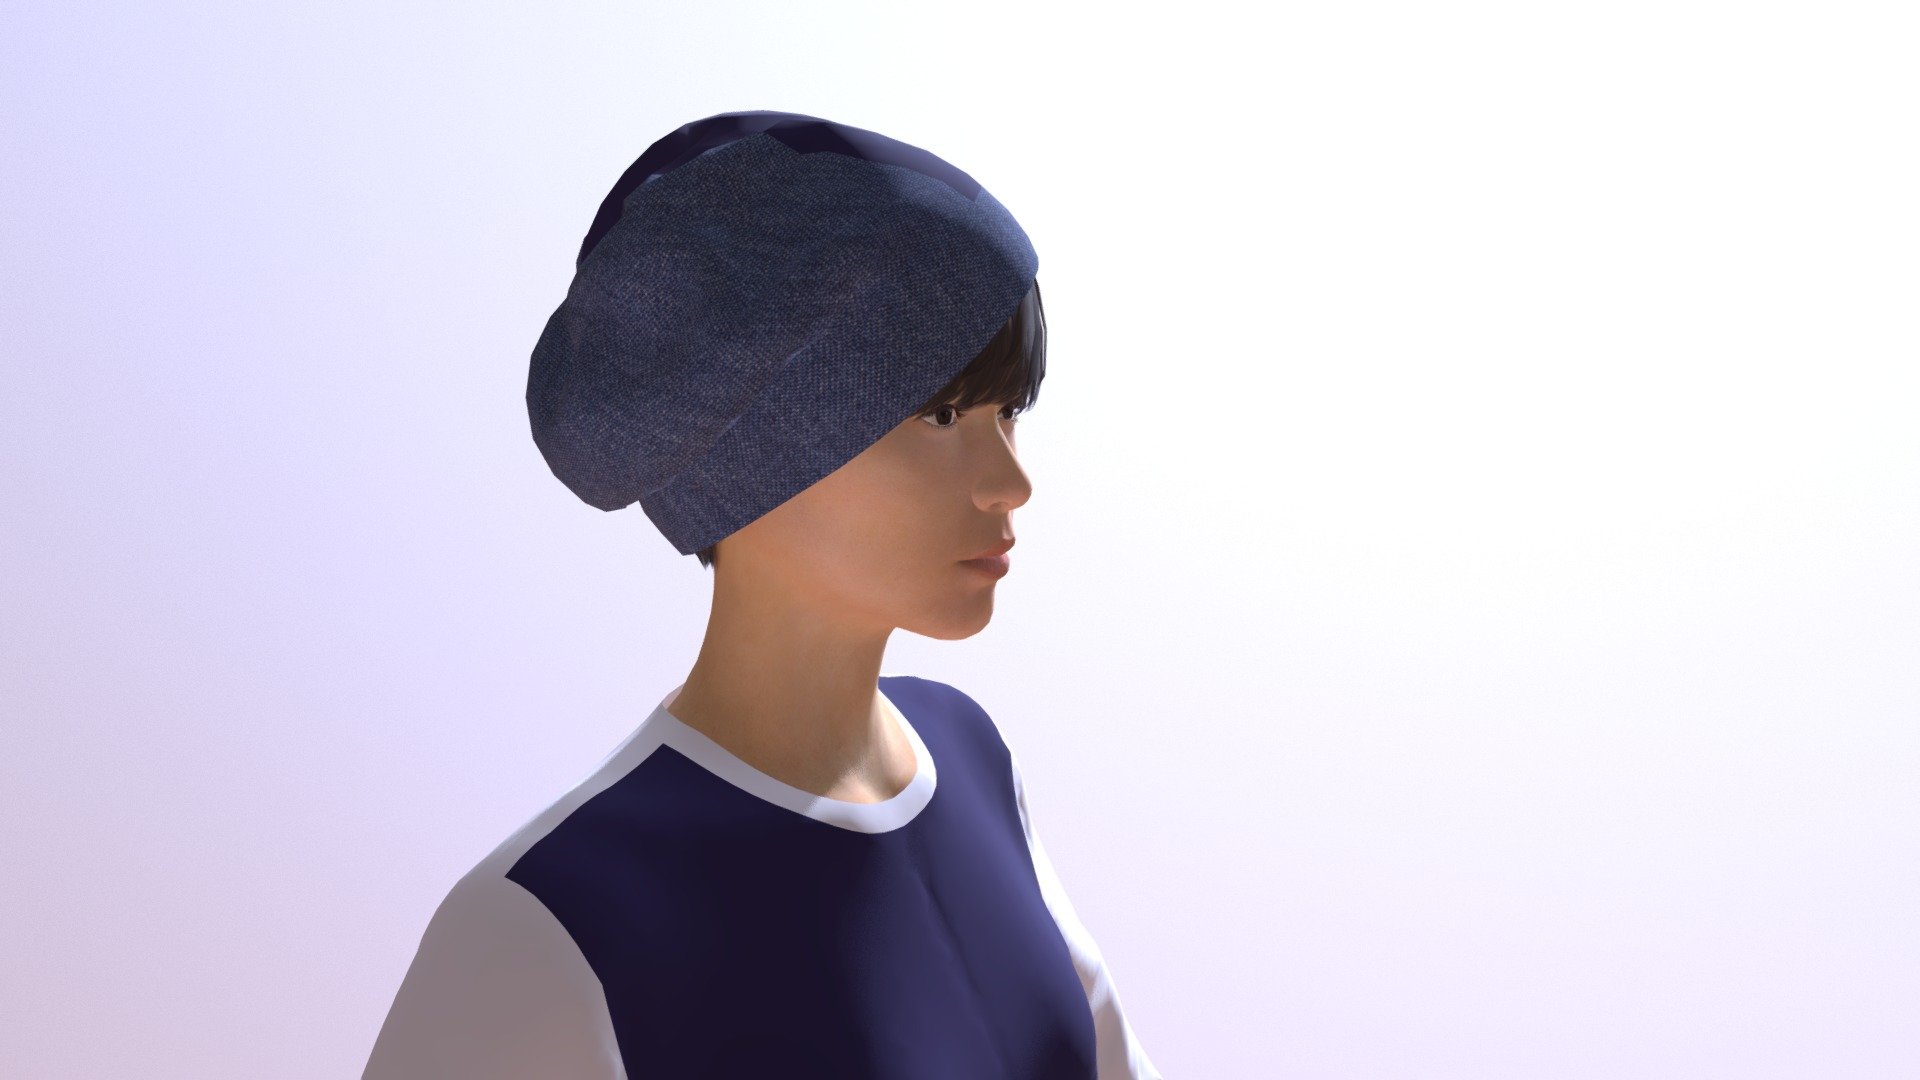
8枚ハギベレー帽デザイン
sketchfab
Learning to Sew an Eight-Piece Beret: A Step-by-Step Guide Sewing a beret may seem like a daunting task, but with the right tools and some practice, you can create a beautiful eight-piece beret. To get started, gather your supplies: a sewing machine, scissors, pins, thread, and a pattern or template for an eight-piece beret. First, cut out the fabric according to your pattern or template. You will need eight pieces in total: four main pieces and four smaller pieces that will be used as embellishments. Next, sew the main pieces together, starting with the front and back pieces. Make sure to leave a small opening for turning the beret right side out. Once you have sewn the main pieces together, turn the beret right side out through the small opening. Use a blunt object like a chopstick or pencil to push out the corners. Now it's time to add the embellishments. Sew the smaller pieces to the beret using a simple running stitch. Make sure to space them evenly and make sure they are securely attached. Finally, topstitch around the edges of the beret to give it a finished look. This will also help to secure the embellishments in place. And that's it! With these steps, you should be able to create a beautiful eight-piece beret. Practice makes perfect, so don't be discouraged if your first attempt doesn't turn out exactly as you hoped.
With this file you will be able to print 8枚ハギベレー帽デザイン with your 3D printer. Click on the button and save the file on your computer to work, edit or customize your design. You can also find more 3D designs for printers on 8枚ハギベレー帽デザイン.