8x10" Wet Plate Holder v2
thingiverse
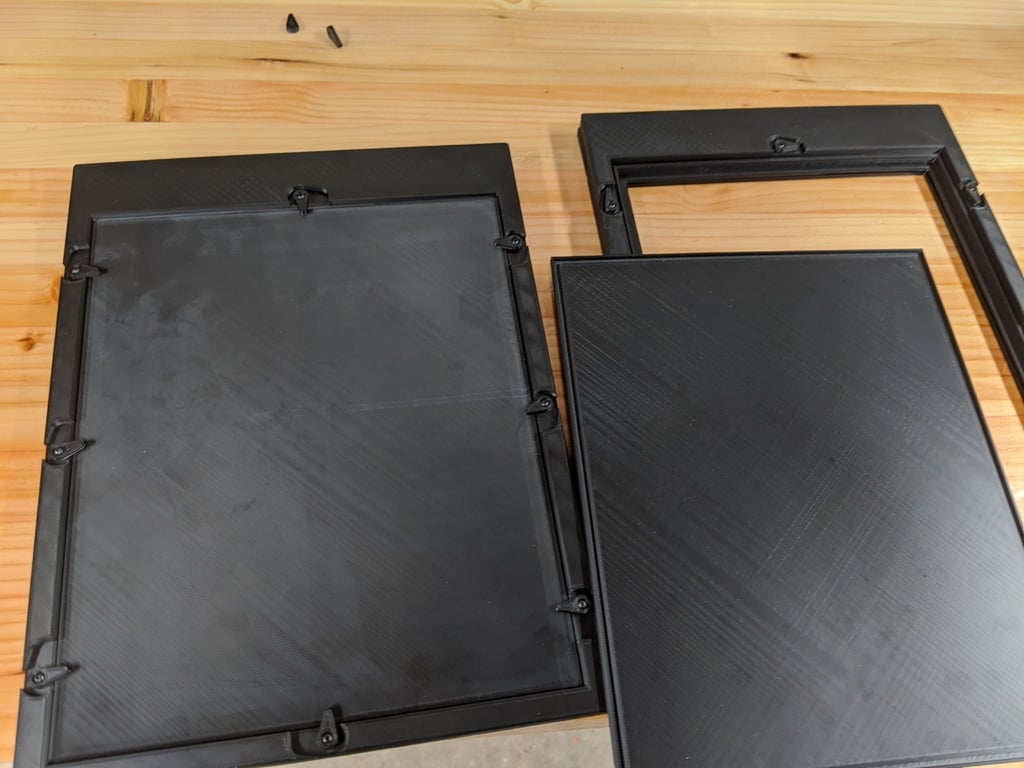
**Update July 29, 2020** - I just added a new file called reducing.zip. This contains STLs of the top, bottom, and lid components for reducing holders to whole plate sizes, including 5x7 and 4x5. You can use these STLs to build a holder that fits an 8x10 camera but accepts the given plate sizes. This wet plate holder is designed specifically for 8x10 plates. It will fit standard modern 8x10 spring backs and should also accommodate plates sized down to true 8x10 inches, even those made for Chamonix holders. This new design supersedes my previous 8x10 model. The main difference lies in the use of all toggles to attach the lid to the holder, as the slide latches were found to be a bit flimsy. You will need to provide your own dark slide (I prefer using aluminum cut to size with a paper cutter) and something springy to keep the plate flat against the inside of the holder. To assemble this wet plate holder, you will need the following printed parts: | File Name | Quantity | |---------| | bottom.stl | 1 | | top.stl | 1 | | lid.stl | 1 | | toggle.stl | 8 | | retaining_tab.stl | 1 | In addition to these printed parts, you will also need the following non-printed components: | Part | Quantity | | ---- | | M2x4mm screws | 8 | | M2 washers | 8 | | M2x4x3.5mm threaded inserts | 8 | | 1/4" foam backer rod | ~18 inches | | Low strength thread locker | A small amount | To assemble the wet plate holder, follow these steps: 1. Using a soldering iron or other heat source, set the eight heat set inserts into the holes in the back of the bottom piece. 2. Cut two pieces of foam backer rod to fit the tubular holes in the front of the bottom piece. Squeeze the foam into place to form the light trap. 3. Using your preferred adhesive, glue the top and bottom halves of the body together using the ridge on the top half and the trough in the bottom half for alignment. Make sure to clamp the two halves together until the adhesive is fully dried. 4. Glue the retaining tab into the trough in the front of the holder. 5. Use M2 screws and washers to screw the toggles into the threaded inserts. Applying some low strength thread locker to the screws before tightening will prevent the toggles from coming loose as you move them back and forth to lock and unlock the lid. Once assembled, the toggles will allow you to secure the lid firmly in place.
With this file you will be able to print 8x10" Wet Plate Holder v2 with your 3D printer. Click on the button and save the file on your computer to work, edit or customize your design. You can also find more 3D designs for printers on 8x10" Wet Plate Holder v2.