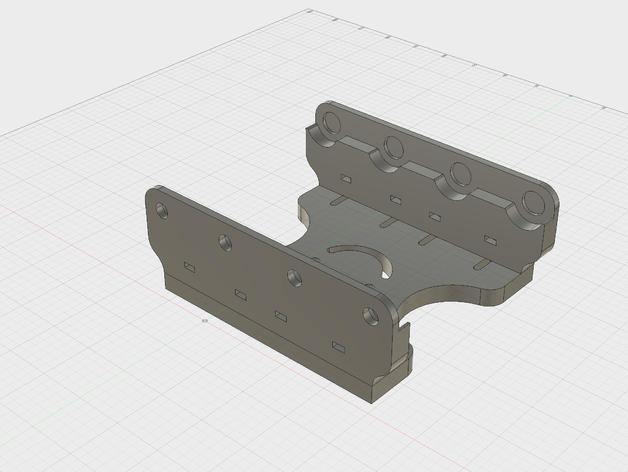
8up Shotgun Shell Caddy
thingiverse
UPDATE 4/18/2017 I've put this through a couple revisions. The current version is rev3, which makes much better use of space and leaves a smaller footprint. I've also uploaded the .iges files so if anyone wants to modify them, they can. This is my attempt at a shotgun shell caddy, as used by many multi-gun competitors. This is not intended for commercial purposes. You'll need: 8 - M4x20mm Machine Screws 8 - M4 Nuts 4 - 1/2"x 1/16" magnets (http://www.kjmagnetics.com/proddetail.asp?prod=D81-N52) A pack of rubber bumpers (http://www.mcmaster.com/#9310k12/=13rn8to) A TekLok mount (if you want to use that) Super Glue 3D Printed Parts: Material: ABS One of each: 8_up_body, 8_up_front, 8_up_back Layer Height: 0.2mm Infill: 30% Shell thickness: 1.0mm Bottom/Top thickness: 1.0mm Instructions: Print the parts. Press the M4 nuts into the slots. You may need to use a hammer and a punch to tap them in place. Glue the magnets into the 8_up_front part, allowing each one to dry before you put the next in. Otherwise it can easily be pulled out by other magnets or metal parts. Install the rubber bumpers by pulling the small ends through the holes in the 8_up_back part Mount the 8_up_front and 8_up_back to the 8_up_body. You want the magnets and the fat ends of the rubber bumpers facing in (each side with the "shelf" for the shells to sit on). The 8_up_body will be oriented so that the side with the counter-bore slots is facing down. You'll likely need to adjust the ends so it will hold the shells correctly. I'm working on other versions of this, but this is all I have for now.
With this file you will be able to print 8up Shotgun Shell Caddy with your 3D printer. Click on the button and save the file on your computer to work, edit or customize your design. You can also find more 3D designs for printers on 8up Shotgun Shell Caddy.
