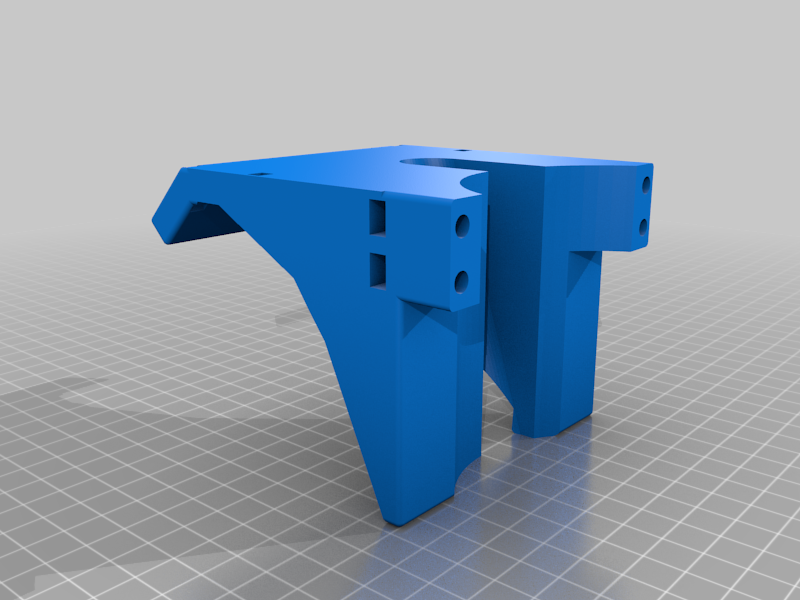
80mm Spindle Mount (V1_LR3)
thingiverse
Mounting parts which use the structure of the core to support the weight of an 80mm water cooled spindle. Exploded images should help you with construction. <B>Be sure to pre-thread locking nuts, otherwise they could spin out in place.</B> Upper mount is currently held in place with zip ties. I highly recommend that you support your spindle and lock down this mount first with the weight of the spindle helping to "hold" this mount in place. Currently the zip ties are the only mechanical fastener for this upper mount. M5 locking nuts can be inserted at any time. You may have to use a tool to hold them in place when you lock them down. Depending on performance, I may rework this in the future, I really do not want to alter the V1 core, and I would like the flexibility to change out the spindle in the future. Middle and lower mounts use the exiting mounting holes, but because the spindle is wider than this spacing, this needs to be constructed in multiple parts to keep the things as close to the core as possible. Place your M5 locking nuts, prior to attaching Middle_Back and Lower_Back to the core. The fit is intentionally tight, I used a vise to press them in place. Vacuum mounts are sized to hold rigid 50mm central vacuum tubing, ping me if you need a different size. Print the following; 1x Upper_Mount 1x Middle_Back 2x Middle_Top_Front 2x Middle_Top_Spacer, 2x Middle_Top_Vacuum_Spacer (50mm) 1x Bottom_Back 1x Bottom_Spacer 1x Bottom_Vacuum_Spacer 1x Bottom_Front To mount these parts to your core you will need buy; 16xM5 locking nuts, 12x M5x55mm hex bolts, 4x M5x40mm hex bolts 3x M3x15mm hex bolts, 3x M3 nuts (optional locking)
With this file you will be able to print 80mm Spindle Mount (V1_LR3) with your 3D printer. Click on the button and save the file on your computer to work, edit or customize your design. You can also find more 3D designs for printers on 80mm Spindle Mount (V1_LR3).
