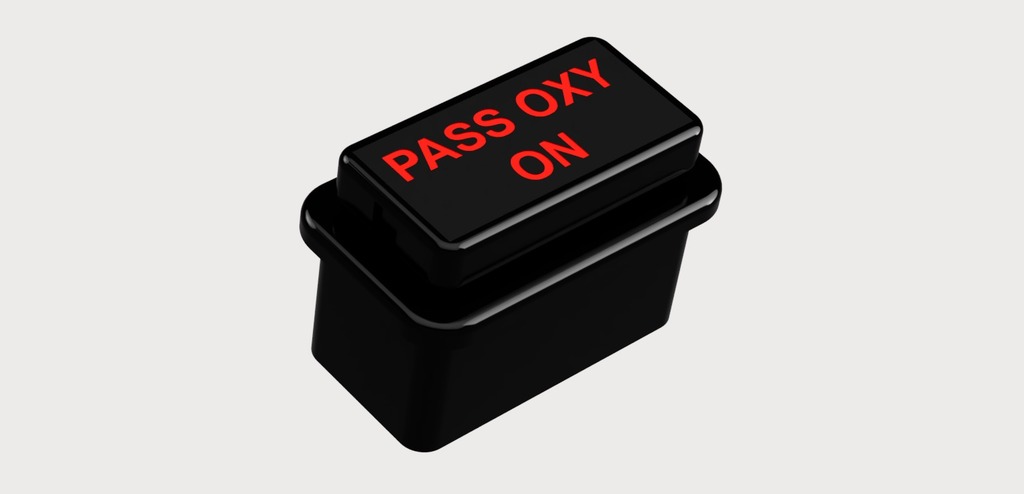
737 KORRY Annunciator with Working button
thingiverse
Hi Guys, This has been requested so many times; I'm glad I finally got around to adding it here. The design has been streamlined, eliminating the need for a PCB board at the back, making it a straightforward print-and-go process. Over the last 24 hours, I've fine-tuned the design to make it quicker, faster, and better. I've put these through their paces and have a whole stack of them sitting on my desk right now – they work incredibly well. The components simply click into place, with an added design feature that allows you to secure them using hot glue. Solder your wires to the back, and you're done. It takes around an hour to print both parts. You'll need a 6mm tactile switch with a 7mm extension and two LEDs, which will depend on the color of the annunciator. I've included a lens template so you can easily cut it out from perspex. These units are designed specifically for use with Cockpitsimpart.co.uk Lens, but feel free to create your own if needed. The size is slightly larger than normal, allowing for a snug fit into a mating receptacle. I used hot glue to secure them in place.
With this file you will be able to print 737 KORRY Annunciator with Working button with your 3D printer. Click on the button and save the file on your computer to work, edit or customize your design. You can also find more 3D designs for printers on 737 KORRY Annunciator with Working button .
