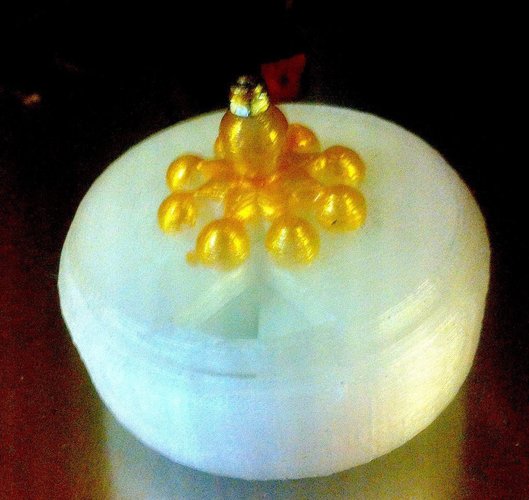
7 day medbox (updated)
pinshape
The Medbox Makeover: A 7-Day Project Day 1: Unleashing Freedom with a Drill Start by drilling a precise 3mm hole into the lid to liberate it from the rigid confines of the medbox. This clever hack allows for effortless removal and reattachment. Day 2: Washer Wizardry Ensues Insert a trusty washer between the lid and the medbox, ensuring a snug fit that prevents any unwanted movement or shifting. This simple yet effective solution guarantees a secure seal every time. Day 3: Sanding for Smooth Turns Sand the sides of the lid with gentle precision to achieve silky smooth turns. This crucial step ensures the lid rotates effortlessly, eliminating any friction or resistance. Day 4: Bolting It Down with Confidence Choose a sturdy 3mm bolt and pair it with a reliable lock-nut to secure the lid in place. With this dependable duo, you can rest assured that your medbox is locked down tight, ready for whatever comes next.
With this file you will be able to print 7 day medbox (updated) with your 3D printer. Click on the button and save the file on your computer to work, edit or customize your design. You can also find more 3D designs for printers on 7 day medbox (updated).
