7.5" Embroidery Hoop Ring
thingiverse
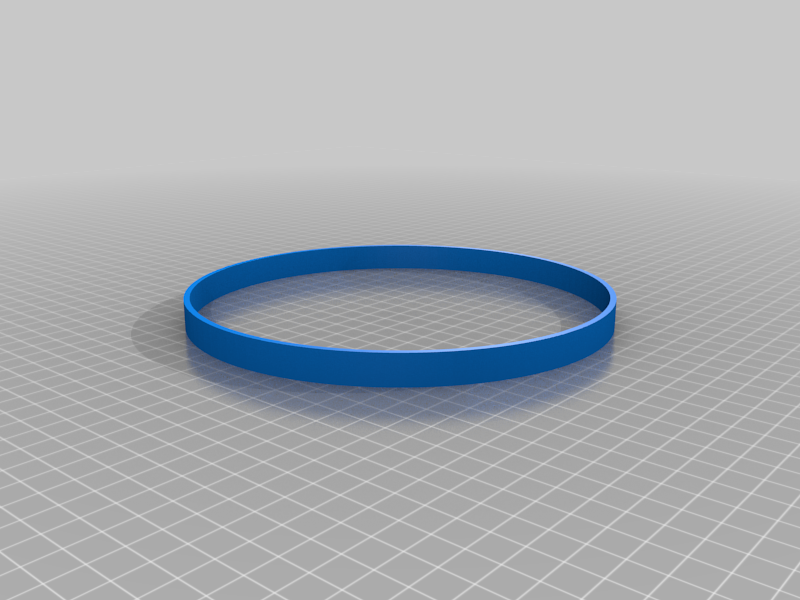
This is a remix of the embroidery hoop design from intofocus, with one key alteration: the size of the hoop has been increased to a larger 7.5" circle. The instructions and assembly process remain unchanged. To assemble this larger hoop, you'll need two M4 hex nuts and a 50mm-long M4 bolt. Insert the bolt into the adjustment screw part and secure it with one of the M4 nuts. Tighten the nut firmly to prevent it from loosening over time. Apply a small amount of Loctite to ensure the nut remains in place. Next, insert the other M4 hex nut into the outer ring and secure it with a drop of superglue. Allow the glue to dry for a few minutes before using your new 7.5" embroidery hoop. In my case, I had a shorter M4 bolt on hand, measuring only 25mm in length. To accommodate this limitation, I scaled down the height of the adjustment screw piece by 60%, reducing it to 15mm tall. While this may compromise the hoop's functionality for sewing embroidery, it proved sufficient for displaying my finished piece.
With this file you will be able to print 7.5" Embroidery Hoop Ring with your 3D printer. Click on the button and save the file on your computer to work, edit or customize your design. You can also find more 3D designs for printers on 7.5" Embroidery Hoop Ring.