6V DIY Power Bank
thingiverse
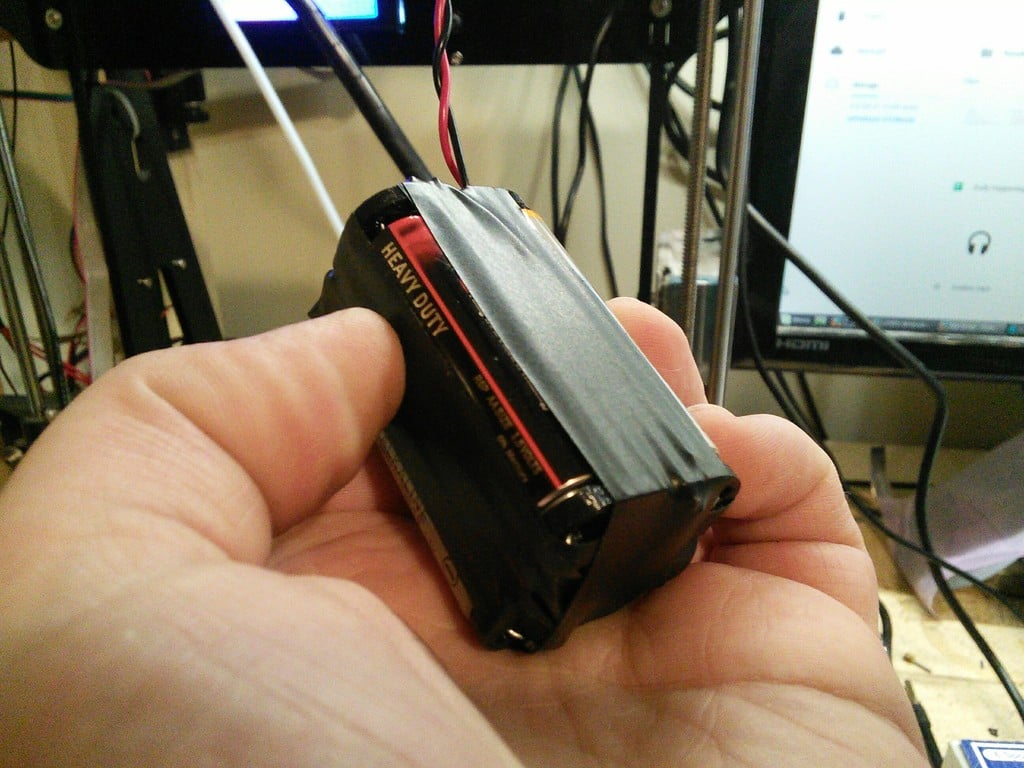
Took dittohead's 4 AA Battery Holder and decided to give it a power pack makeover. Tom Hanks to dittohead! Wiring this turned out to be quite the challenge, but it was also fun! Huzzah! Just a heads-up: if you're wiring this yourself, make sure no leads are connected that shouldn't be. I loved the size and shape of dittohead's design, but I needed to modify some extras on top and side to change its function. I added channels and extra holes to give it a new purpose. ------------------------------------------ DIRECTIONS ------------------------------------------ If you want to run the batteries in series to achieve 6V like me, follow these instructions carefully! The batteries will be oriented all Positive poles upward when inserted. Keep this in mind when thinking about the wiring. We'll need five pieces of wire for this project. Here's how we connect them: Wire 1: BAT1 Negative connects to BAT2 Positive Wire 2: BAT2 Negative connects to BAT3 Positive Wire 3: BAT3 Negative connects to BAT4 Positive Wire 4: BAT4 Negative connects to Negative Terminal Wire 5: BAT1 Positive connects to Positive Terminal Here's how it works: Run some wire through one of the two holes on the side of a battery compartment, making contact with the NEGATIVE pole. Poke the wire back up and out through the closest hole then run it through one of the channels. Once you're on the opposite side, find a duo of holes that is on an adjacent battery compartment, not across from it. Repeat the process by running wire through one of the battery holes to make contact with the POSITIVE terminal. Poke it back through the closest hole and tie or secure it. Do this for both ends. Now, start over with a new piece of wire at the NEGATIVE end of the second battery, running it through the next channel and connecting it to the POSITIVE end of the third battery. Secure both ends of this wire as well. With another new piece of wire, connect the NEGATIVE end of the third battery via the holes, run it through the next channel and connect it to the POSITIVE terminal of the fourth and final battery. Secure both ends again. Run a piece of wire from the NEGATIVE connector of the fourth battery, (through the fourth and final channel if you want), and this is your NEGATIVE LEAD. Now go back to the beginning, and connect a wire through the holes of the positive terminal of the very first battery. This now becomes your POSITIVE LEAD. Finally, attach some Red Electrical tape or heat-shrink tubing to the lead coming out of the positive pole, and some black tape or heat-shrink tubing to the negative pole. Also, take note that this unit is NOT SAFE TO USE until you shield the exposed wires with a non-conductive material. I stress this again: please don't use it until you wrap it in electrical tape! Thanks for giving it a try!
With this file you will be able to print 6V DIY Power Bank with your 3D printer. Click on the button and save the file on your computer to work, edit or customize your design. You can also find more 3D designs for printers on 6V DIY Power Bank.