60mm badge « Coat of arms of Germany » for BMW F800R
prusaprinters
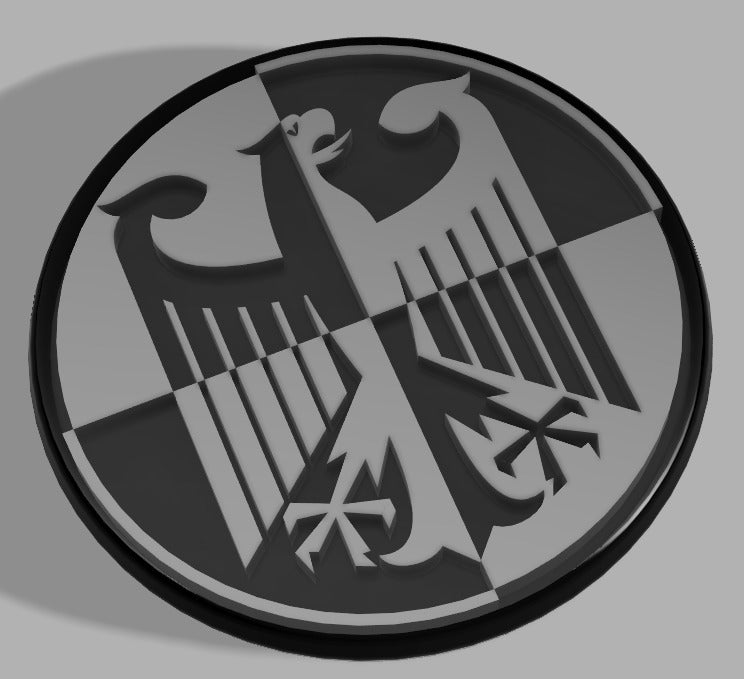
<p>Edit 01/2020 :<br>Added a different version designed to be protected by epoxy resin. See the make for a preview.</p><p>This is a round badge for replace the one one the side body of a BMW F800R 2010.<br>This represent the coat of arms of germany. Basically<strong>it’s not a nazi thing</strong> but the design used between 1928 and 1935 before the change made by nazi.</p><p>It was inspired by a BMW patch here : <a href="http://f1-wrc.com/images/patches/Motorrad-eagle-patches-5pcs-werke.JPG">http://f1-wrc.com/images/patches/Motorrad-eagle-patches-5pcs-werke.JPG</a></p><p>The .svg origin is from Wikipedia : <a href="https://en.wikipedia.org/wiki/Coat\_of\_arms\_of\_Germany">https://en.wikipedia.org/wiki/Coat\_of\_arms\_of\_Germany</a></p><p> </p><h3>How I Designed This</h3><p><strong>Step 1 : Base disc</strong></p><p> </p><p>I have used Fusion 360.</p><ul><li> Trace a 60 mm circle on a sketch.</li></ul><p> </p><ul><li>Extrude it to 2mm.</li><li>Made a sketch on the top of your body and trace another circle at 5 milimeter of the first one.</li></ul><p>Extrude the edge circle. Now you have the basic surface of the badge. <strong>Step 2 : Add the bmw helix</strong></p><p>Made another sketch on the top of the previous centered circle.</p><ul><li>On the sketch, trace a cross who represent the BMW helix.</li><li>Ad another circle at 2 mm on the edge.</li><li>Select the top left and the bottom right face and extrude it at 3 milimeters.</li></ul><p>Now you’r supposed to have the centered BMW helix. <strong>Step 3 : Import the svg</strong></p><p>Select the circle face made under the helix. The idea is to import the svg (vectorial image) on this surface.</p><ul><li>Choose import svg</li><li>Choose the dimension and the position on the dialog box.</li><li>Now you have a svg sketch, not perfect but we will work on it. <i>I personaly hide the body of the helix by clicking on the lightbulb on the model navigator. Else I cannot select my sketch well.</i></li></ul><p><strong>Step 4 : Top left and bottom right design</strong></p><p>The svg can be imperfect : Some edge are missing.</p><ul><li>Go on the sketch and delete all the line who aren’t usefull for your design. Just keep the eagle.</li><li>Select all the eagle part on the top right and the bottom right by using ctrl + click on them. Don’t select them all but one by one. If you see an error after clicking on a part that’s because a line is missing on the edge. You have to trace yourself a better line and delete the one who are useless.</li></ul><p>Choose the « cut » option and finalise the extrusion. At this moment you now have the top left and bottom right parts of the eagle who cut the BMW helix. <strong>Step 5 : Top right and bottom left design</strong></p><p>Made the sam that step 3 but with the join option of the extrude dialog box : You need to extrude all the eagle design on theses side. <strong>Step 6 : Finalize the design</strong></p><p>Add some filet on the edge by selecting the circle of the badge and using the key « f » for fillets.</p><ul><li>Draw a sketch an the top circle under the helix with a little rectangle who will « join » the eagle wings. By doing that, you will have a better print by having less retraction.</li></ul><p> </p><p> </p><p>Category: Automotive</p>
With this file you will be able to print 60mm badge « Coat of arms of Germany » for BMW F800R with your 3D printer. Click on the button and save the file on your computer to work, edit or customize your design. You can also find more 3D designs for printers on 60mm badge « Coat of arms of Germany » for BMW F800R.