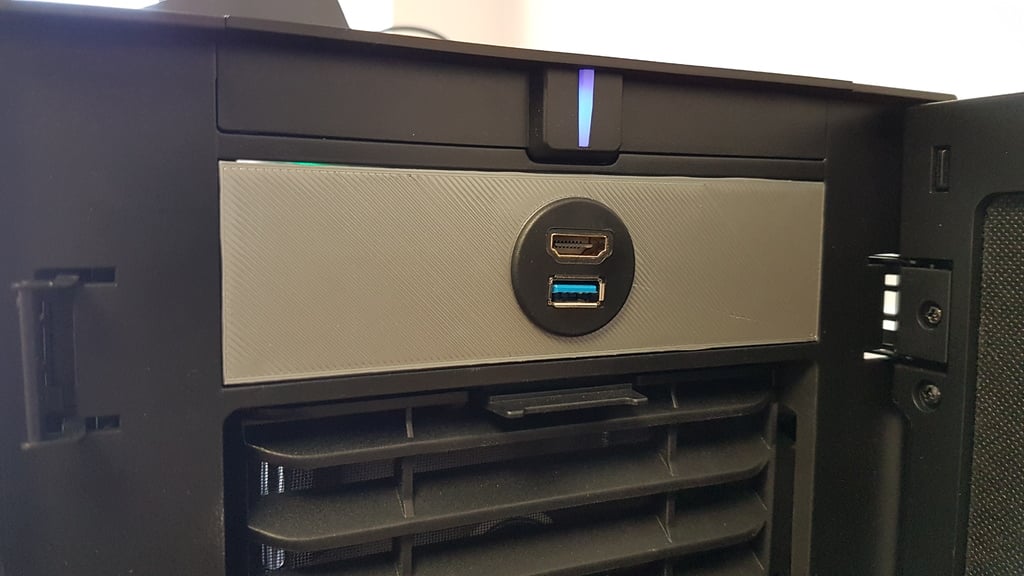
5.25" VR Drive bay
thingiverse
<b>What is this?</b> Here's the front panel and rear PCI slot cover for my VR Headset front panel connector. <b>Why should I print this?</b> I got fed up with having to go behind my case to connect up my VR headset. Also, this gives you an extra few feet of much-needed cable length as the VR headset plugs into the front of your PC. <b>What will I need?</b> An un-occupied 5.25" drive bay. Unoccupied PCI slot (or other slot to get the cables out the back of your PC; I've seen water cooling holes used). HDMI + USB3 Flush mount (I selected a 1m length that fit my case perfectly, but you may want to measure the length on the route you want your cables to go before purchasing). <b>Installation Instructions</b> Once you have purchased your flush mount kit and printed the two parts, follow these steps: Install the flush mount extension into the 5.25" front panel. Remove the PCI slot plate where you want the HDMI and USB cable to exit your case. Remove any covers on your 5.25" drive bay. Run the cables through your case via your favorite route and out the slot where you removed the PCI plate. Install your printed PCI slot, which will hold the cables in place. Clip the front panel into the 5.25" drive bay. At the back of your PC, plug both the USB 3.0 and HDMI cable. <b>YOU'RE DONE!</b> Enjoy being able to easily plug your headset in and out!
With this file you will be able to print 5.25" VR Drive bay with your 3D printer. Click on the button and save the file on your computer to work, edit or customize your design. You can also find more 3D designs for printers on 5.25" VR Drive bay.
