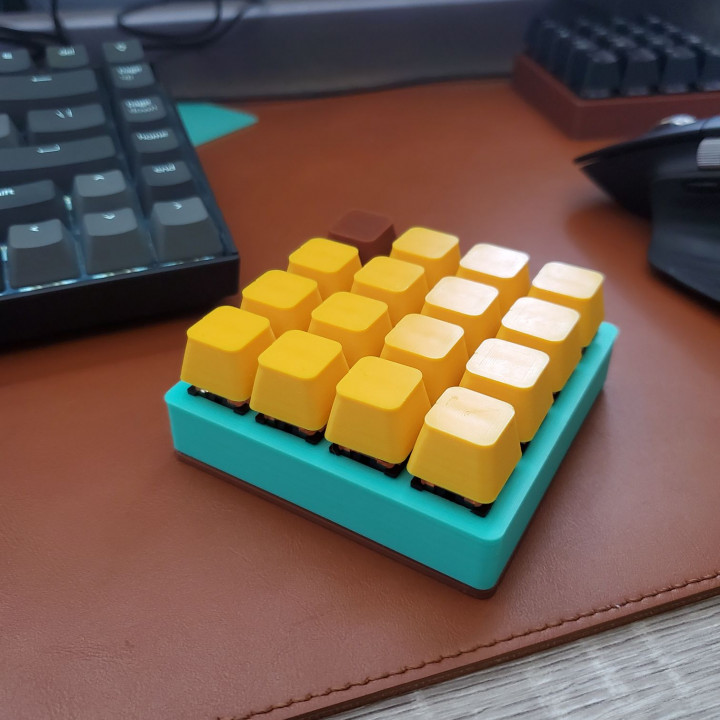
4x4 Macropad
myminifactory
A simple macropad using a 3rd party pro-micro. There's a keymap included on this page showing what macros I have assigned. Follow these guides from QMK for wiring diagrams and tips! https://beta.docs.qmk.fm/using-qmk/guides/keyboard-building/hand_wire Frame, insulator, and base were all printed at 0.28 layer height.The keys were printed at 0.12 mm. Build Instructions: snap all switches into the framesolder all columns together with wiresolder all rows together with diodes between each switchplace the insulator over the wire matrixsolder a lead from the end of each row/column to a pin on the microcontrollerflash firmware and testtape the pro micro to the slot in the basescrew it together and get typing! Components:3rd party Arduino pro micro x 1cherry mx style switches x 16diodes x 16M3 screws x 4wiresdouble sided tapepatience...
With this file you will be able to print 4x4 Macropad with your 3D printer. Click on the button and save the file on your computer to work, edit or customize your design. You can also find more 3D designs for printers on 4x4 Macropad.
