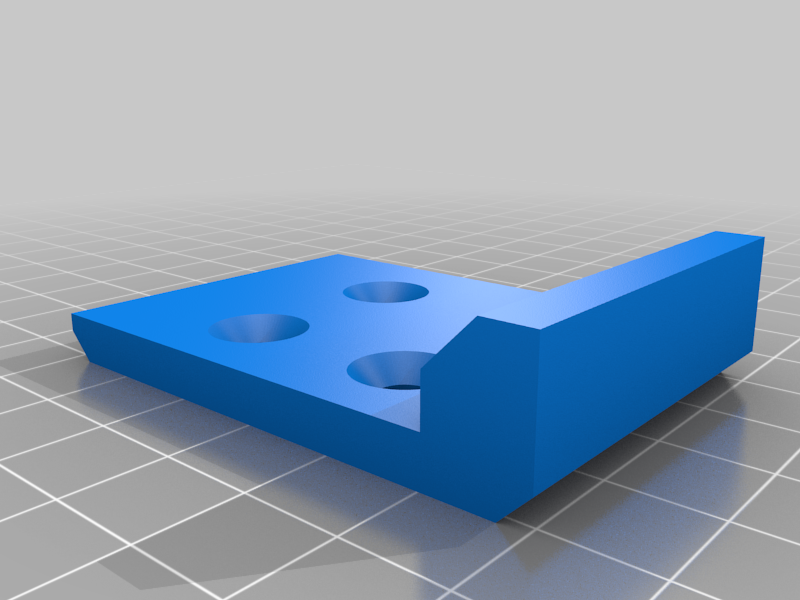
4040 Extrusion hole guide
thingiverse
Drilling Extrusion Guide: 4040 Setup Setting up your 4040 extruder for drilling requires some basic knowledge and tools. Start by ensuring all components are securely tightened to prevent any damage or misalignment during operation. First, attach the drill bit to the extruder's spindle using a suitable wrench. Next, connect the power supply to both the 4040 controller and the extruder itself. Make sure all connections are secure and properly seated to avoid electrical shock or short circuits. Now, calibrate your 4040 extruder by adjusting its height and Z-axis limits according to your specific drill bit size. This ensures accurate placement of the drill tip on the material being processed. Finally, test the setup by drilling a small pilot hole in scrap material. If everything is set correctly, the drill bit should smoothly pierce through the material without any resistance. If you found this guide helpful, consider donating to my PayPal account at paypal.me. This will help cover the time spent on designing and sharing this valuable information with others.
With this file you will be able to print 4040 Extrusion hole guide with your 3D printer. Click on the button and save the file on your computer to work, edit or customize your design. You can also find more 3D designs for printers on 4040 Extrusion hole guide.
