$4 Qi wireless charger for car
prusaprinters
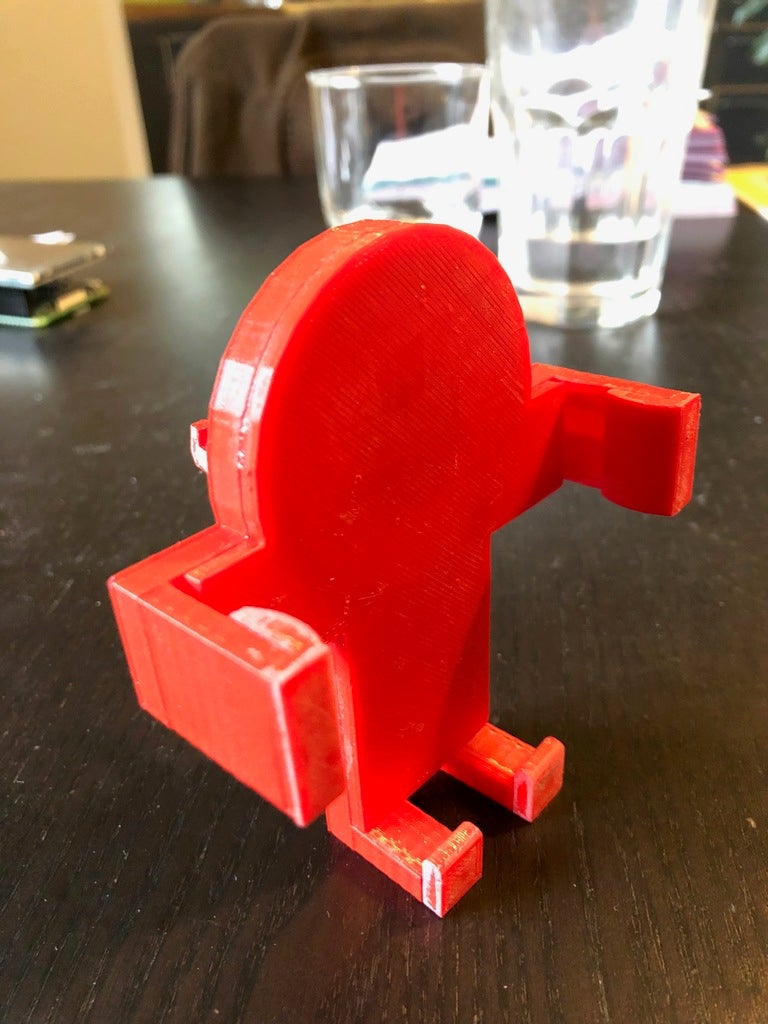
<p>My friend François once gave me a spare Qi wireless charger DIY kit.<br/> It's a bare PCB with a bunch of wires and a coil (see picture).<br/> You can buy it for under $4 at Gearbest here: <a href="https://www.gearbest.com/chargers-cables/pp_662438.html">https://www.gearbest.com/chargers-cables/pp\_662438.html</a>.</p> <p>After a few attempts to enclose it in a self-made 3D printed case, I got the idea to make a wireless charger I could use in my car.</p> <p>So this is it. It works fine with my iPhone X with an Apple standard leather protection. The component seems reliable and is efficient enough for me but I cannot promise it will last forever. No warranty for sure.</p> <p>The parts have to be glued together. I use Loctite 401 for that, it's perfect for PLA. Oh and you may have to trim so bits off if things don't fit the way they should.</p> <p>Warning: if the weather is very hot, especially inside a closed car on a sunny day, some parts can twist. PLA is not very sturdy when submitted to extreme temperatures.</p> <h3>Print instructions</h3><h3>Category: Mobile Phone Summary</h3> <p>My friend François once gave me a spare Qi wireless charger DIY kit.<br/> It's a bare PCB with a bunch of wires and a coil (see picture).<br/> You can buy it for under $4 at Gearbest here: <a href="https://www.gearbest.com/chargers-cables/pp_662438.html">https://www.gearbest.com/chargers-cables/pp\_662438.html</a>.</p> <p>After a few attempts to enclose it in a self-made 3D printed case, I got the idea to make a wireless charger I could use in my car.</p> <p>So this is it. It works fine with my iPhone X with an Apple standard leather protection. The component seems reliable and is efficient enough for me but I cannot promise it will last forever. No warranty for sure.</p> <p>The parts have to be glued together. I use Loctite 401 for that, it's perfect for PLA. Oh and you may have to trim so bits off if things don't fit the way they should.</p> <p>Warning: if the weather is very hot, especially inside a closed car on a sunny day, some parts can twist. PLA is not very sturdy when submitted to extreme temperatures.</p> <h3> Print Settings</h3> <p><strong>Printer Brand:</strong> DAGOMA</p> <p><strong>Printer:</strong> Discoeasy 200</p> <p><strong>Resolution:</strong> 0.15mm</p> <p><strong>Infill:</strong> 17%</p> <h3><strong>Filament:</strong> Chromatik PLA red Post-Printing</h3> <p><strong>Step 1: inserting the main PCB</strong></p> <p>Place the main PCB down the bottom case, with the micro USB plug facing down, between the legs (yes I know). Some bits are designed to prevent it from moving when the whole thing will be closed.</p> <p><strong>Step 2: positioning the charging plate</strong></p> <p>Place the round conductive plate on top of the main PCB, with the coil facing upwards. Mind the wires. Do your best to keep them inside, twist them, don't break them.</p> <p><strong>Step 3: the status LED</strong></p> <p>The small child PCB has a red LED that lights up when the charger is... charging. Insert it inside one of the 'arms', with the LED facing outwards. Mind the wires again.<br/> Depending on where you live, you may drive on the right or left side of the road. Place the LED PCB on whichever side is convenient for you.</p> <p><strong>Step 4: closing</strong></p> <p>Adjust the cover on the bottom case. That's the part when you may have to trim some bits off, using an exacto knife. When everything fits right, carefully glue the bottom case with the cover. Again: mind the wires.<br/> Use clamps if you have some, to keep everything tightly assembled for a few minutes.<br/> There is no turning back.</p> <p><strong>Step 5: done</strong></p> <p>Glue the side bumps inside each arm. Each bump fits only with either the right or left arm.<br/> I guess different bumps should enable the charger to be used with a wider phone.</p> <p>Glue the 'feet' to the legs. Both feet are the same. There is a small bump on each foot that is designed to fit inside the slot of the leg.</p> <p>Finally, glue the hook part on the back of the case. Again, the two slots are designed to welcome the two bumps of the hook, to help you position it right.<br/> The hooks must face upwards.</p> <h3> How I Designed This</h3> <p><strong>Sketchup made</strong></p> <p>I'm not a professional designer.<br/> I can give you the Sketchup files if you need it to match your specific needs.</p>
With this file you will be able to print $4 Qi wireless charger for car with your 3D printer. Click on the button and save the file on your computer to work, edit or customize your design. You can also find more 3D designs for printers on $4 Qi wireless charger for car.