4" Back-Horn Speaker
prusaprinters
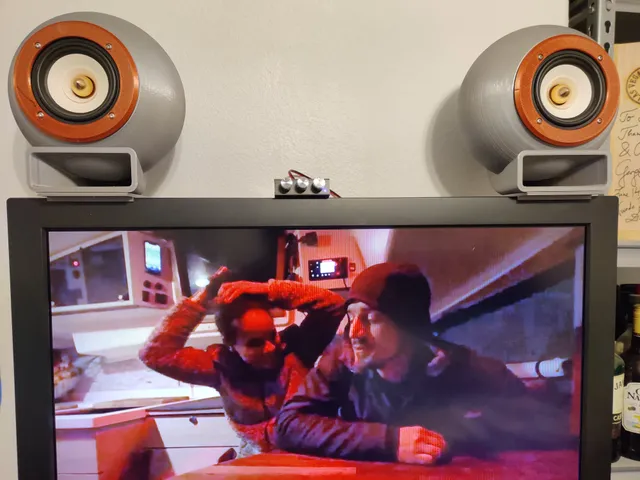
Disclosure: this is a remix of the 3" design at https://www.thingiverse.com/thing:4731920, which doesn't appear to have been brought over here.I had already bought 4" drivers to use with another enclosure design that didn't work out. This was originally designed for 3" drivers, so I scaled it up to 131% of original size (to get the holes where I needed them) and added some modifiers to keep the mounting holes sized for M4 hardware.This won't print in the common 200x200x200mm build volume. With the enclosure oriented for printing, PrusaSlicer reports it's 231x210x201 mm. I'm using my Hypercube 300 to print it, and the print time (with 20% gyroid infill and 0.2 mm layer height) is about 66 hours for the body and an hour and a half for the trim ring. A working filament-runout sensor might also be a good thing to have.If you need to reposition the models for printing on your printer, make sure the modifiers get moved as well.The original project recommended 20% infill. The screw holes don't appear to show up in the preview that Printables provides, but they are present and viewable once you download the model and load it in PrusaSlicer (or maybe one of its close relatives).Assembly tips:Drill out the screw holes to 4.5 mm so that M4 screws will pass through freely.Use longer bolts than you think you'll need. I ended up using M4x45s.Use a little bit of Blu-tack around the nuts to hold them in the nut traps.Getting the bolts started on the nuts takes a light touch, but once you think they're started, give them a tug to make sure.The speakers in the photos were printed in American Filament pearly silver PLA (body) and Veeology copper silk PLA (trim ring). The drivers are Aiyima 4" 30W full-range units.I've also added models for the “platforms” I use to sit the speakers on top of one of my TVs. platform_top and platform_bottom are printed separately and glued together; the pins sticking up from platform_top engage the holes in the speaker body. platform_acc prints in one piece and is intended for other stuff that might go on top of the TV, like an amplifier. Unless you have the same TV I do, you'll probably want to modify platform_bottom and platform_acc to sit level on top of yours; OpenSCAD source is included.
With this file you will be able to print 4" Back-Horn Speaker with your 3D printer. Click on the button and save the file on your computer to work, edit or customize your design. You can also find more 3D designs for printers on 4" Back-Horn Speaker.