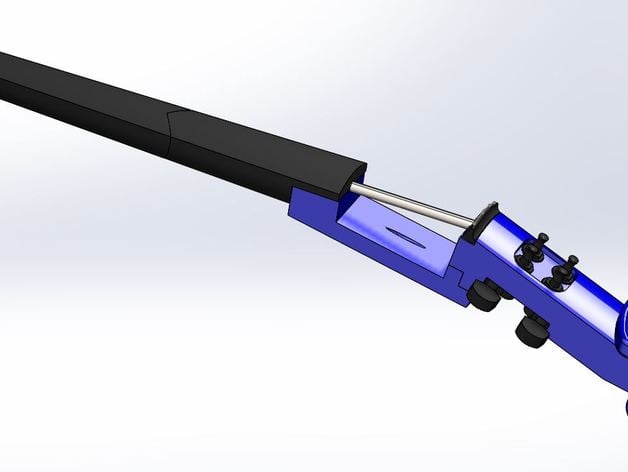
4/4 Scale Electric Violin - EPV R2
thingiverse
This package contains all the parts needed to assemble a complete size (4/4) version of the Electric Parametric Violin (Revision 2). This violin was designed in Solidworks 2012 as part of a parametric model that generates any necessary size of violin. If you need CAD files, they can be found at this link. This collection of instruments is my third attempt at electric violin design - the first one was a 1/2 scale model for my daughter, and the second was a 1/16 scale model for my son. The roots of this violin's design are rooted in the excellent FFFiddle by David Perry. A full range of EPV sizes is available: 4/4 Scale, 3/4 Scale, 1/2 Scale, 1/4 Scale, 1/8 Scale, and 1/16 Scale. UPDATE: New files have been uploaded for people with smaller build platforms. Use the EPV 4-4 Body-AA R2.STL and EPV 4-4 Body-AB R2.STL along with EPV 4-4 Body-B R2.STL to make the body of the violin. These parts will fit on a 150 mm square build platform, and all existing fingerboard pieces (EPV_4-4_Fingerboard-A_R2.STL & EPV_4-4_Fingerboard-B_R2.STL) should also fit. See the instructions document for detailed build instructions. The violin can be split into smaller parts to make it easier to print on a smaller platform. I printed all of the parts with a raft, 15% infill, and four shells. The fingerboard was printed without support, but if you do need to print it with support, use music wire and a drill. Any stiff polymer is suitable for printing this design. Additional components required include Schaller M6 Mini tuners, K&K sound "Twin spot" piezoelectric pickup, 1/4" rod or tube, violin strings, 20" of music wire (0.025"-0.035" diameter), hacksaw, small Phillips screwdriver, sandpaper, and a triangular file. To assemble the instrument, use hacksaw to create a slot in the end of the tube that catches the knot in the music wire. Tighten the tuner screws with a 10 mm wrench, smooth the surface of the fingerboard using sandpaper and an appropriate solvent, make notches for strings in the bridge and nut using a triangular file or sharp knife. Use the tools listed above to assemble the instrument. Note: Some additional cleaning tools are recommended to remove support material from prints.
With this file you will be able to print 4/4 Scale Electric Violin - EPV R2 with your 3D printer. Click on the button and save the file on your computer to work, edit or customize your design. You can also find more 3D designs for printers on 4/4 Scale Electric Violin - EPV R2.
