4$ 3D Printing Time Laps Video Camera Shutter
thingiverse
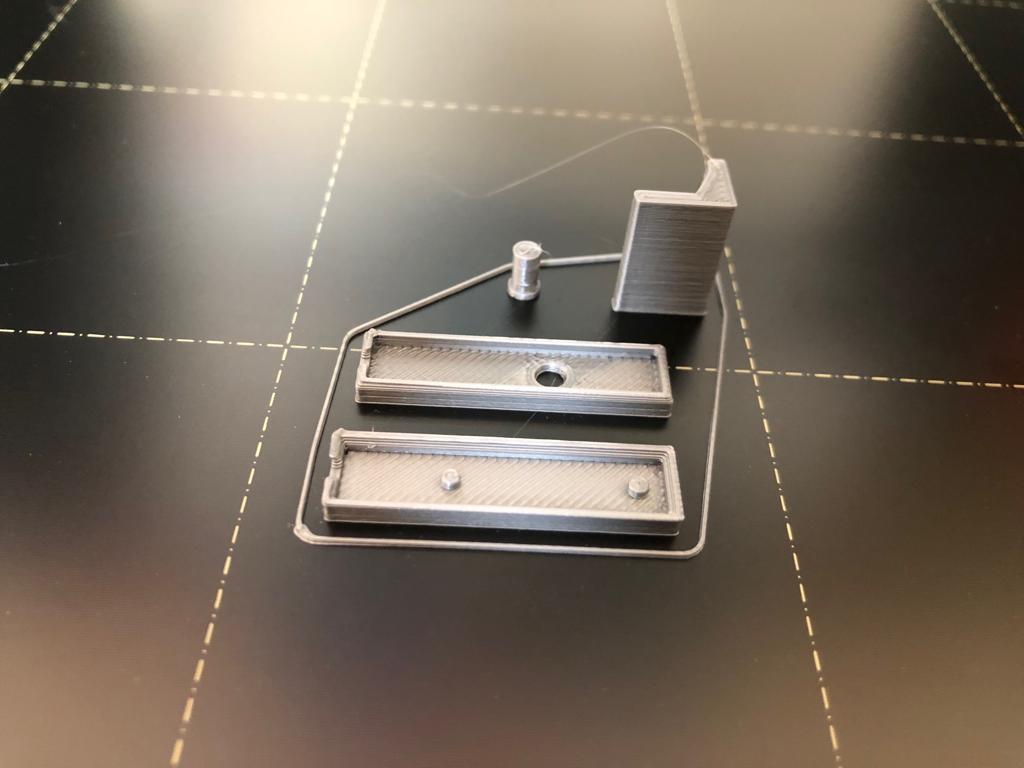
This is a 4-step setup for Camera Shutter Mechanism on Prusa 3D Printers. No software is required, allowing you to create nice time-lapse videos of your 3D printing projects using only your cell phone. What You Need: 1. Monopod Wired Selfie Stick: https://www.ebay.com/itm/Mini-Handheld-Wired-Selfie-Stick-Monopod-Extendable-Pole-Holder-For-Cell-Phone-A/173768871950?hash=item28756e900e:m:mwNN6t34o09sDnqJG9TFyGg You must disassemble it and use the cable, switch, and camera jig as well. 2. 3M Double-Sided Tape 3. Your Smartphone 4. Mini Tripod 5. Use double-sided tape to secure the button and shutter in place as shown in the pictures. You may need to make adjustments if your printer design differs significantly from Prusa printers. 6. Once set up, add these lines to your customized g-code after each layer (see photo): G90; Absolute Positioning G1 F9000 X241 Y200; Fast Move G1 F1000 X242; Precision Trigger G1 F9000 X241, Quick Release G4 P700; Wait for a while Setup: 1. Setup Video: https://www.youtube.com/watch?v=0R03KZ6Ku60 2. Sample Videos: You can assemble the photos together in Windows Movie Maker or any other video editor like iMovie on Mac. https://www.youtube.com/watch?v=mDYbF5VwaWw 3. For better photos with controlled exposure, it's recommended to keep the entire system enclosed in a studio box with your chosen lighting. I built mine using silver-colored PLA Filaments from Filatech (www.fila-tech.com) Enjoy and Happy Printing.
With this file you will be able to print 4$ 3D Printing Time Laps Video Camera Shutter with your 3D printer. Click on the button and save the file on your computer to work, edit or customize your design. You can also find more 3D designs for printers on 4$ 3D Printing Time Laps Video Camera Shutter .