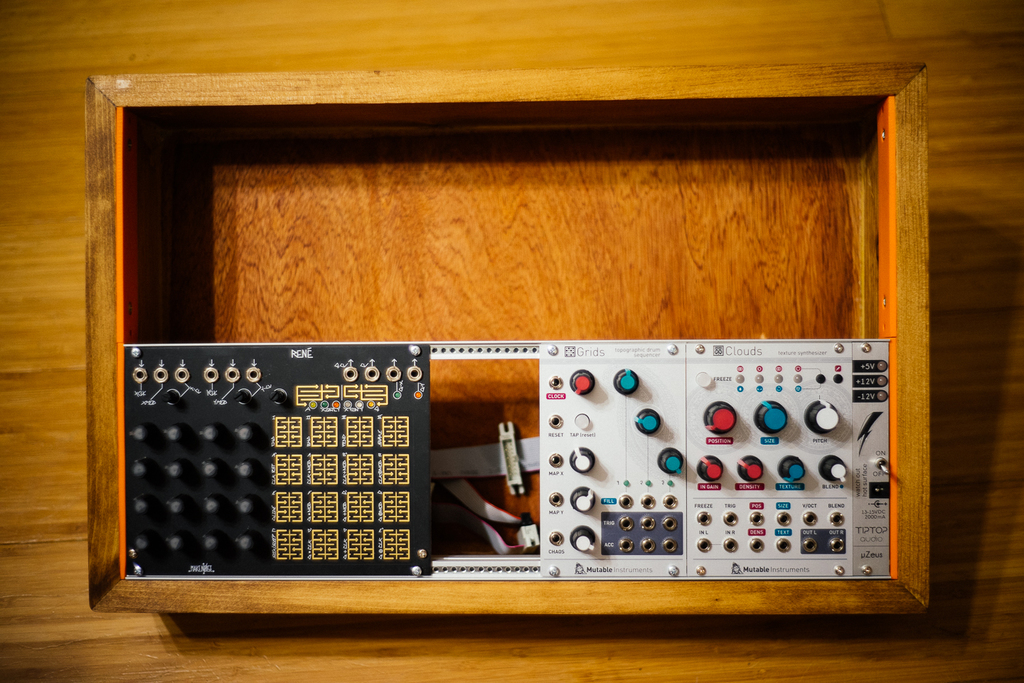
3U Eurorack Rail Mounts
thingiverse
You can create custom mounts for TipTop Audio Z-Rails in DIY Eurorack cases that are just 4mm thick, perfect for building your own skiff or case. To get started, screw the rails together using M4 machine screws and then attach them to a box with even more screws. The TipTop Audio Z-Rails require M4 screws, so you'll need to drill holes that fit those screws into your mount. Since these mounts are 4mm thick, make sure to add 8mm to the length of your rails when calculating the inner dimensions of your case. When attaching the rails to the box, use M4-0.7 x 10mm pan head screws and #8 x 3/4" wood screws to secure everything in place. I recently updated my design to include a .2mm increase in thickness for the countersunk portion, which helps prevent supports from getting in the way during printing. This little tweak makes a big difference in how clean your overhangs turn out.
With this file you will be able to print 3U Eurorack Rail Mounts with your 3D printer. Click on the button and save the file on your computer to work, edit or customize your design. You can also find more 3D designs for printers on 3U Eurorack Rail Mounts.
