3T Ventus II Risers
prusaprinters
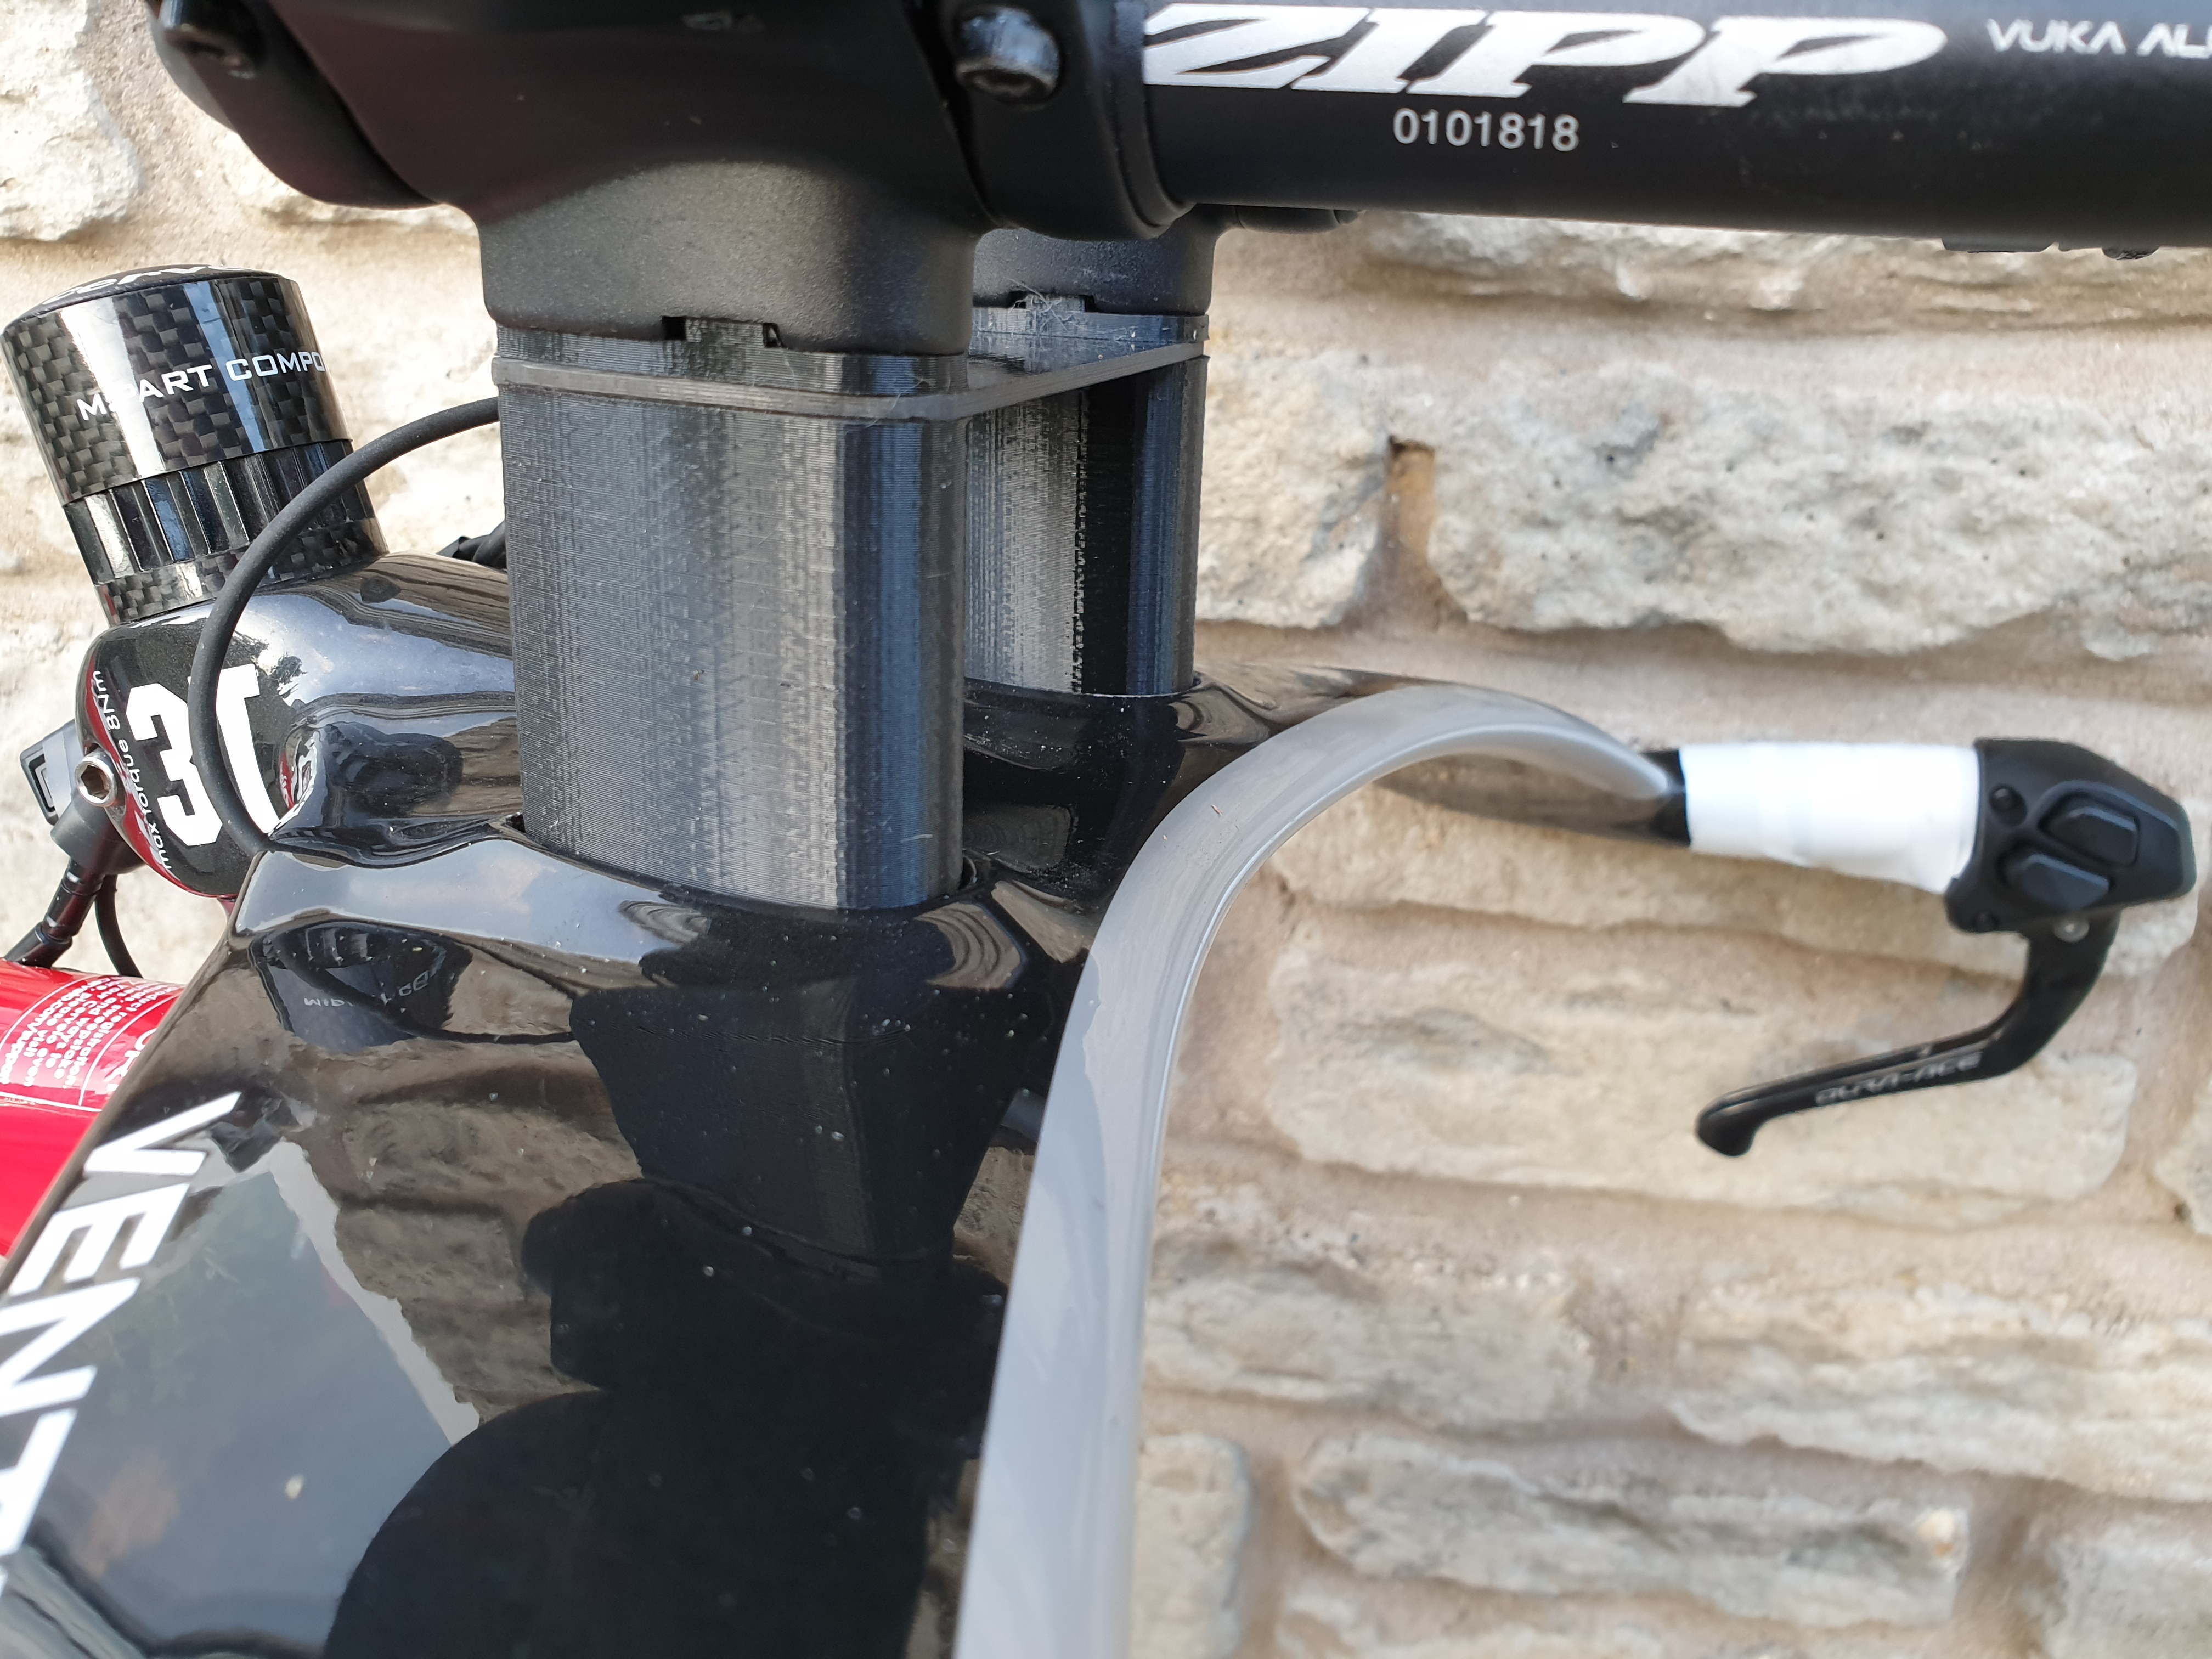
<p>This is a design for 'pedestaling' the aerobars on a set of Ventus II tri-bars.</p> <p>They fit in between the basebar and the extension clamps and adds 50mm of rise.</p> <p>You need two of the risers (they're not handed), two of the tops (not handed either) and one of the plates.</p> <p>My first iteration didn't have a bridge, but I found that the bars flexed and shifted all over the place so I designed one. I printed the bridge and used it as a cutting template for a sheet of 2mm 3K carbon fibre (easy to obtain on eBay).</p> <p>I used 4 off 70mm x M5 stainless screws to hold the bars in place.</p> <p>I've included a groove to allow Di2 wires to be snapped into place.</p> <p>Next steps are to design a housing for the Di2 junction A box and create a solution to better blend the Di2 cables from the ends of the extensions and onto the basebar.</p> <h3>Print instructions</h3><p>Unassociated tags: Tri bars</p> <h3>Category: Sport & Outdoors Print Settings</h3> <p><strong>Printer Brand:</strong> Prusa</p> <p><strong>Printer:</strong> i3 MK2.5</p> <p><strong>Rafts:</strong> No</p> <p><strong>Supports:</strong> No</p> <p><strong>Resolution:</strong> 0.2mm</p> <p><strong>Infill:</strong> 90%</p> <p><strong>Filament:</strong> Real Filament PETG Black<br/> <strong>Notes:</strong></p> <p>I used a really high infill for strength and stiffness as the risers aren't that large in cross-section.</p> <h3> How I Designed This</h3> <p><strong>Designed on Fusion 360</strong></p>
With this file you will be able to print 3T Ventus II Risers with your 3D printer. Click on the button and save the file on your computer to work, edit or customize your design. You can also find more 3D designs for printers on 3T Ventus II Risers.
