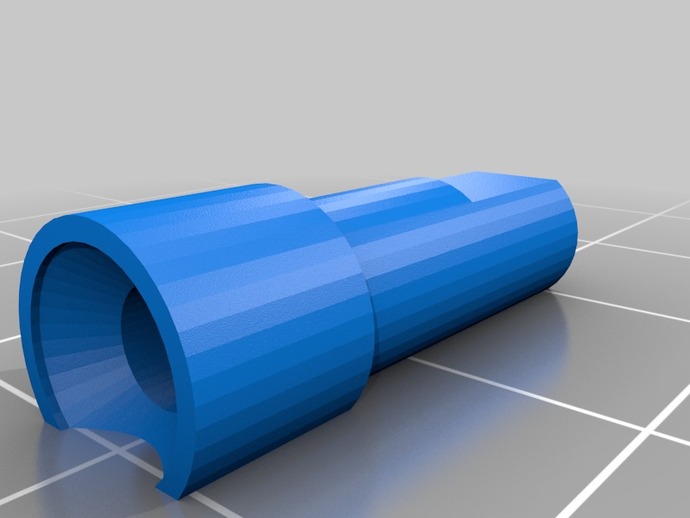
3FPD-Replicator 2X - Extruder Upgrade - REV3
thingiverse
This upgraded extruder is designed exclusively for Replicator 2X, with enhancements over previous designs by whpthomas and others. Key features include a fully printable base (REV3 includes design tweaks), an arm that prints with only external supports at the bearing slot, integrated feed tube mount on the arm (also REV3 design improvement), improved tension spring geometry (REV3 provides more tension), and the use of 5/32" and 1/4" bits for tight clearance in bearing and arm pivot holes. The kit includes Makerbot hardware for Rep2 plus one extruder screw, which can be pre-assembled for quick swaps (under two minutes each). It also comes with L and R extruder parts, clearly labeled for common pin compatibility. To assemble, acquire the Rep2 extruder upgrade kit hardware from Makerbot ($8 each for should bolt, small flathead screw, bearing, spring), then print the upgraded parts at 0.27mm layer without supports for the base and with external supports for the arm due to its bearing channel. Prepare by chasing the bore for the bearing shoulder bolt with a 5/32" drill bit for a tight fit, filing pin flats and rounding pin edges, and ensuring smooth seating in the base key slot with no radius corners. Pre-assembly involves assembling LH-Arm, LH-Base, RH-Arm, RH-Base, and a common pin (print two of each). Place the small flathead screw into the deep corner countersunk hole in the base part, insert the pin into the arm so it's flush on the outside face, place the bearing into the arm slot and secure with the shoulder bolt. The shoulder bolt head should be flush to the outside face, and threads should stick out the back; the bearing should spin freely. Place the spring on the bottom perch and compress it into the arm perch. Follow Makerbot's instructions for removing the existing extruder, then place the pre-assembled upgraded extruder onto the stepper, possibly compressing the arm slightly to move the bearing out of the way of the drive gear. The new extruder should seat flush against the stepper face. Secure with one of the long flathead screws from the removed Makerbot extruder through the corner pin. Tighten until snug, ensuring free movement with slight resistance. Press the arm down and insert the hex-key through the arm hole to tighten the small flathead screw in the other corner. Repeat for the other side. Suggestions for improvements are welcome.
With this file you will be able to print 3FPD-Replicator 2X - Extruder Upgrade - REV3 with your 3D printer. Click on the button and save the file on your computer to work, edit or customize your design. You can also find more 3D designs for printers on 3FPD-Replicator 2X - Extruder Upgrade - REV3.
