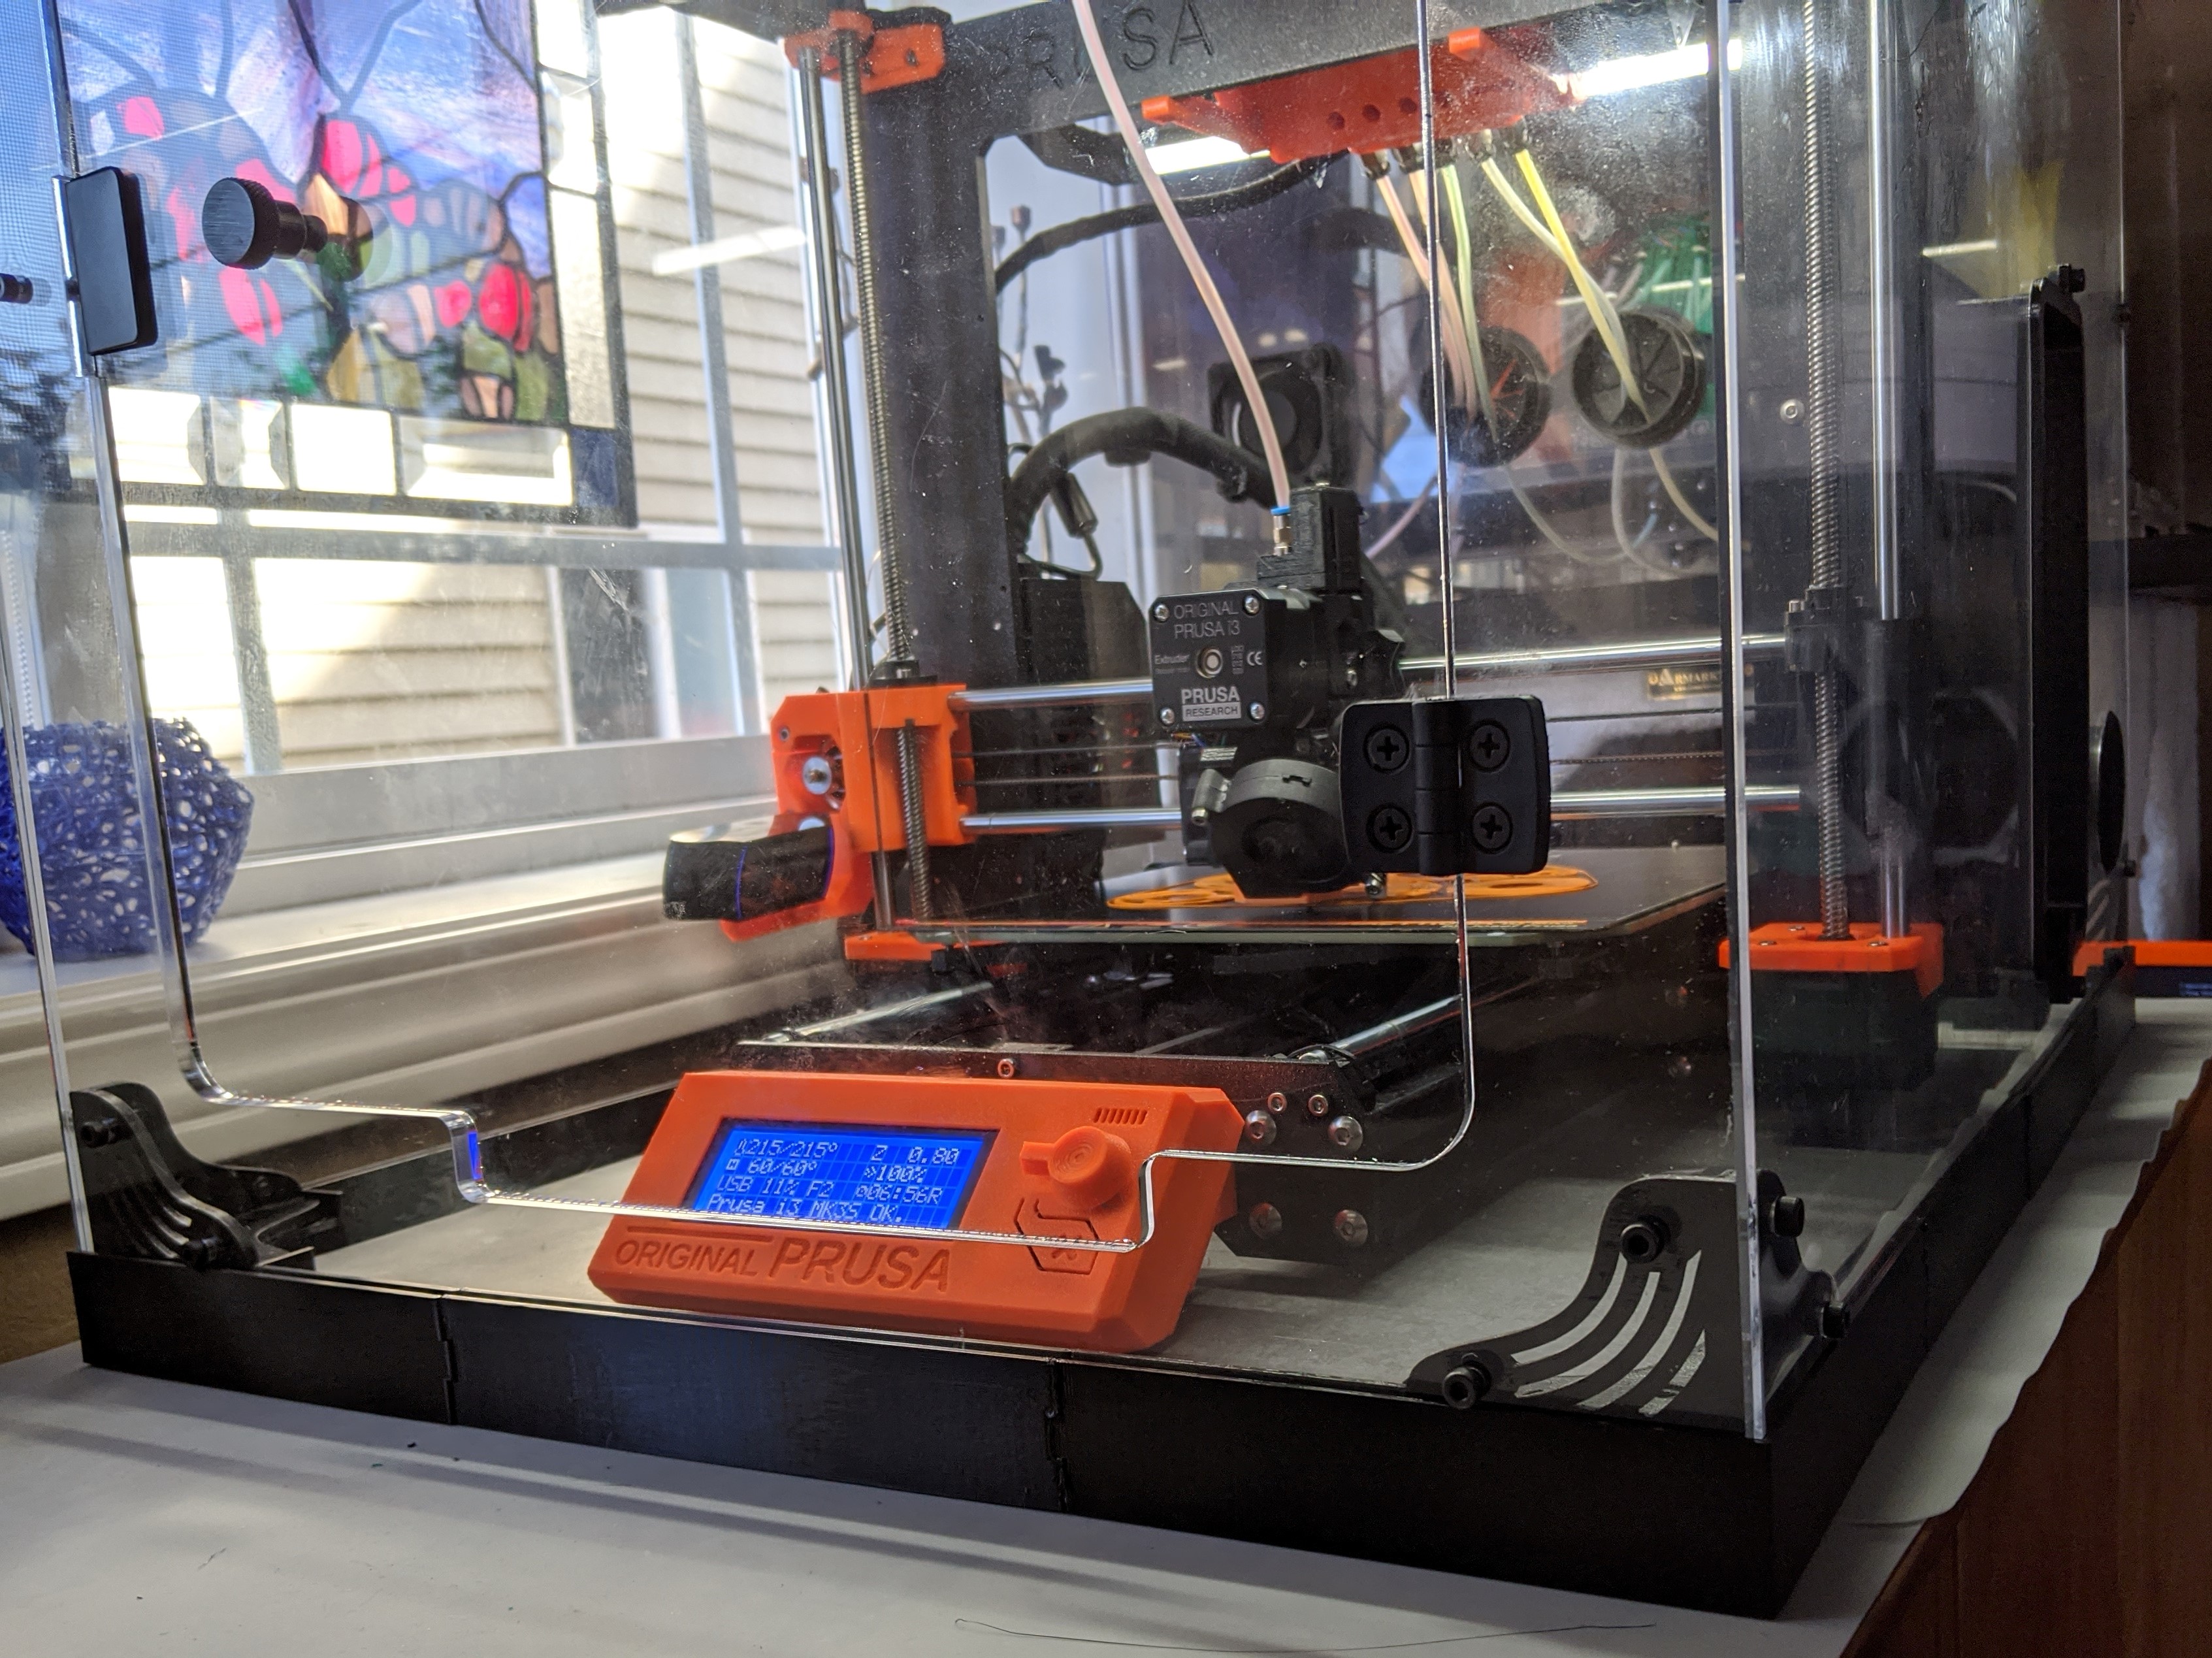
3DUpfitters Prusa Enclosure Riser
prusaprinters
<p>I added a ceramic tile below my printer to reduce noise and vibration, and that raised my printer up by 1 inch. This meant that my 3DUpfitters Enclosure no longer fit perfectly around my PSU.</p> <p>To fix this, I created and printed a 1" riser around the bottom of the acrylic enclosure. This fixes the issue of the PSU being 1" too tall for the opening in the enclosure, and it also helped with the issue of the acrylic walls liking to bend too much around the printer, becoming wavy instead of straight.</p> <h3>Print instructions</h3><h3>Category: 3D Printer Accessories Print Settings</h3> <p><strong>Printer Brand:</strong> Prusa</p> <p><strong>Printer:</strong> I3 MK3S</p> <p><strong>Rafts:</strong> No</p> <p><strong>Supports:</strong> Yes</p> <p><strong>Resolution:</strong> 0.3</p> <h3><strong>Filament:</strong> Prusament PETG Jet Black Post-Printing</h3> <p>I used superglue to glue the parts together to make it easier to use. I also tried using a 3d pen to fill in the joint between the parts but I don't believe it helped much.</p> <h3> How I Designed This</h3> <p>You are welcome to edit the original design in Onshape:<br/> <a href="https://cad.onshape.com/documents/5e755d72309109f233c30a7a/w/084b0f120201ab7baa6be134/e/082728f97e9f7ff970c7fabf?configuration=width_acrylic_thickness%3D0.004%2Bmeter">https://cad.onshape.com/documents/5e755d72309109f233c30a7a/w/084b0f120201ab7baa6be134/e/082728f97e9f7ff970c7fabf?configuration=width\_acrylic\_thickness%3D0.004%2Bmeter</a></p> <p>Change the acrylic thickness to 4 mm for the back, and 6.5 for the front as the front part of the enclosure has thicker acrylic.</p>
With this file you will be able to print 3DUpfitters Prusa Enclosure Riser with your 3D printer. Click on the button and save the file on your computer to work, edit or customize your design. You can also find more 3D designs for printers on 3DUpfitters Prusa Enclosure Riser.
