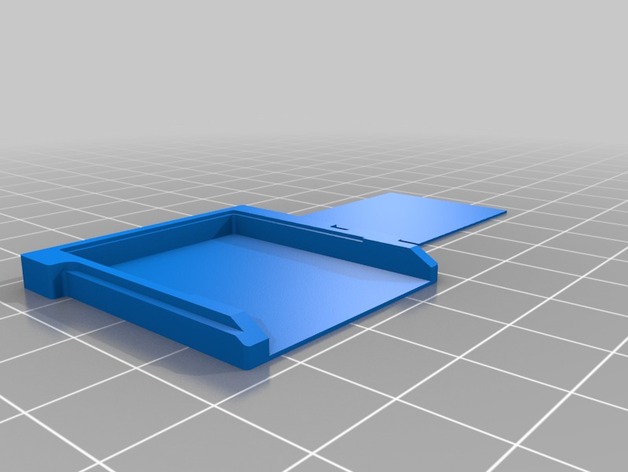
3DS Game Cartridge PCB Ready
thingiverse
Here's a 3DS cartridge ready to be turned into a PCB. Good luck squeezing everything into that space! You have 36.5 x 33mm to work with, and you'll need to reserve 10 of the 33mm for your contacts. That leaves about 23mm to spare. You've got barely enough room to fit a PCB that's less than 3mm high. Unfortunately, I can't give you more space because it would compromise the part's strength. As it is now, it has three strong edges to support the extremely thin top and bottom layers. Good luck figuring everything out - be sure to post your progress so we can take a look! UPDATE: A file with instructions for using a 3mm screw has been added. However, keep in mind that this will leave even less space for your PCB. I highly recommend sticking with the original design without the screw. UPDATE: This print has now been successfully completed and tested - check out the attached pics to see it all printing properly! To assemble your project, follow these steps: Print two parts onto the plate. Once your PCB is in place, carefully glue on the top cap - if everything fits, that is. Omitting the top cap will give you a total of 3.4mm of clearance for your PCB. For optimal results, print with a 0.2mm layer height, infill at 40%, and two perimeters.
With this file you will be able to print 3DS Game Cartridge PCB Ready with your 3D printer. Click on the button and save the file on your computer to work, edit or customize your design. You can also find more 3D designs for printers on 3DS Game Cartridge PCB Ready.
