3DNrj.com USB sticks and SD cards holder
thingiverse
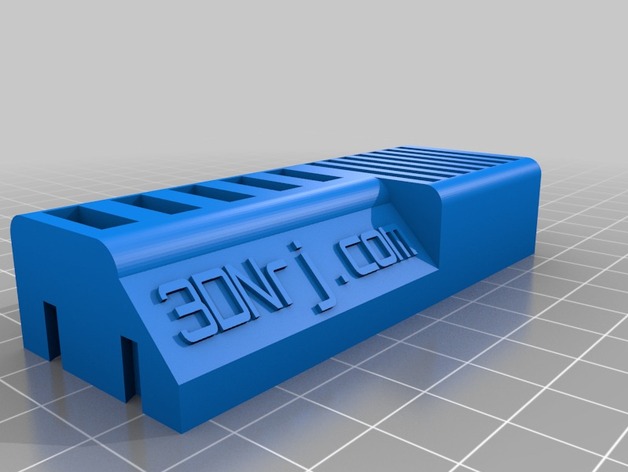
Design your very own customized USB sticks and SD cards holder using these simple steps. First, make sure to use the following parameters: SD gap size must be set to 2 units. Choose a device type number of 3 for the most effective performance. Height of the sign will be determined at 7 units tall. Next, assign a radius value of 4 to the pencil. Spacing between MicroSD cards should be set at 3 units apart. Input your custom text to appear on the sign: 3DNrj.com. Select number of SD cards required to mount - seven units available. The order of the device placement will automatically default to -1, or use manual override settings as preferred. To choose from a variety of print options, select a build plate selector with value 1 assigned. Adding additional details, set USB Extra at eight units for extended coverage needs. Aligning your build plate to perfect positioning, move y-coordinate at one hundred. Set x-coordinate at hundred too to finalize manual build placement setup. Signs can be customized in style by changing fonts. Opting for a bold orbitron font will make text stand out clearly on your creation. Design Type should be set as number 1, according to preferences and required functionality demands. The choice of Connector Type, for this specific project must adhere strictly to option 3. Setting the desired quantity of USB sticks needed for implementation - pick any amount from one to five. Assign a pencil gap distance at three units away. Lastly, space USB sticks from each other at 4.5 unit separation for efficient data storage and port usage requirements.
With this file you will be able to print 3DNrj.com USB sticks and SD cards holder with your 3D printer. Click on the button and save the file on your computer to work, edit or customize your design. You can also find more 3D designs for printers on 3DNrj.com USB sticks and SD cards holder.