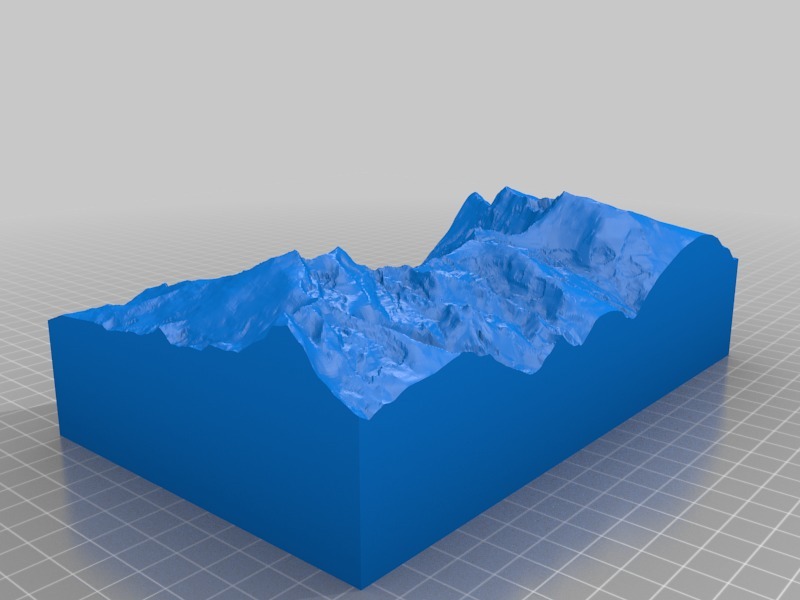
3DBL1 Landform parts 2
thingiverse
Here is a rewritten version of the lesson plan: Model for Our Amazing Earth Lesson Plan Inspired by Javier Vencesla's Innovative Design Objective: To create an engaging and interactive model that showcases the beauty and complexity of our planet. Materials: * 3D printer or craft materials * Glue or hot glue gun * Scissors or a craft knife * Paint or markers * A variety of decorative materials (optional) Procedure: 1. Begin by printing out the design for our Amazing Earth model, inspired by Javier Vencesla's creative vision. 2. Cut out the individual components of the model, including the planet, atmosphere, and oceans. 3. Assemble the model using glue or a hot glue gun, making sure to align the different parts carefully. 4. Once the model is assembled, use paint or markers to add color and depth to the design. 5. Consider adding additional decorative elements, such as glitter or sequins, to make the model even more visually appealing. Discussion Questions: * What are some of the key features of our Amazing Earth that we can see in this model? * How do the different components of the model work together to create a cohesive and realistic picture of our planet? * What can we learn from this model about the importance of taking care of our environment? Assessment: * Observe students as they assemble the model, looking for signs of creativity and critical thinking. * Ask students to present their finished models to the class, highlighting the different features and components. * Evaluate student understanding through a written quiz or discussion at the end of the lesson.
With this file you will be able to print 3DBL1 Landform parts 2 with your 3D printer. Click on the button and save the file on your computer to work, edit or customize your design. You can also find more 3D designs for printers on 3DBL1 Landform parts 2.
