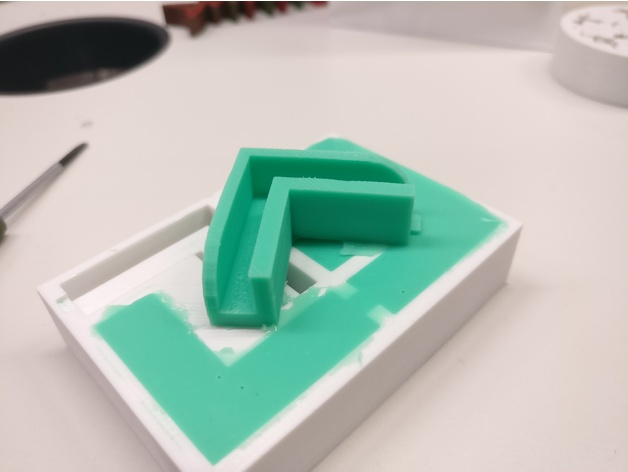
3Dator foot silicone mold
thingiverse
This is a straightforward approach to creating a foot for a 3D printer. Printing the Mold Step 0 - Print the Mold It's crucial to use at least 20% infill and 6 top layers with a 0.1mm layer height when printing the mold. Try to print as cleanly as possible since this affects the outcome directly. Step 1 - Prepare the Mold Ensure that the print is clean and free of strings, as any imperfections in the mold will be transferred to the Foot. In my experience, the mold doesn't require a release agent because PLA or PETG are slippery enough. Mixing the Silicone Step 2 - Mix the Silicone Based on your chosen silicone, mix it according to the instructions. You'll need approximately 6-7g per foot (x4 for all four molds). Tip: Transfer the mixed silicone to another container and mix again to ensure thorough mixing. I used a silicone with a hardness of around 20 Shore. Harder silicones don't dampen vibrations as much. Pouring and Curing the Silicone Step 3 - Pour Silicone into Molds Simply pour the silicone into each mold, then wait for it to harden. Step 4 - Allow the Silicone to Cure Wait for the silicone to cure completely. It's better to err on the side of caution and wait longer since the hardened silicone needs to be strong enough to be removed from the mold.
With this file you will be able to print 3Dator foot silicone mold with your 3D printer. Click on the button and save the file on your computer to work, edit or customize your design. You can also find more 3D designs for printers on 3Dator foot silicone mold.
