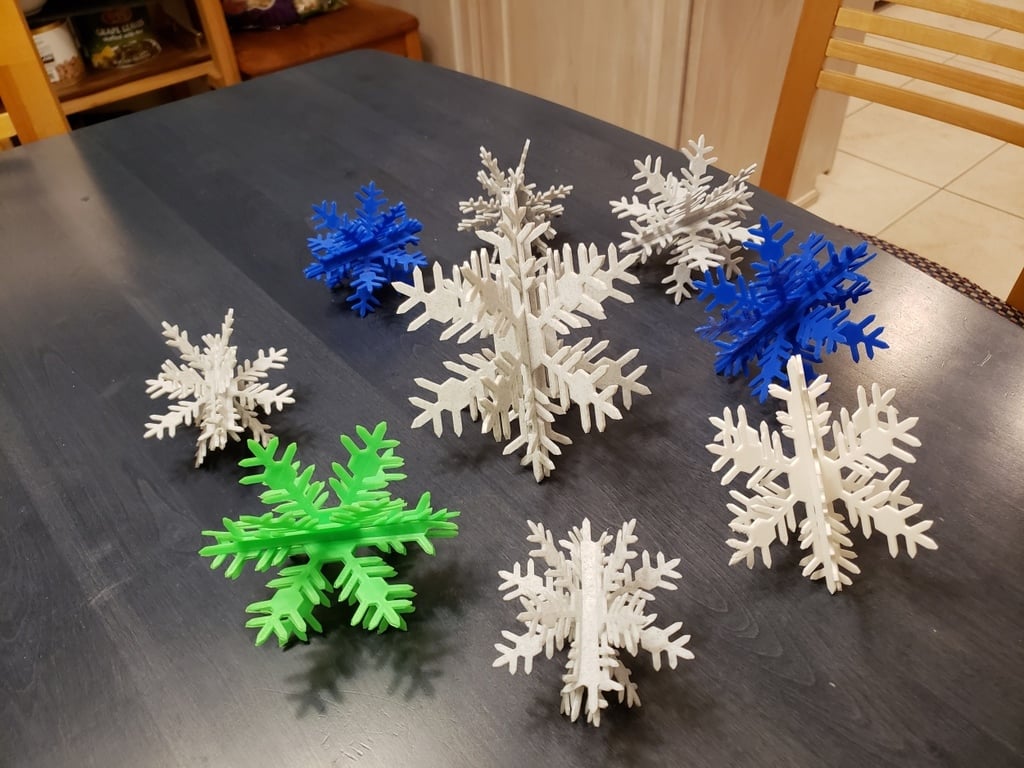
3D Snowflake Ornament in Three Pieces
thingiverse
This is an OpenSCAD design for a snowflake ornament with three flat parts that slot together at 120 degree angles to form a 3D structure. The STL provided is 9.5 cm (3.75 in) in diameter. The parts are directional and fit together in precisely one way. You can solve it like a puzzle or follow the spoiler instructions below. When disassembled, the ornament can be stored or mailed in a flat envelope. - Lay part1, part2 and part3 face up (as printed), side-by-side in a row, as shown in the annotated picture. Note that part1 has a small barb on the main tine, whereas part3 doesn't. - Lift part1 straight up off the table with your left hand. Lift part2 straight up with your right hand. Tilt part2 120 degrees *away* from you (Y axis). Slide part2 to the left into part1, with the part2 slot matching the part1 slot that is closest to you. - Keeping your left hand the same, lift part3 straight up with your right hand. Tilt part3 120 degrees *toward* you. Slide part3 in to the left so its main tine will lie on top of the two main tines that are already mated. When part3 is half way in, you may feel some resistance due to the retention barb forcing tines apart. Once pressed all the way in, the barb will catch on part1 and part2 wlll be held captive between part1 and part3. If you print it without the barb (customizer window in OpenSCAD), the pieces will slot together very easily, but they'll also fall apart very easily. A couple drops of superglue will keep it together permanently.
With this file you will be able to print 3D Snowflake Ornament in Three Pieces with your 3D printer. Click on the button and save the file on your computer to work, edit or customize your design. You can also find more 3D designs for printers on 3D Snowflake Ornament in Three Pieces.
