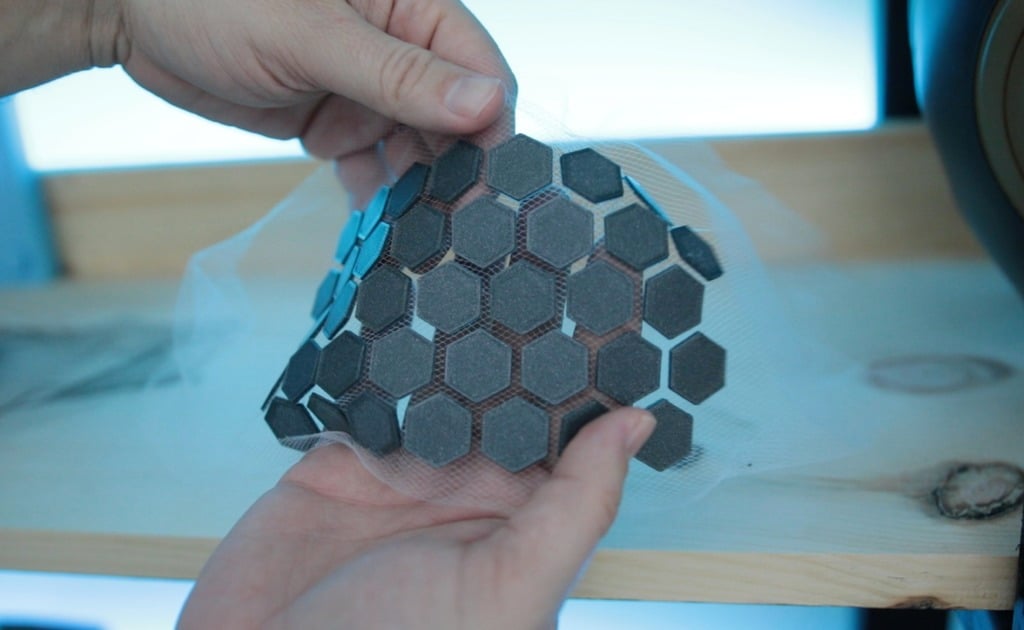
3D Printing on Fabric - Hexagon / Triangle Pattern Test
thingiverse
These are some basic geometric shapes made quickly in Tinkercad to test direct printing on fabric. This project is incredibly cool and easy to do. It's a great way to create unique prints that stand out from the crowd. Here's how it works: 1. First, print the file. 2. Pause the printer at about the second or third layer of the print job. 3. Secure down some Tulle fabric - you can find this online at Amazon. 4. Resume printing and watch your design come to life. If you're using Simplify3D, you can insert special code into your terminal commands to make the process even smoother. This code will stop the printer at the third layer, move it out of the way so you can secure the fabric, then let you resume printing with ease. You can use this code: {REPLACE "; layer 3, Z = "; layer 3\nG28 Y0 X0\nM300\nM25\nG92 E0\nG28 Y0 X0\n; layer 3 "} I first discovered this technique from Shorey Designs - be sure to check out his Instagram page for more inspiration. Here's a video that shows the entire process in action.
With this file you will be able to print 3D Printing on Fabric - Hexagon / Triangle Pattern Test with your 3D printer. Click on the button and save the file on your computer to work, edit or customize your design. You can also find more 3D designs for printers on 3D Printing on Fabric - Hexagon / Triangle Pattern Test.
